Previous Next


Labor > Employees > Employee Maintenance


Employee Maintenance
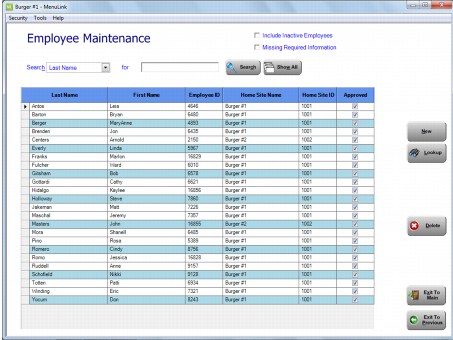
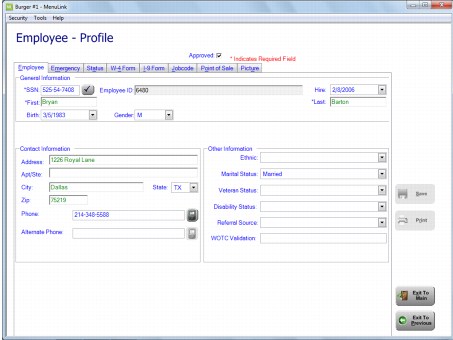
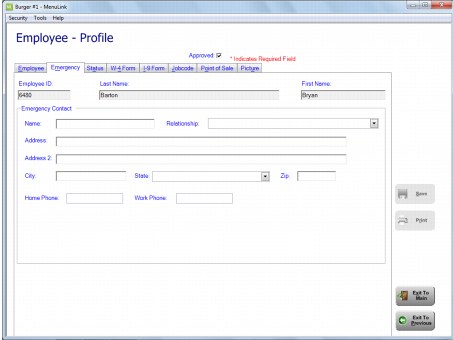
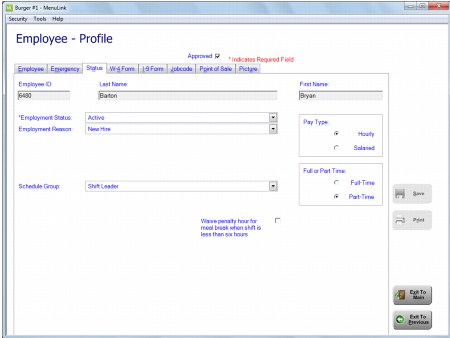
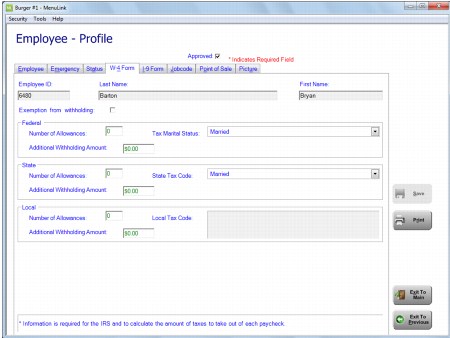
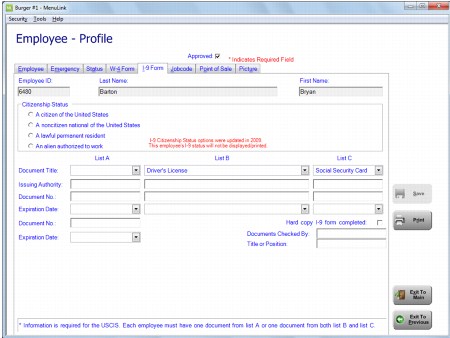
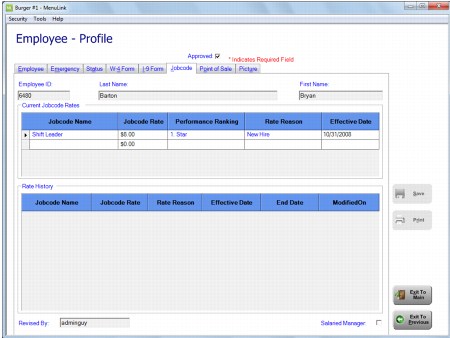
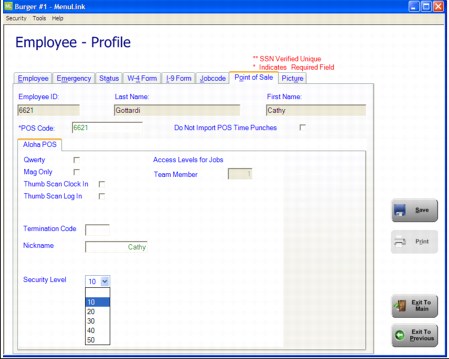
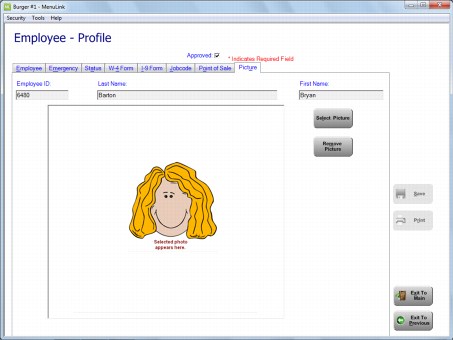
The Employee Maintenance feature is where you can enter and maintain employee profile information, such as name and address, W-4 and I-9 information, and job status. You can also import a digital image of an employee.
Important: Your MenuLink Administrator determines the content of the Employee Profile screen. Based on this configuration, some tabs and fields may be unavailable in your installation.
Employee Maintenance Screen
To enter new employees or manage existing employee profile information, click Employee Maintenance. In this screen, depending on security permissions, you can:
1.
2.
3.
4.
5.
 
Button_New
Click New to enter information for a new employee.
Button_Lookup
Lookup opens the profile for the selected employee.
Button_Delete
Delete removes the employee record from the system. Unless the employee record was created in error, we recommend deactivating the employee instead since some historical information may reference the employee.
Note: Delete can only be done by users with security permissions (i.e. MenuLink Administrators) and is disabled for users who do not have the permissions. Typically at the restaurant managers will only be able to change the status of the employee to inactivate them.
Employee Profile Screen – Employee Tab
The Employee tab is where you define basic information about an employee, such as the employee’s name, address, social security number, and contact information. Any field with an asterisk next to it requires completion before you can save the employee profile. Various fields in the Employee Profile screen have drop-down lists from which you can select information applicable to the employee.
To verify the SSN/SIN is unique in the database, type the number in the text box, then click the check mark button next to it. A message appears in the upper right corner of the Employee Profile screen indicating if the number is unique.
 
Important: To maintain employee SSN privacy, your MenuLink Administrator can configure the Employee ID and POS code to automatically populate with a numbering format that is specified by your company, otherwise these fields will default to blank and managers are able to manually type the Employee ID and POS code.
 
Employee Profile Screen – Emergency Tab
The Emergency tab is used to define emergency contact information for the employee.
 
Employee Profile Screen – Status Tab
The Status tab describes the current employment status of the employee. For example, if the employee is active, has been terminated, or is on a leave of absence. The available choices are determined by your MenuLink Administrator.
 
Employee Profile Screen – W-4 Form Tab
The W-4 tab contains the employee’s W-4 information for federal, state, and local tax withholdings. For convenience, a current blank W-4 form is included in the MenuLink reports. Click Print to print a completed W-4 form for the employee.
Employee Profile Screen – I-9 Form Tab
The I-9 tab is completed with the employee’s I-9 information. Instructions for completing the I-9 Form are available when you print an I-9 report. For convenience, a current blank I-9 form is also included in the MenuLink reports. Click Print to print a completed I-9 form for the employee.
Employee Profile Screen –Jobcode Tab
The Jobcode tab defines the jobs that are assigned to the employee, the rate of pay for each job, the reason for a change or addition, and the effective date for a new job or rate of pay. Any changes to an Employees Job or Rate are listed under rate history.
Note: When entering the Effective Date, you must enter a date within 30 days of the current date.
Employee Profile Screen – Point of Sale Tab
The Point of Sale Tab contains information that your POS system uses for the employee. The number entered in the ‘POS Code’ field must match the employee code in the POS. Your MenuLink Administrator configures the Access Levels for Jobs and Security Level which must match the Aloha security level. In the Access Levels for Jobs, the default levels apply to all employees that are assigned that job. This ensures accuracy at clock in. The Nickname field will automatically get populated when creating a new employee and can be modified when needed.
 
Employee Profile Screen – Picture Tab
Use the Picture tab to import a digital image of the employee into the MenuLink Client. MenuLink imports images in BMP, JPG, or GIF formats.
To Import an Image:
1.
Click Select Picture.
2.
In the Select Image File dialog box, select the image you want to import and click Open. You can use the Windows ‘Select Image File’ dialog box to navigate to the file if needed.

MenuLink Online Help
Copyright © 2012 Radiant Systems, Inc. All rights reserved.