To enable Windows 95 Plug and Play support for the PCMCIA socket, you must run the PCMCIA wizard. The PCMCIA wizard comments out the real-mode drivers in the AUTOEXEC.BAT and CONFIG.SYS files and enables the PCMCIA socket. In some cases, Windows 95 disables Plug and Play PCMCIA support if there is a risk of incompatibility.
If you must use old drivers, Windows 95 should work well with your previous PCMCIA drivers, although some Plug and Play capabilities such as automatic installation and friendly device names will not be available.
Windows 95 supports many PCMCIA cards including modems, network adapters, SCSI cards, and others. If Windows 95 includes supporting drivers for the PCMCIA card and for the socket, then installation and configuration should be automatic. This section provides some guidelines for enabling Windows 95 enhanced PCMCIA support when automatic detection and configuration aren't available for your card.
If your PCMCIA card is not shown in the list of manufacturers and models in the Add New Hardware wizard, contact the vendor and request a Windows 95-compatible installation disk before enabling the Windows 95 enhanced PCMCIA support. Also, see these Help topics:
Important Your PCMCIA socket driver and network driver both must be Plug and Play-compliant drivers (that is, developed for Windows 95 and NDIS 3.1-compliant) or both must be real-mode drivers. If these drivers are of mixed types, the computer might stall or the network might not work.
Windows 95 Setup automatically detects the presence of a PCMCIA socket, but to enable it, you must run the PCMCIA wizard.
If Windows 95 has not detected a PCMCIA socket, your socket controller might not be supported by Windows 95.
If your socket does not appear in the list, you should contact the manufacturer to see if new drivers are available.
Or
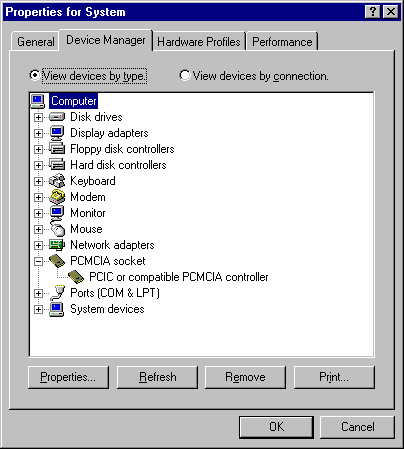
Double-click the PCMCIA controller in the Device Manager.
Or
Look up the topic named "PCMCIA" and then look up "Enable Support For" in the Windows 95 Help Index.
If a hardware profile in the Device Usage box is checked, then PCMCIA support is enabled.
If you have the correct drivers and enhanced PCMCIA support is activated, but the device is still not available, your computer is probably using the wrong memory window for the device. Windows 95 selects a default set of commonly supported settings. Your socket might not support certain interrupt settings, so you might be able to get a PCMCIA socket to work by changing the IRQ. Similarly, your socket might not work on certain memory windows, and changing the memory window might solve your problem.
Typically, selecting a Start value higher than 100000 will work.
If Windows 95 still doesn't detect your PCMCIA cards, you should disable the Windows 95 enhanced PCMCIA support.