The DHCP Manager icon is added to the Network Administration Tools group in Program Manager when you set up a Windows NT Server computer to be a DHCP server. You must use DHCP Manager to perform the following basic tasks:
The procedures for completing these tasks are described in the following sections.
To start DHCP Manager
![]()
– Or –
At the command prompt, type the start dhcpadmn command, and then press Enter.
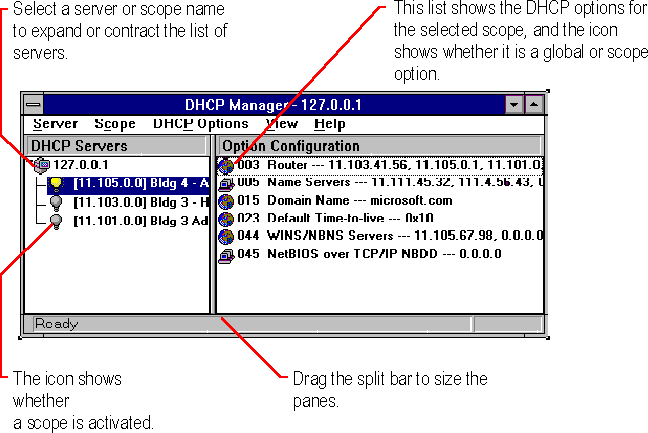
DHCP Manager window shows the local computer the first time you start DHCP Manager. Subsequently, the window shows a list of the DHCP servers to which DHCP Manager has connected, plus their scopes. The status bar reports the current DHCP Manager activities.

Important When you are working with DHCP Manager, all computer names are DNS host names only. The full path specification might be used, such as accounting.trey.com, or a name might be specified relative to the local domain. In the previous example, other computers in the trey.com DNS domain can refer simply to accounting. The DNS host name is not necessarily the same as the NetBIOS computer name used in Windows-based networking.

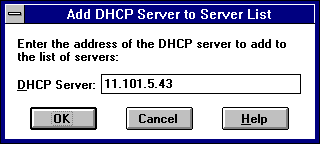
For example, type an address such as 11.1.26.30 or type a DNS name, such as corp01.trey.com, in this box.
– Or –
Press Del.