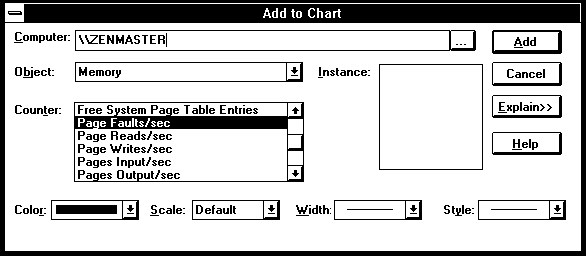
If you are in the Chart, Report, or Alert view, you next designate a counter to measure by choosing its name in the Counter box. For each object, what we consider to be the most important counter is the default selection. The counters are listed in alphabetical order.
Figure 2.17 Selecting a counter for measurement
If the name of a counter is longer than the box can accommodate, a horizontal scroll bar appears so you can view the entire name. Once you have clicked anywhere in the Counter box, you can press the first letter of the counter name to move to its name more rapidly. Repeatedly pressing a letter scrolls sequentially through multiple counters that begin with that letter.
You can select more than one counter at one time. Hold down the CTRL key and click the counter names to select noncontiguous counters. Then use the Add button to add them to your view.
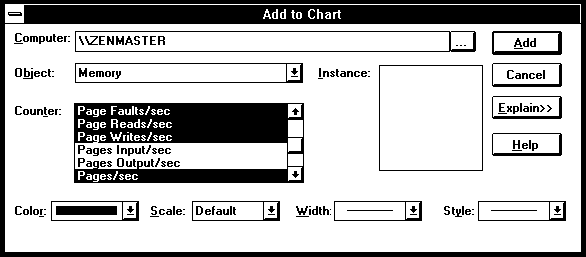
Figure 2.18 Selecting multiple counters for measurement
We have said just a bit about selecting multiple counters. How certain options apply to multiple counter selections is "intuitive," which is a programmer's word for "not obvious, but easy to understand once you know it." We'll cover these details as we explore the various views later on.
How do you know which counters to measure? Good question!
We'll go into detail about the counters in the next few chapters. Each counter tells a story about the system's operation on your hardware. Once we understand that story, selecting a counter is pretty easy.
Selecting the default counter for any given object is often an excellent idea. We made each of these counters the default because it tells the most about the object's activity.
Click the Explain button whenever you are looking at a new counter. This explains the nature of the counter and its role in monitoring system activity. After you click the Explain button once, you see the Explain text for every counter you select until you close the dialog box. See Figure 2.19.
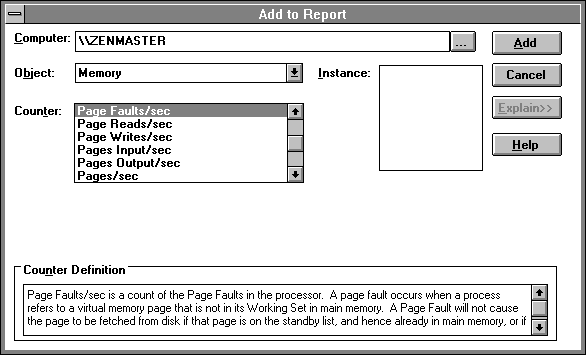
Figure 2.19 Using the Explain text
Appendix A contains a list of the objects, their counters, and their Explain text. When all you want to do is peruse the names and Explain text of counters in the system, you may find the appendix easier to use than scrolling through the counters on-screen.
Sometimes it is desirable to select all counters for an object. It makes sense to do this in the Report view. Looking at all the counters at one time in the Report view can illustrate how the counters vary during an operation. To select all counters for an object, drag all their names with the mouse, or press HOME and then SHIFT+END.
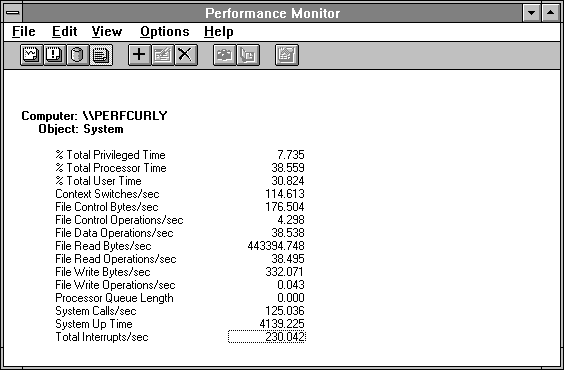
Figure 2.20 Viewing all the counters for an object at one time