MOF Generator Wizard
[This is preliminary documentation and subject to change.]
The MOF Generator Wizard generates a MOF file for class definitions and/or instances from an existing database. Typically, you run this wizard when you have created a new class, or when you want to port existing database information to another machine.
 To run the MOF Generator Wizard
-
In the Class Explorer, click the check boxes to select the classes you want to insert in the MOF file.
-
Double-click the MOF Generator Wizard icon. A welcome screen appears.
-
Click Next. The following screen appears:
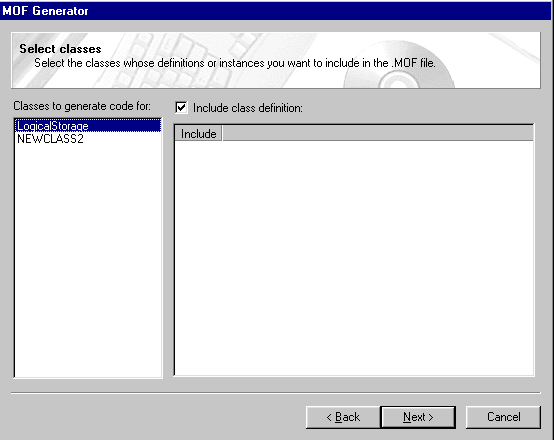
This screen shows each class you selected in step 1. For each class, do the following:
-
Select the class name from the list under Classes to generate code for. The instances of that class, if any, appear in the right pane.
-
Select whether you want the class definition in the MOF file by clicking the check box next to Include class definition.
-
Click the check boxes to select the instances to be included in the MOF file.
-
Click Next. The following screen appears:

Enter the MOF File Name and the directory where you want it to reside, or use the Browse button to select a directory.
-
Click Finish. A message box appears notifying you that the MOF file has been generated. Click OK to dismiss the message and close the wizard.