Using this feature, you can clone your existing Windows 10 or Windows 8.1 installation (including apps, settings, documents, games, browsers etc) from internal HDD or SSD to external USB thumbdrive or USB HDD.
By default, existing files will be compressed, so for this operation usually you need smaller capacity USB storage device than your disk C:. Typical compression ratio is 35-45%. During live sessions, Windows on USB thumbdrive will store all new files and all updated files in decompressed form.
System partition on USB thumbdrive will have different unique identifier from original system partition on internal HDD/SSD, so there will be no conflicts or collisions when booting USB thumbdrive on the source PC.
This feature is particularly useful for travellers (who want to save time on reinstalling apps in Windows To Go installation) and as live backup copy (which will be of good use in the case of next ransomware virus attack, failed Windows update, or accidently deleted file).
If source Windows installation on the internal HDD/SSD is 32-bit, then cloned Windows installation on USB storage device can be created in BIOS mode only. If source Windows installation on the internal HDD/SSD is 64-bit, then cloned Windows installation on USB storage device can be created in any mode (BIOS or UEFI). Boot method of source Windows installation on the internal HDD/SSD does not matter.
This example demonstrates creation of Windows 10 bootable clone on USB thumbdrive in UEFI mode.
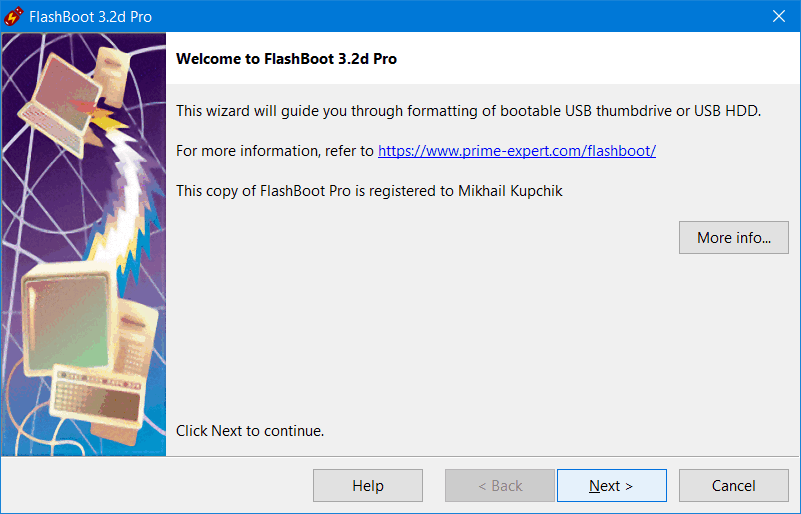
1) Run FlashBoot Pro, click Next
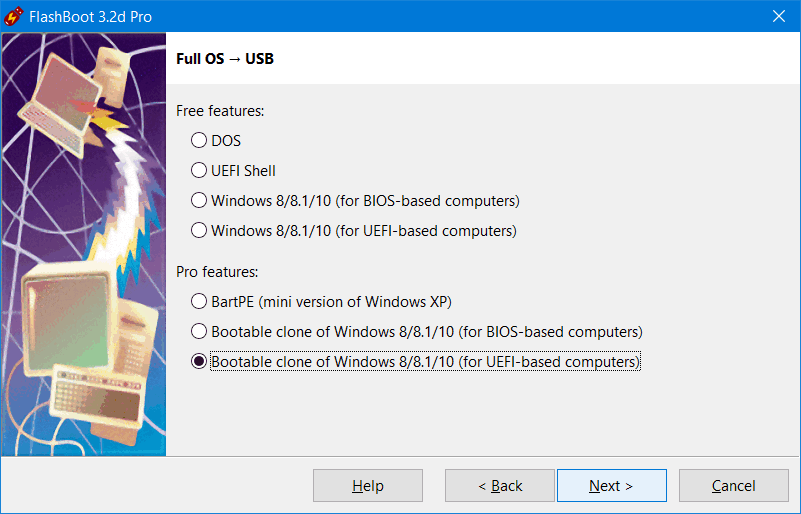
2) Choose "Full OS -> USB" in the the Main Menu

3) Choose "Bootable clone of Windows 8.1/10 (for UEFI-based computers)" in this menu and click Next
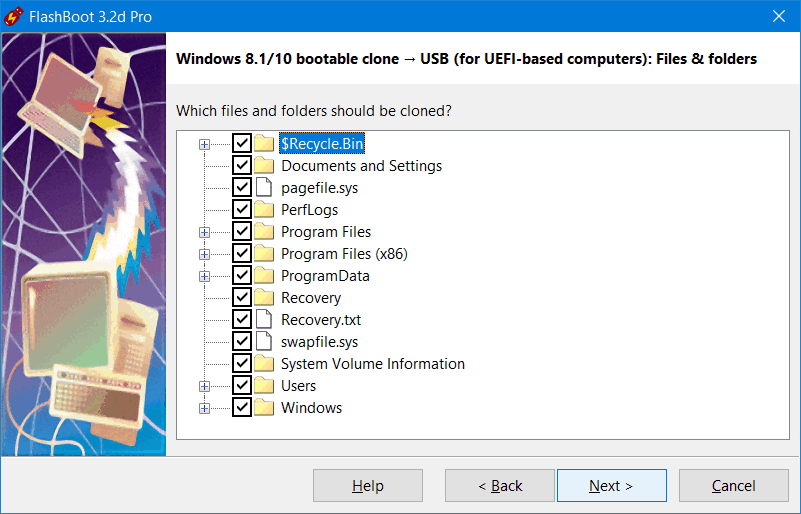
4) Choose which files and folders are to be excluded from the clone. If you have large enough USB thumbdrive or USB HDD, then you can leave all files and folders included
5) Specify whether clone should be compressed or not, and click Next

6) Specify target USB storage device and click Next

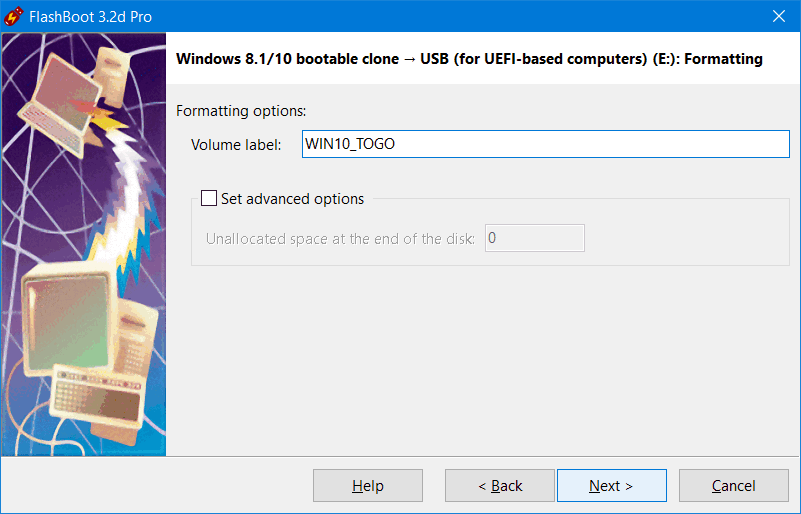
7) If necessary, change volume label, or leave it as is, and click Next
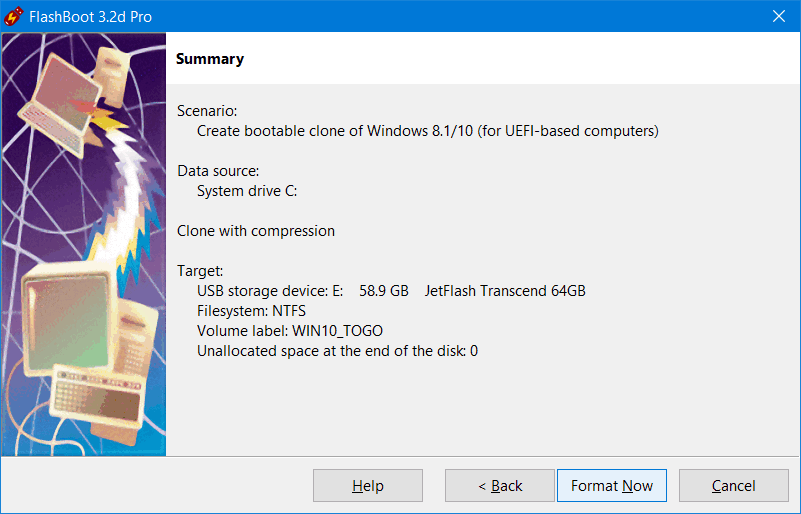
8) Check summary information and click Format Now
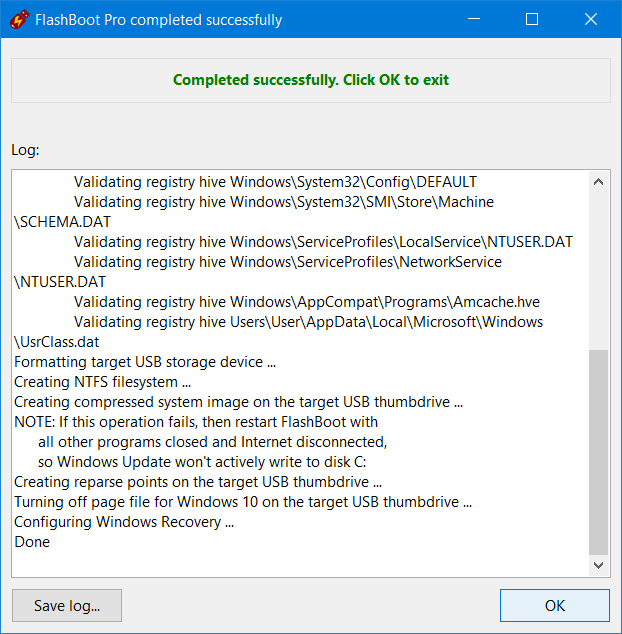
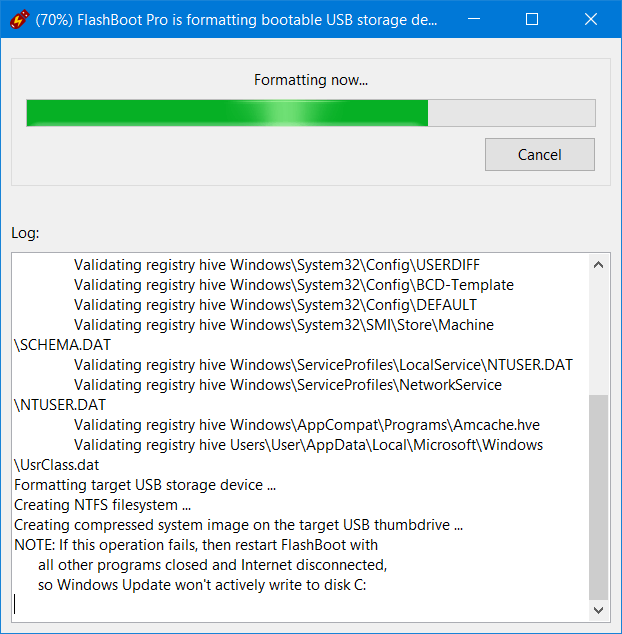
9) Wait for process completion
10) Bootable USB storage device is ready to use. Click OK to exit