


Surface Lock
Set up the lesson:
This scene contains three cylinders combined into a single object named Braid surface. The scene uses a Morpher and a PathDeform modifier to animate the three strands being braided together. In the start scene, these modifiers are initially turned off. The cylinder geometry is not renderable: its only purpose is to deform the hair.
When locking hair to a surface, you are actually locking the guides to the surface, so it’s a good idea to use low values for the parameters that spread hair away from the guides; for example, Random Scale and Frizz. For realistic hair, set these values a little higher than 0. It is also a good idea to use a higher-than-usual Hair Segments value, in order to improve deformation.
Set the sub-objects that grow hair:
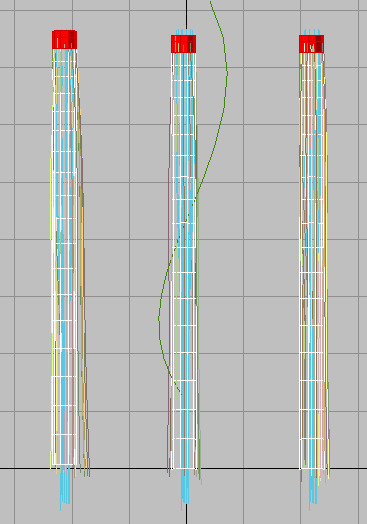
You'll grow hair from the tops of the cylinders and then drape it down around the surface.
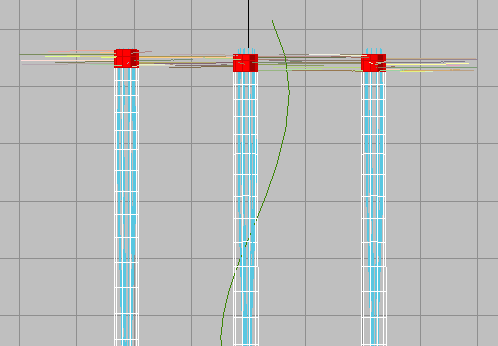
Top segments of the hair braid selected
Align the hair to the braid model:
The hair aligns to the direction and length of these splines.
You could easily create these splines from edges of the geometry, drawing them by hand. Or you could just create the same hairstyle using the styling tools and skip the splines altogether.
The next step is to lock the hair to the surface of the cylinders, which you do in the Styling rollout.
Lock the hair guides:
 Change
from the Polygon to the Guides sub-object level.
Change
from the Polygon to the Guides sub-object level.This also activates the controls on the Styling rollout.
By default, all the guide vertices are selected, so you don't need to select any.
 Click
the Lock button to turn it on. Now the hair guide vertices are locked
to the Braid surface object.
Click
the Lock button to turn it on. Now the hair guide vertices are locked
to the Braid surface object.Set up rendering and render the result:
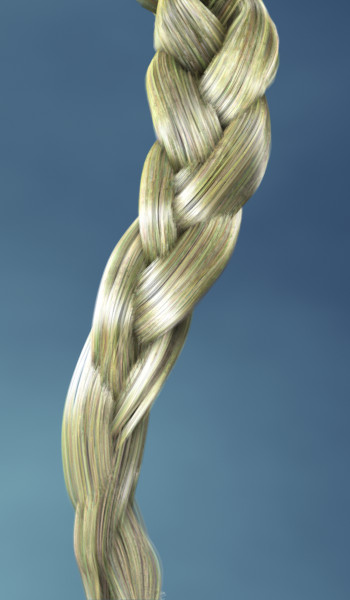
The completed braid
If you have time, you can also look at the scene morph_braid_finished.max. This scene contains two additional Hair And Fur modifiers, which model layered growth effects.
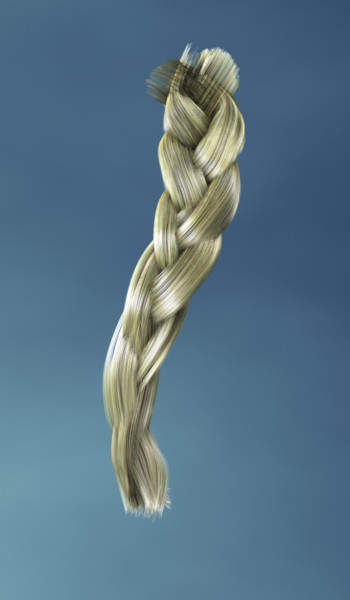
Rendering of braid with layered hair