Copying Hair


Method 1: The Toupee

The “toupee” method is relatively simple. Starting with mesh-grown hair you get rid of unnecessary geometry in order to move this hair elsewhere.

  1. Open the file toupee_start.max.

  2. Select the head mesh, and then go to the Modify panel. On the Tools rollout, in the Hairdo group, click Copy.

    This caches the full hair description, including guides and materials.

    ImportantIf you skip this step, the method will not work!
  3. Go to the Polygon level of the Hair And Fur modifier.

    The polygons selected to grow hair become visible.

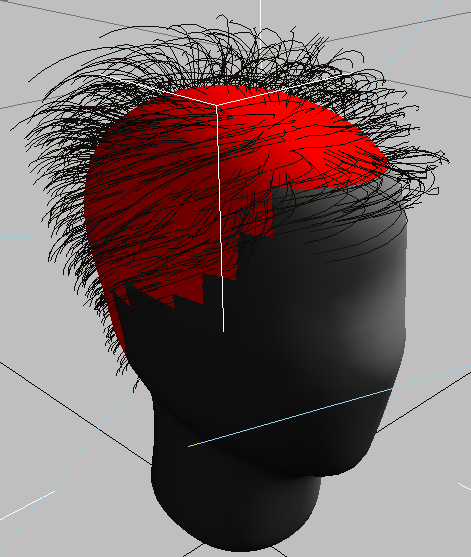
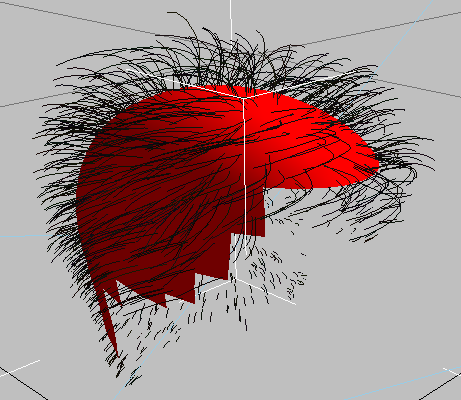
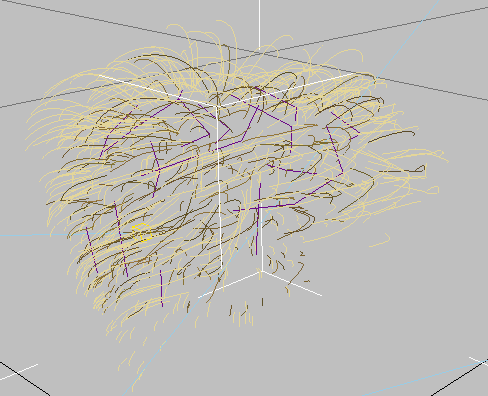
    The selection of polygons that grow hair

  4. On the Selection rollout, in the Named Selection Set group, click Copy.

    The Copy Named Selection dialog appears.

  5. In the dialog, click to highlight the tophead selection set, and then click OK.
  6. On the modifier stack, expand the Editable Mesh entry. Click Yes to dismiss the warning that appears. Click the Polygon entry to go to that sub-object level.
  7. On the Selection rollout, under Named Selections, click Paste.

    The hair polygon selection pasted to the editable mesh

  8. Choose Edit > Select Invert to invert the selection.

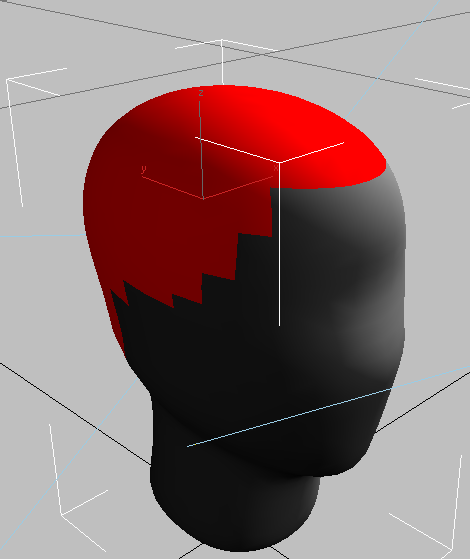
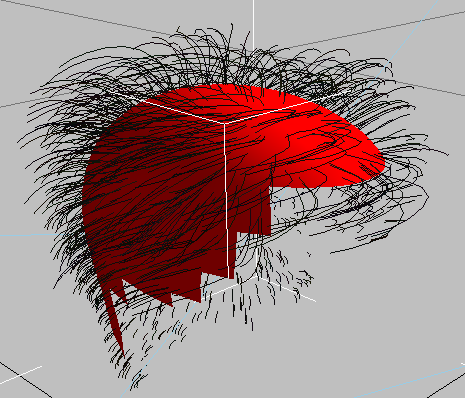
    The polygon selection inverted

  9. Press Delete to delete the polygons that don't grow hair.

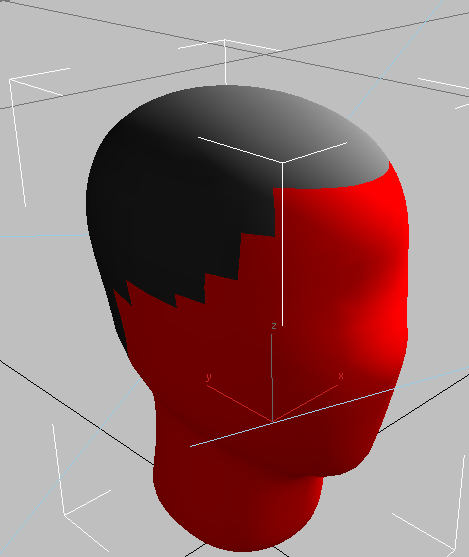
    After Delete, only the hair-growing polygons remain.

  10. On the modifier stack, highlight the Polygon level of the Hair And Fur modifier once again.

    Your selection has probably been scrambled a bit.

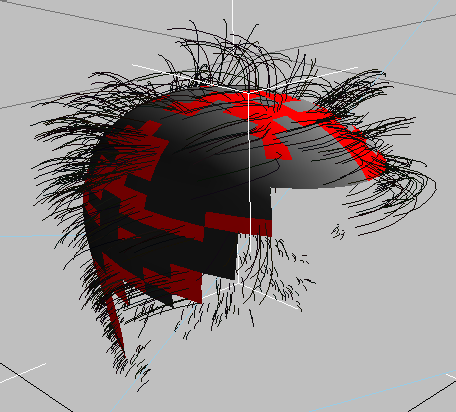
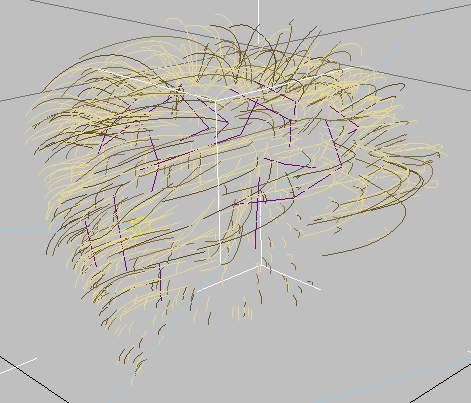
    After you edit the mesh, the poly selection in the Hair modifier is scrambled

  11. Press Ctrl+A to select all the polygons. Then on the Selection rollout, click Update Selection.

    The hair now looks approximately like it did originally, but not exactly.

    Updating the full polygon selection

  12. On the Tools rollout, in the Hairdo group, click Paste.

    Pasting the original hairdo to complete the toupee

    You now have a hair toupee that you can plant under the skin of your characters. For best results, make the surface polygons non-renderable (Edit > Object Properties > General Panel > Rendering Control group > Turn off Renderable).

    Using “toupees,” you can create a library of custom hair setups, retaining only the essential geometry: that is, only those polygons from which the hair grows.

Method 2: The Wig

For the “wig” method, you first convert the hairs to an editable spline object, then use the spline object to grow new hair.

  1. Open the file wig_start.max.
  2. Select the head object (objpCube1) and go to the Modify panel.
  3. On the General Parameters rollout, reduce the Hair Count to 2200.

    The initial value of 22,000 is a huge processing load.

  4. On the Tools rollout, in the Convert group, click Hair -> Splines.

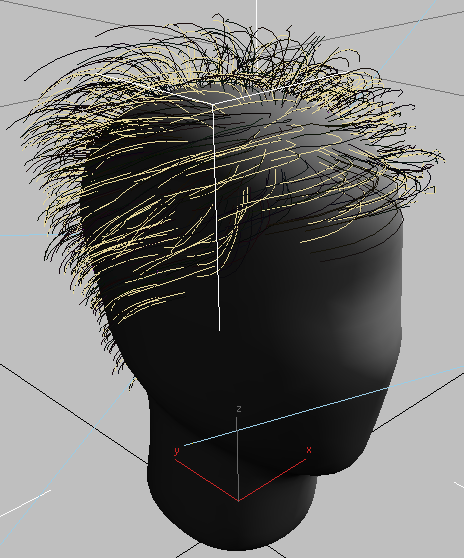
    Hairs converted to splines

  5. Press Delete to delete the original mesh object.

    Hair splines after deleting the mesh

  6. Select the resulting spline object,line02, and then apply a Hair And Fur modifier.

    This creates a spline growth.

    New hair grown from the splines

    Because it's a spline growth, not a mesh growth, the interpolation is uneven. To resolve this, you'll disable interpolation.

  7. On the General Parameters rollout, turn off Interpolate.

    This means that Hair won't fill in between the guides. In other words, you'll have one hair per spline, if the Hair Count is set high enough.

  8. Turn off displacements by setting values Rand. Scale, Frizz Root and Tip, and Kink Root and Tip to 0.0.

    The original values are already reflected in the spline object you created.

    With Interpolation and displacements turned off, the new hair follows the splines.
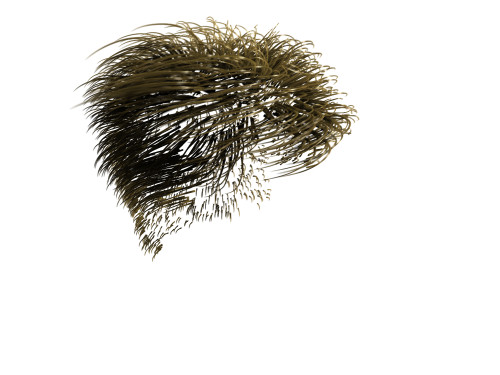
  9. On the Multi Strand Parameters rollout, set count to 20, and also set Root Splay and Tip Splay to 0.5.
  10. On the General Parameters rollout, make sure that Hair Count is 2200, Root Thick is 12.0, and Tip Thick is 3.0.
  11. Render the Perspective view.

    The rendered wig

    You now have a hair description that is independent of any mesh, upon which you can run dynamics if you like.

Method 3: The Transplant

The “transplant” method essentially consists of copying the hairdo, selecting a target surface that’s positioned as closely as possible to the original, adding a Hair And Fur modifier to the new surface, and then pasting the hairdo.

The steps that follow also show what goes on inside Hair when you copy and paste hairdos.

  1. Open the file transplant_start.max.
  2. Select the head object (objpCube1) and go to the Modify panel.
  3. On the Tools rollout, click Convert > Guides->Splines.

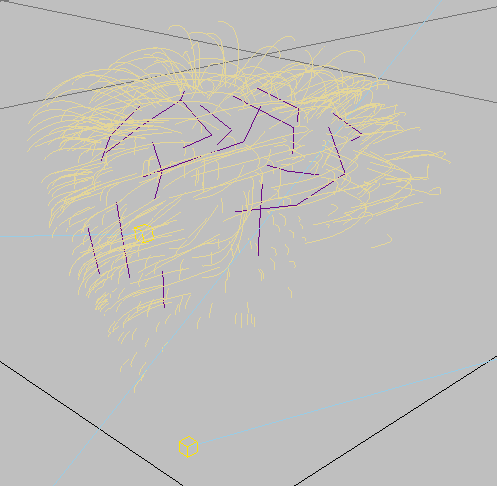
    Hair guides (not all hairs) converted to splines

    This differs from the wig method (described above) in that this time, we use the hair guides instead of the individual hairs.

  4. Save the hair settings by clicking Tools rollout > Presets > Save. Name the preset temp_hair_material.
  5. The head is no longer necessary, so delete it.

    Hair-guide splines with the mesh deleted

  6. Position the spline object created in step 1 around a new growth mesh. This illustration uses a Capsule extended primitive, but feel free to use any type of object you like.

    Hair-guide splines positioned on a new surface

  7. Apply a Hair And Fur modifier to the new surface, select the polygons from which the hair should grow, and then click Update Selection.

    Hair regrown from a new polygon selection

  8. Recover the original hair settings. On the Tools rollout, in the Presets group, click Load. and then in the presets dialog, double-click the temp_hair_material thumbnail.

  9. On the Tools rollout, click Recomb From Splines, then in a viewport, click the spline object that was converted from the hair guides.

    The recombed hair

    NoteTechnically, you don’t need the spline object after this step, but you might want to keep it around for a future hairdo.
  10. Render the Perspective view.

    The rendered transplant