- Load tutorial_6.max from \tutorials\cloth folder.
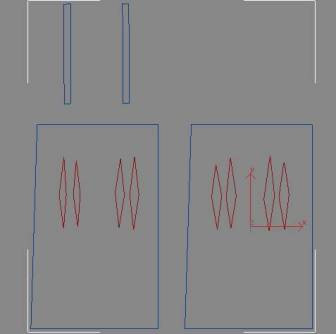
This scene contains a character model and a
pattern for a sun dress. This sun dress has darts in it to help
it fit the character's body closely while still being a very simple
pattern. The darts are simply lines in the pattern used by Garment
Maker.
- Select
the SunDress object.
The darts in the pattern appear as thin diamonds.
- Go
to the Modify panel.
Most of the seams for the dress are already
made. The ones you'll focus on are the darts.
- Go
to the Seams sub-object level of Garment Maker. Select the two seams of
one of the darts and then click Create Seam.
- Proceed
around the dress making seams for each dart.
- Apply
the Cloth modifier to the dress.
- On
the Object rollout click Object Properties. Highlight the SunDress entry
in the list on the left, click the Cloth radio button, and then
choose the Cotton preset from the drop-down list.
- Click
the Add Object button and then add the Girl to the simulation. With the
Girl entry highlighted click the Collision Object option. Click
OK to exit the dialog.
- On
the Object rollout choose Simulate Local (Damped). Once your dress is
partially formed to the figure, stop the simulation, turn off Use
Sewing Springs in the Simulation rollout, and then simulate locally
again for a bit.
The shoulder straps are floating too high above
the shoulders, so you'll decrease the offset a bit.
- Open
the Object Properties dialog again and choose the Girl entry in
the list at the left. In the Collision Properties group reduce the
Offset value to 0.6. Click OK to close the dialog.
- Click
Simulate Local (Damped) to tighten up the dress.
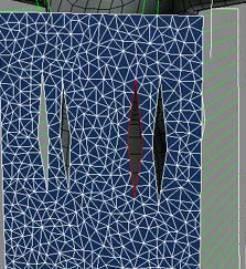
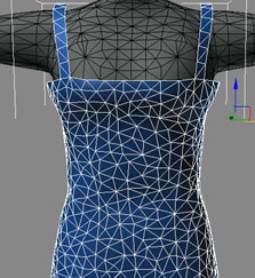
The resulting dress has some bunching on both
sides under the chest. This bunching is what the darts are designed
to minimize or eliminate. You should be able to get a better fit
by repositioning the darts and making them a little larger.
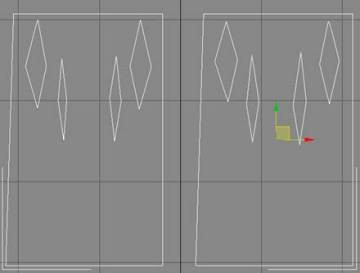
- Go
to the Line level at the bottom of the modifier stack (click Yes
to dismiss the warning dialog), and then access the Vertex sub-object
level. In the Top viewport, reposition the outside darts to be larger,
and position them more toward the top of the dress as shown below.
- Garment
Maker doesn't register changes in the spline shape until the mesh
is regenerated, so go to the Garment Maker modifier (again, click
Yes to dismiss the warning), and then click the Mesh It And Preserve
button. This button keeps the dress in place as Garment Maker adjusts
to the new dart positioning.
If you clicked the Mesh It! button instead,
the dress would revert to its pre-sewn configuration.
- Go
up to the Cloth modifier, turn on Simulation Rollout > Use Sewing Springs,
and then on the Object rollout click Reset State.
- Run
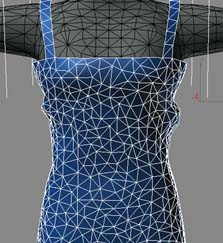
the simulation locally again until you're satisfied.
You should get a much better fitting dress.