Create a cloth flag from a spline object:
This scene contains a rectangular spline object named Flag and a cylinder named FlagPole.

Modifier stack with Garment Maker modifier applied to the Editable Spline object Flag
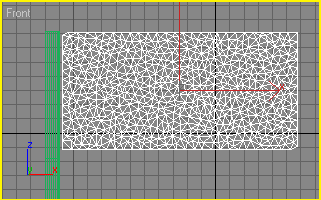
The resulting Flag object is now a 3D mesh.
This turns the 2D spline into a 3D mesh that you can use as cloth.
The corners of the new mesh get "rounded" because the flag spline was not set up correctly.
The spline object reverts to its original status.
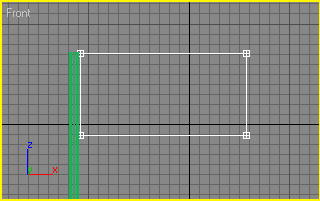
Flag with vertices broken
This causes the segments within the spline to become independent, as shown above. This preserves the corners when you apply Garment Maker. Whenever you have a spline that changes appearance after the application of Garment Maker, check the vertices and break the ones that cause this kind of issue.
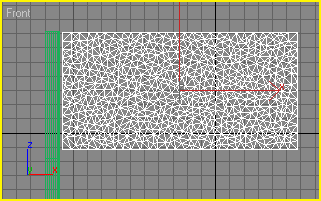
Flag with Garment Maker applied
Apply and set up the Cloth modifier:

This opens the Object Properties dialog.
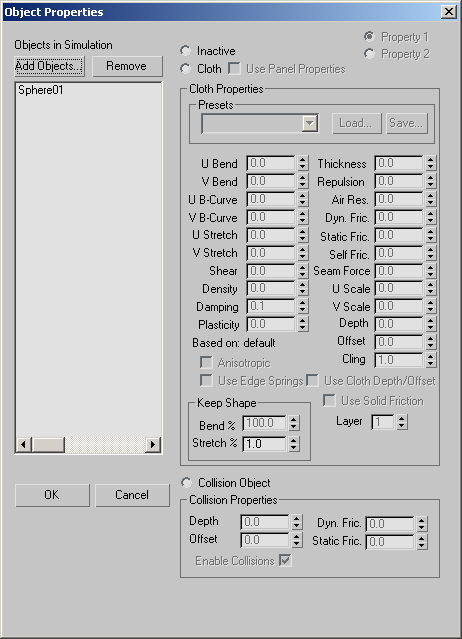
First, you'll tell Cloth which objects should be part of the cloth simulation. Currently only Flag is present in the left-hand column of the Object Properties dialog; the FlagPole object should be part of the simulation as well.
This adds the FlagPole object to the simulation.
Next you'll set which objects are to act as cloth and which objects the cloth will interact or collide with.
This tells the simulation that Flag is to be a cloth object.
This tells the simulation that FlagPole is a collision object with which the cloth object can interact.
Run the simulation:
Before you simulate, it's a good idea to check the cloth scale to make sure you get the results you might expect. To do this, you'll measure the flag as it relates to the cloth simulation. Cloth works in real-world units to create its simulation, so it's important to make it a habit to check the size of your objects.
You'll find that it is approximately 165 3ds Max units in width. Currently, Cloth is set (in the Simulations Parameters rollout) to 2.54 cm/unit, which equals 1 inch per unit (2.54 cm=1 inch). So at 165 inches wide, the flag is 13.75 feet wide, which is a big flag. That's not unrealistically large, but it is big, which is something to keep in mind because it affects the cloth behavior.
The flag falls to the ground because it is not attached to the flagpole in any way. To attach the flag to the flagpole, you will need to access the Cloth Group sub-object level and create a group of vertices to attach to the flagpole.
If you don’t erase the simulation after pressing ESC, when you click Simulate again, the simulation simply resumes from the point where it was interrupted.
Attach the flag to the pole:
The flag vertices become visible.
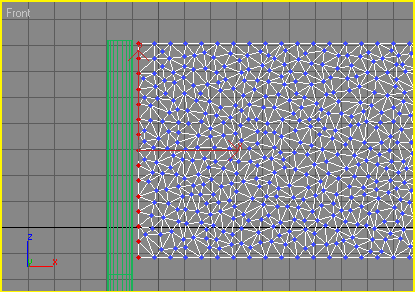
Vertex selection for FlagPole binding
Now that you've made and named a group, you need to assign it to the flagpole.
Alternatively, you could attach the flag to the flagpole using the Surface constraint, but that method locks each vertex to the triangle on the chosen object whose center is closest to the vertex. In the case of the flagpole, some of the vertices would be pulled toward the cylinder cap triangles to which they are closest, which might create unexpected results.
Run and refine the simulation:
The flag drapes down and is held up by the flagpole, but it doesn't seem to drape very naturally. This is due to the size of the cloth. Remember that you determined that the flag is almost 14 feet wide, so you now need to edit the cloth properties for the flag so that it behaves more realistically.
Altering these parameters forces the cloth to be less flexible, cause more realistic folds in the cloth drapes.
Add a wind force:
To make the simulation more realistic, you'll use a Wind space warp to make the flag flap in the breeze.
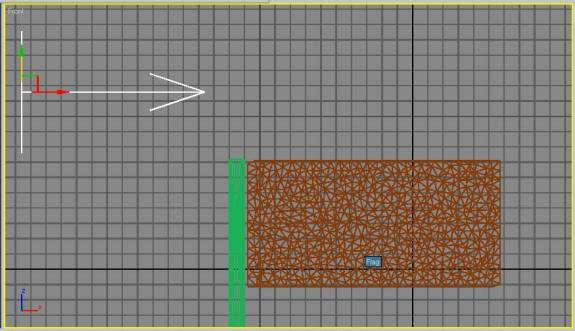
Wind space warp placement in the scene
Next you'll tell the Cloth simulation to take the wind into account by adding it as a force.
This opens the Forces dialog.


Flag blowing after simulation is complete
You can see how easy it is to create a simple cloth object with Cloth. Now that you've had a taste of how the system works, try using the major Cloth features in the Designing a Shirt tutorials to build a realistic shirt for a character model.