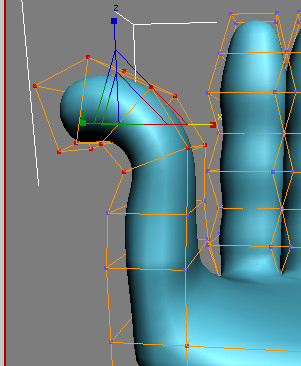
Refining the Fingers and Thumb


You will now work on refining the geometries by smoothing out the surface and changing the length and proportions of the fingers and thumb.

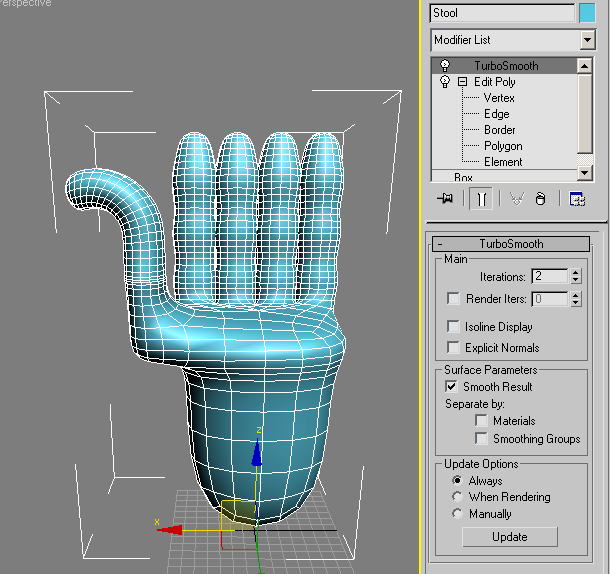
Construct the digits:

  1. On the Modify tab, choose the Edit Poly modifier.

  2. On the Command panel > Modify tab, choose the TurboSmooth modifier from the Modifier list.

  3. On the TurboSmooth rollout, change Iterations to 2.

  4. Click the Show End Result button, 
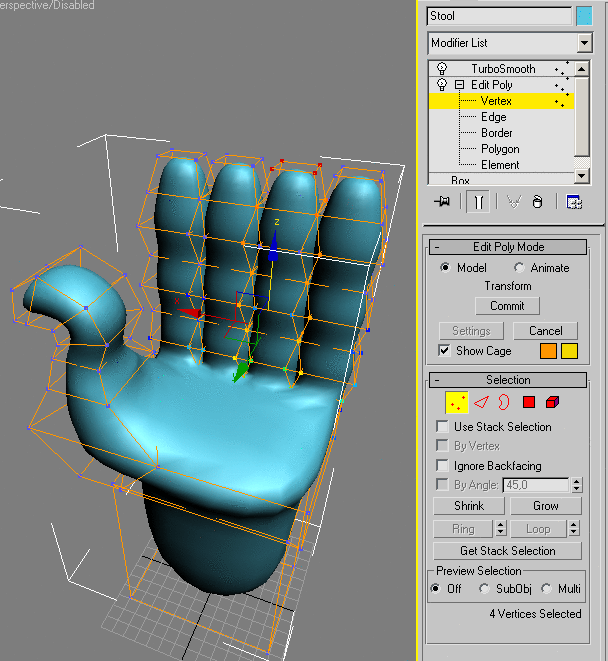
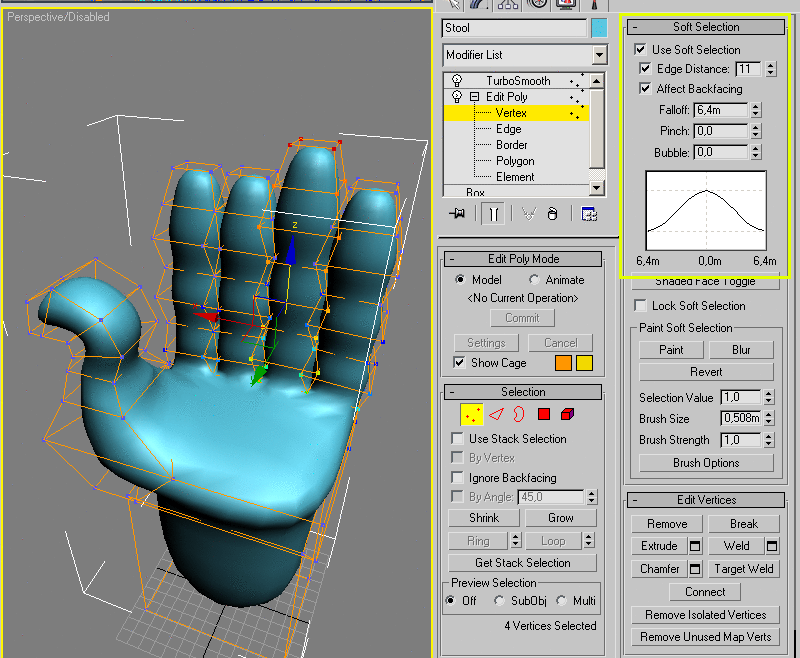
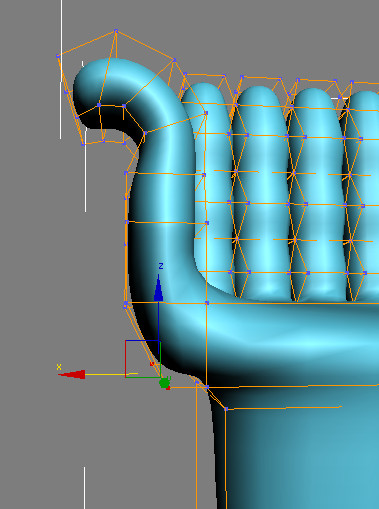
go back to the Vertex sub-object mode, and check the Show Cage option. This allows you to use the low poly stool to shape the smooth version, which remains visible.

  5. Select the vertices located at the tip of the thumb and scale them down on the X axis.

  6. Move the two outer vertices at the base to create a round corner.

  7. Move the four inner vertices at the base of the thumb to enlarge it.

  8. Keep sculpting the thumb by moving, scaling and rotating its vertices until you obtain a more refined shape.

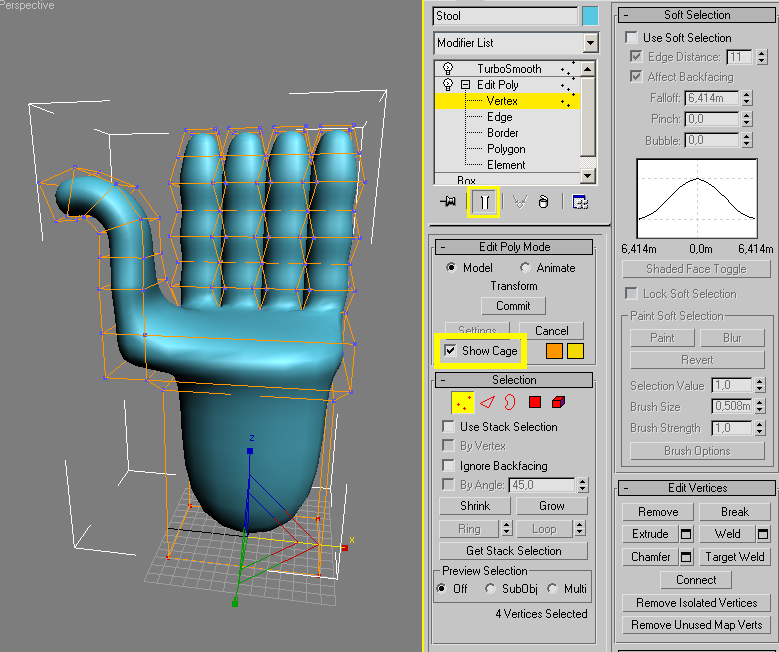
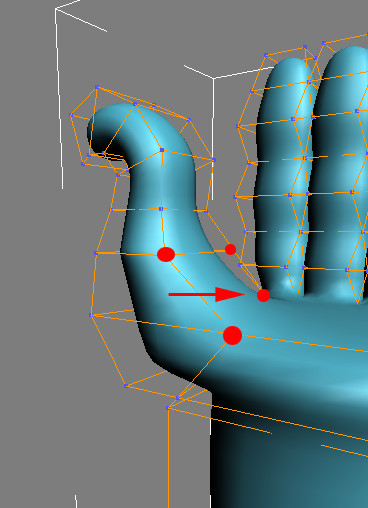
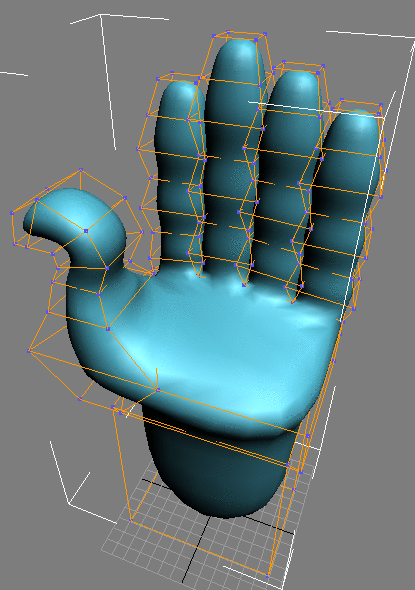
    Once you are satisfied with the thumb, you will begin to adjust the length of each finger.

  9. Select the four top vertices of the ring finger.

  10. On the Soft Selection rollout, check the Use Soft Selection and the Edge Distance options. Set the Edge Distance value to 11 and the falloff to 6.4m. Move the four vertices upward slightly. The soft selection allows the four tip vertices to influence the other fingers’ transformations.

  11. Using the same values as the previous step, adjust the other four fingers.

  12. Finally, to get a more even palm, move this vertex upward, as shown below.

  13. Save the scene as stool_refined.max.

Next

Editing the Base