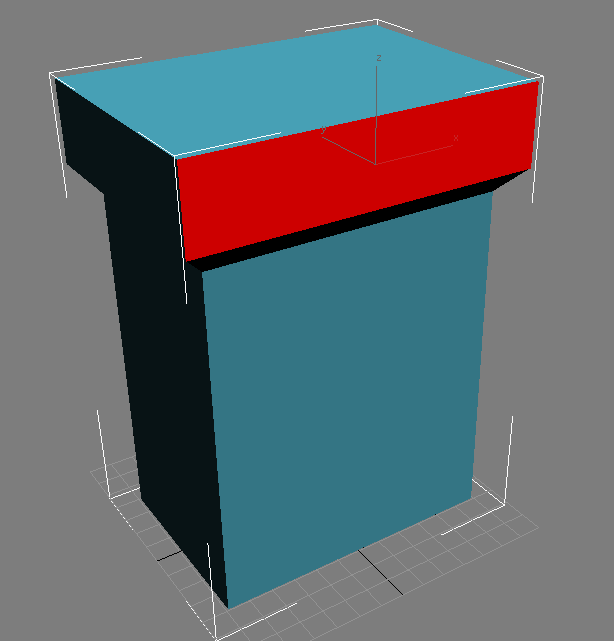
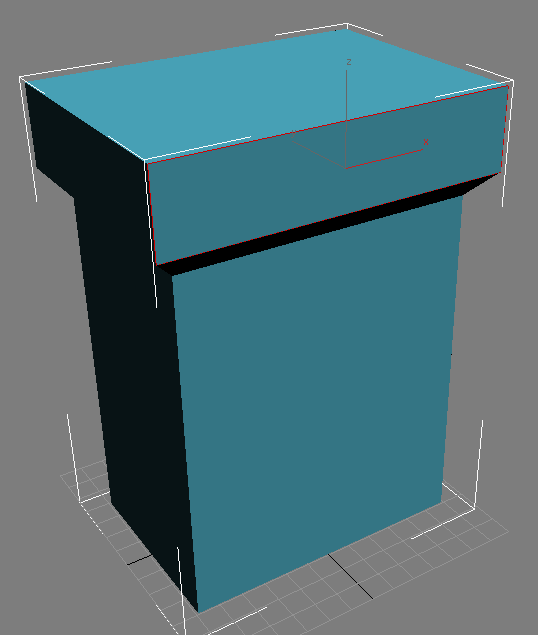
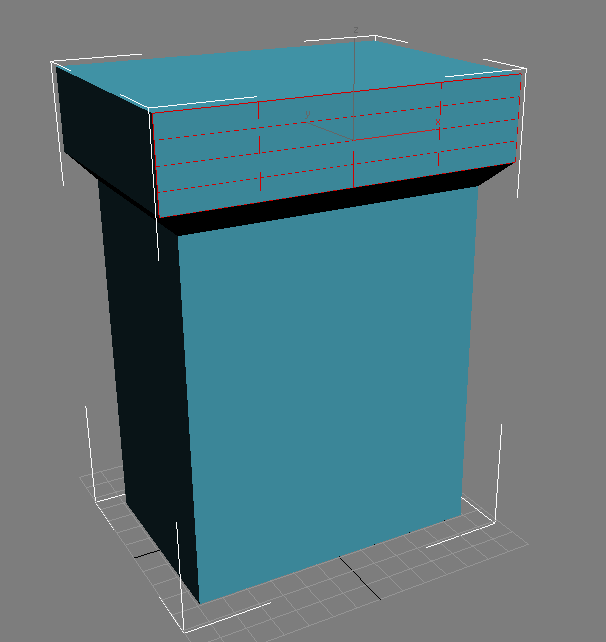
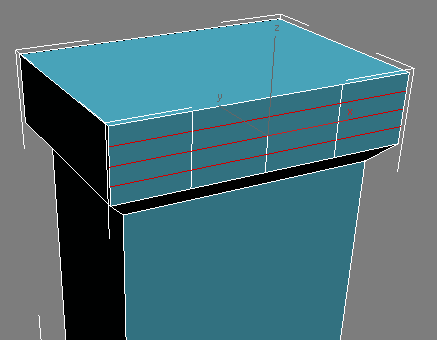
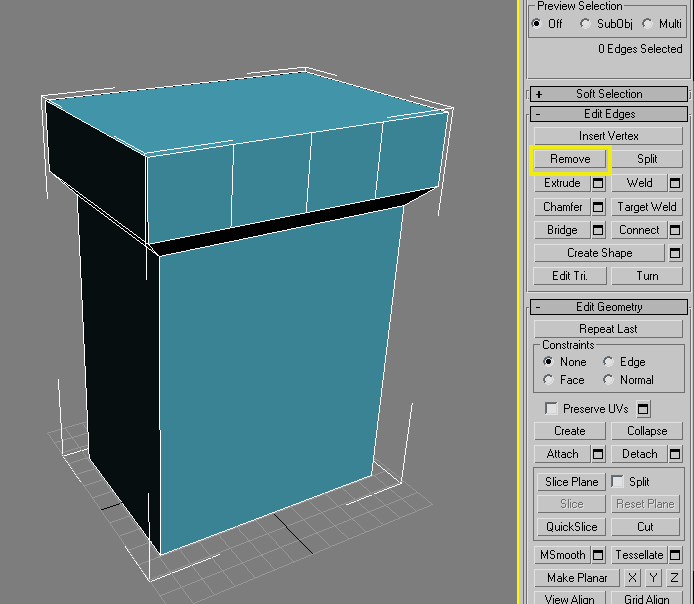
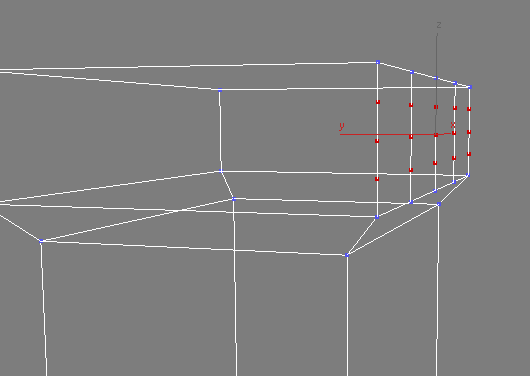
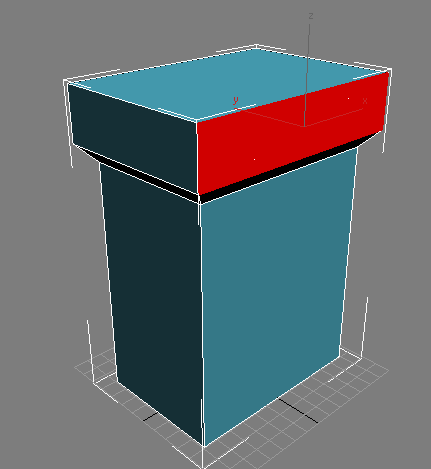
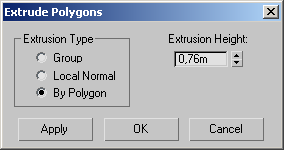
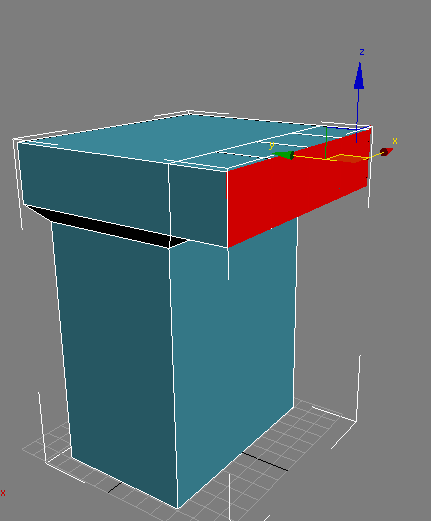
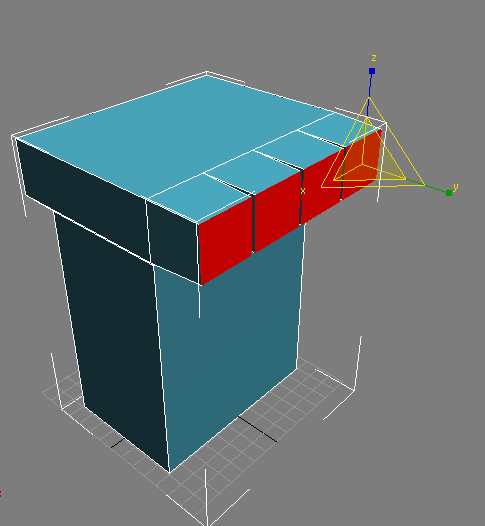
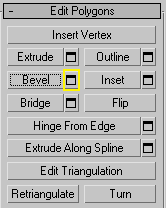
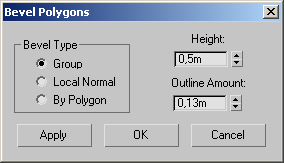
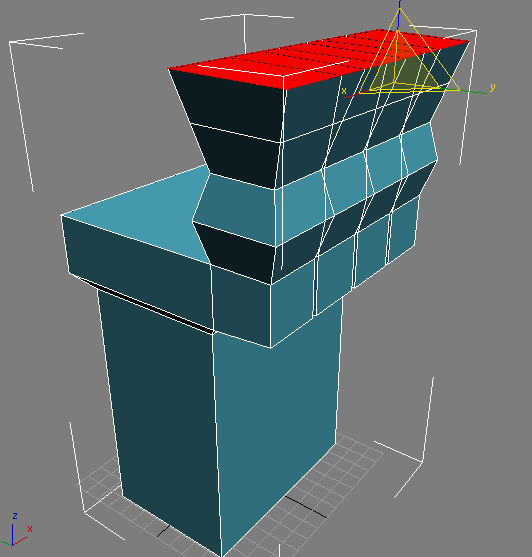
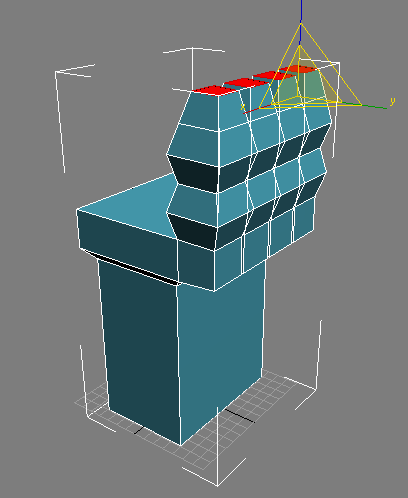
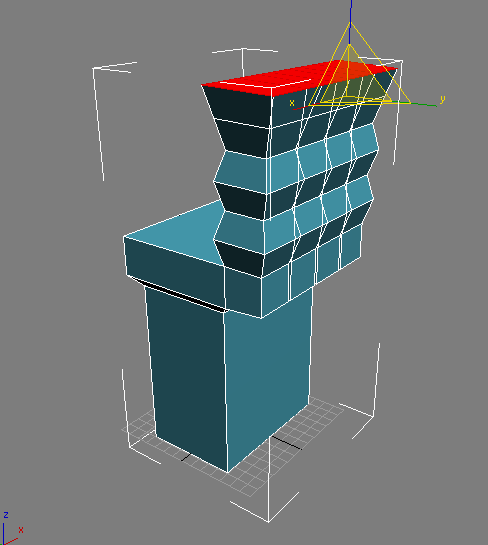
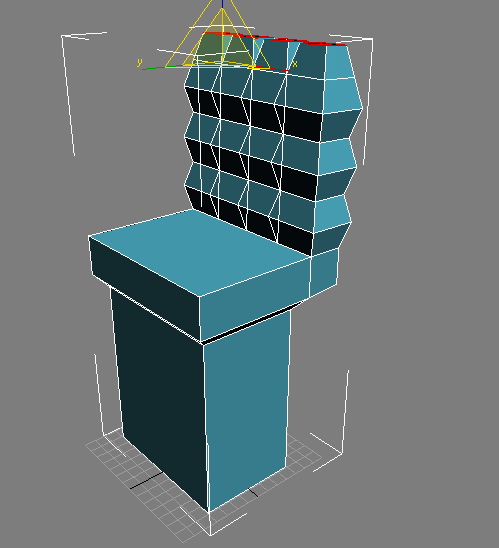
In this lesson you will continue to use the Edit Poly modifier to add fingers to the stool base.
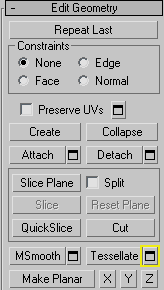
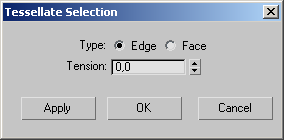
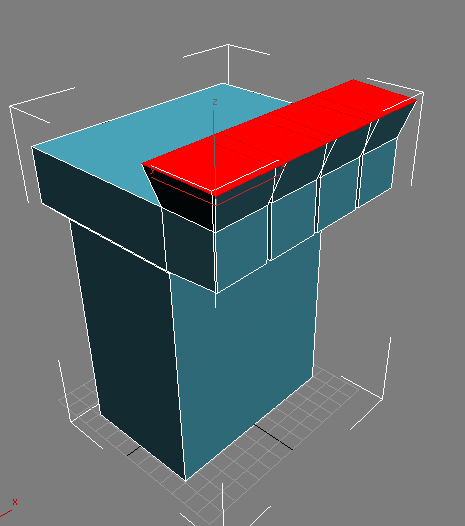
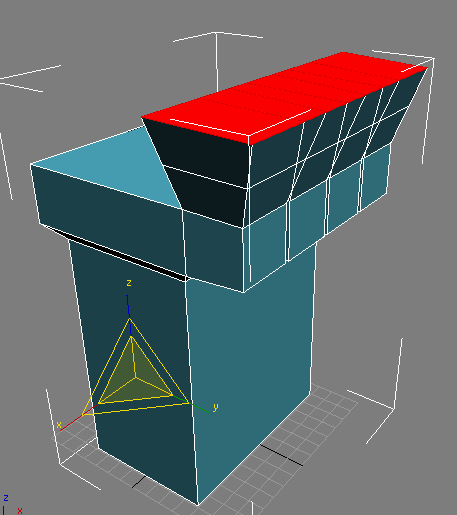
Add the fingers:
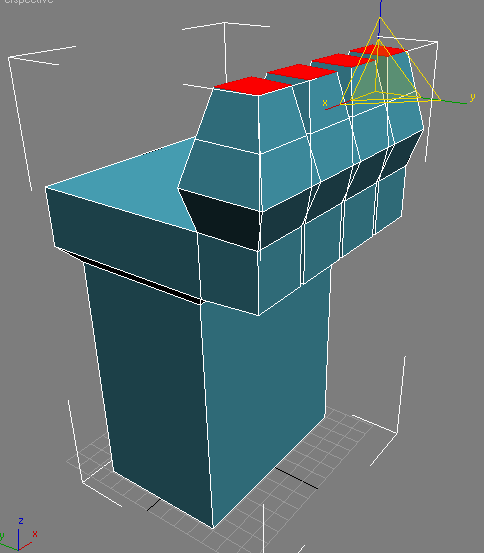
Next
Constructing the Thumb