


Using the Vertex Weld Modifier
In this lesson, you'll work on a model that was built with an older version of 3ds Max. It's a low-poly model of an airplane that was created using the Mirror tool.
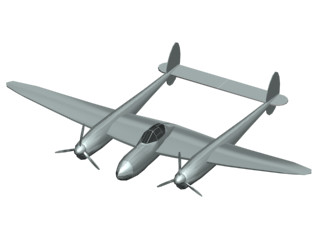
Low-poly airplane
Set up the lesson:
Files for this lesson are in the tutorials\p38_lightning folder.
Weld the seam between the two halves:
This model was built in an earlier version of 3ds Max using the Mirror tool, so there is a seam of unwelded vertices where the two halves of the plane meet.
 Use
Region Zoom to center the view on the cockpit section of the airplane.
Use
Region Zoom to center the view on the cockpit section of the airplane.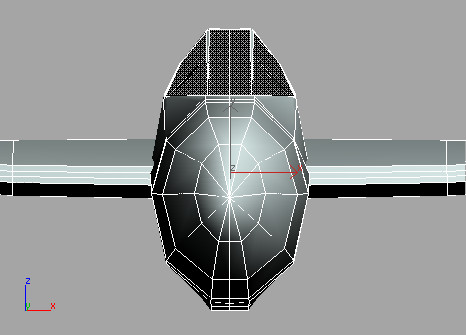
You can also apply the Vertex Weld modifier from the Modify panel > modifier list > Object-Space Modifiers > Vertex Weld.
This is one way to clean up the model.
While the Vertex Weld can be used to reduce the number of faces a model has, greater values distort the model drastically.