One major step remains: to link the plane into a single hierarchy. Before it's airworthy, however, you'll also need to rotate it into the proper orientation and adjust a pivot.
Load a start file
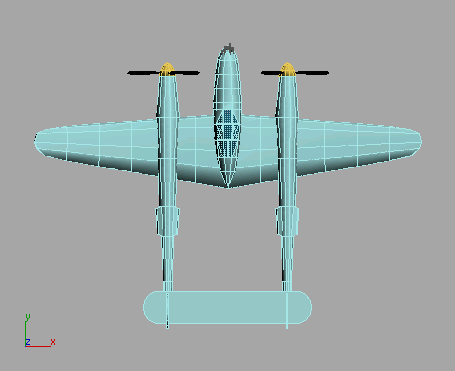
To work properly with Microsoft Flight Simulator (FS), the pivot point of an aircraft used by FS as its center, should be midway between the propellers, and a quarter of the way back from the front of the wings. In this procedure, you'll make that adjustment in the Top viewport.
Adjust the gondola pivot
 In the Command panel, click
the Hierarchy tab. In the Adjust Pivot rollout, click Affect Pivot
Only.
In the Command panel, click
the Hierarchy tab. In the Adjust Pivot rollout, click Affect Pivot
Only.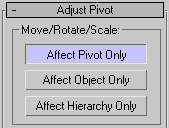
The gondola's pivot becomes visible, near its rear.
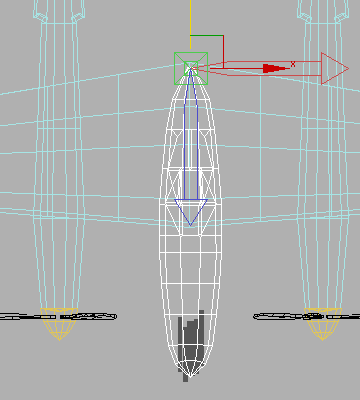
The gondola's pivot resembles the transform gizmo.
 Use
Select And Move to move the pivot downward along its Y axis so that
the pivot is about a quarter of the way back from the front of the
wings.
Use
Select And Move to move the pivot downward along its Y axis so that
the pivot is about a quarter of the way back from the front of the
wings.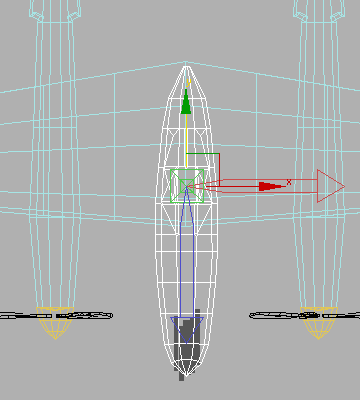
The gondola's pivot properly positioned.
Currently the plane looks like a single object, but it's really just a collection of unconnected parts. You can demonstrate this, if you like, by moving one of the parts, such as the gondola (if you do move it, be sure to undo before continuing). In this section, you'll connect all the parts into a hierarchy, so that moving the gondola moves the entire plane.
Build a hierarchy for the plane

 Using
the Select And Link tool, link the wing object to the gondola object.
Click on the wing and drag the cursor over to the gondola, then
release.
Using
the Select And Link tool, link the wing object to the gondola object.
Click on the wing and drag the cursor over to the gondola, then
release.How you link objects is up to you; the only firm rule is that the gondola must be above all the other objects in the hierarchy. As a rough guide, link small objects to larger nearby objects. For example, you might link the propeller objects to their related spinners, and then the spinners to their sponsons. This would create a three-level hierarchy, with the sponson at the top, the spinner as its child, and the propeller blades as the spinner's children and the sponson's grandchildren.
As you work, keep switching to Select And Move and move the gondola to see which objects come along with it. When you're finished, no objects should be left behind when you move the gondola.
 You
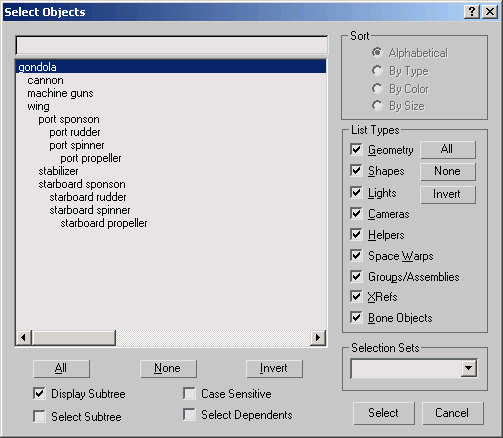
can also check the hierarchy by clicking the Select By Name button
on the toolbar (or press the H key),
and on the Select Objects dialog, turn on Display Subtree. This
displays the hierarchy as an tiered list, with the parent object
at the top.
You
can also check the hierarchy by clicking the Select By Name button
on the toolbar (or press the H key),
and on the Select Objects dialog, turn on Display Subtree. This
displays the hierarchy as an tiered list, with the parent object
at the top.
The final step is to rotate the plane so that it's pointing upward in the Top viewport. Otherwise you'll start out flying backward.
Turn the plane around
 On the
toolbar, click the Select And Rotate button.
On the
toolbar, click the Select And Rotate button.When you press Enter, the displayed value changes to –180.0, which is the same thing, rotation-wise.

Also, the plane reverses its orientation in the Top viewport, facing upward.
In this tutorial, you learned more about low-poly modeling using primitive objects like boxes, spheres and cylinders. You also made use of a background image to help in the modeling process.


