


Setting Up the Airplane Scene
The first task is to set the modeling units to meters and create a calibration box. Aircraft designers have always used the metric system for specifying dimensions. As a default, 3ds Max is set to generic units, so you'll need to change this.
Set up units of measurement:
The Units Setup dialog appears.
Now when you create anything, the dimensions will be displayed in meters.
 In the Create panel, on
the Object Type rollout, click Box.
In the Create panel, on
the Object Type rollout, click Box.Look at the Parameters rollout; the size values are now displayed in meters.
The next step is to set up the viewport backgrounds.
Build the calibration box:
An actual P-38 has a wingspan of 15.85 meters, and a length of 11.532 meters. With the wheels extended, it has a height of 3 meters. You'll use this information to make a box of that size so you can get an idea of how much space the model will take up.
In the Create panel, on
the Object Type rollout, click Box.The Box button turns gold to show it's active and ready to create.
A box appears in the viewports.
 In the viewport navigation
controls at the bottom-right corner of the interface, click Zoom
Extents All.
In the viewport navigation
controls at the bottom-right corner of the interface, click Zoom
Extents All.The box is now visible and centered over the three background bitmaps. It doesn’t matter if your box is a different color than the one in the illustration.
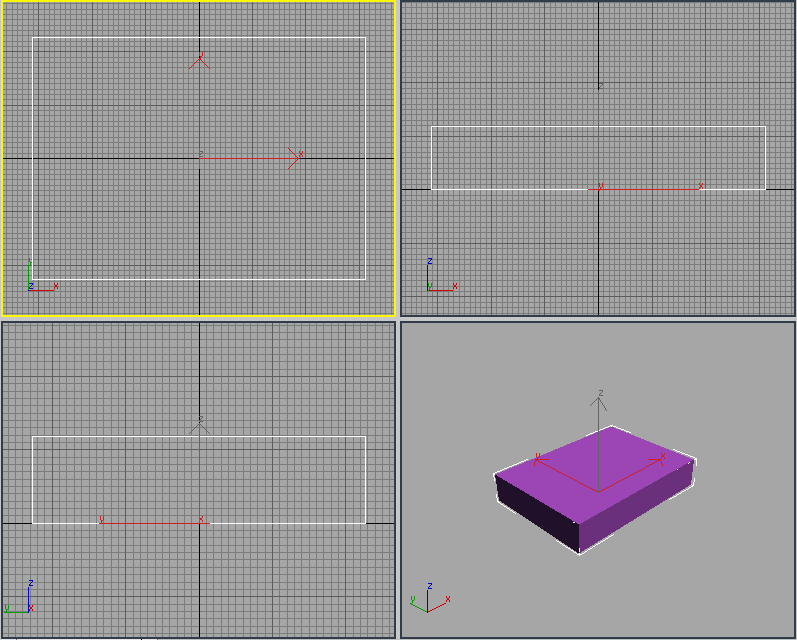
The calibration box.