Modifiers can be used to alter the shape of a primitive object. In this lesson, you will use a modifier to distort a sphere into an irregular shape to form an asteroid.
Set up the lesson:
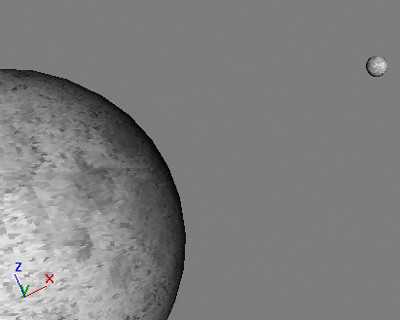
In a single viewport, you see two spheres, one large and one small.

 Click
the Min/Max Toggle in the viewport controls to show four viewports.
Click
the Min/Max Toggle in the viewport controls to show four viewports.Create an asteroid using the Noise modifier:
 Make
sure the Asteroid object is still selected. On the Zoom Extents
flyout, choose Zoom Extents Selected.
Make
sure the Asteroid object is still selected. On the Zoom Extents
flyout, choose Zoom Extents Selected.The asteroid is zoomed in to fill the Perspective viewport.
 Open
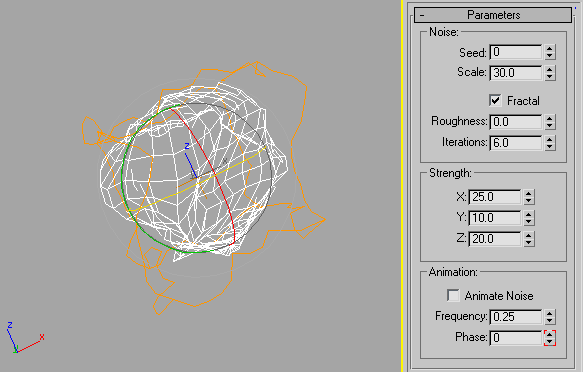
the Modify panel. In the Modifier List, choose Noise from the Modifier
List.
Open
the Modify panel. In the Modifier List, choose Noise from the Modifier
List.The Noise modifier creates random distortion on an object's surface.
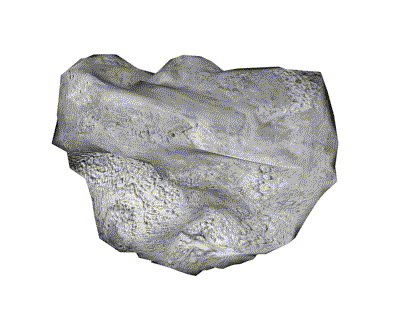
The object deforms to look like an asteroid.

Experiment with the asteroid:
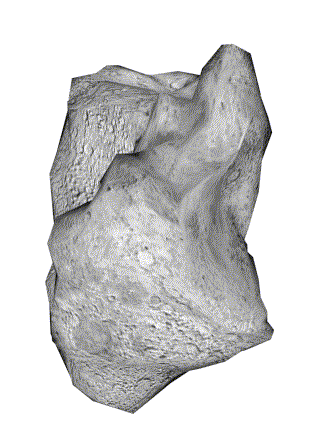
This changes the random displacement of the surface, giving you a totally different shape.


Changing the Seed yields different shapes.
In this tutorial, you learned how to model a scene using primitives and modifiers. You also learned how to add materials to the objects. These tools are the building blocks for any scene in 3ds Max.