In this lesson, you will create the planet Mars and its moons. You will also make changes to the objects in the Create panel.
If at any point the object parameters disappear, choose the Select Object tool from the main toolbar and reselect the object. Then open the Modify panel and make your changes there.
Create the planet:
 Open
the Create panel. Make sure the Geometry button is on, and on the
Object Type rollout, click the Sphere button.
Open
the Create panel. Make sure the Geometry button is on, and on the
Object Type rollout, click the Sphere button.
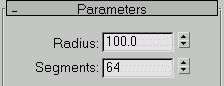
Increasing the number of segments makes the planet look smoother. This is especially important for close-up shots, where every detail is revealed.
In the next step, you'll learn how to use two different tools in 3ds Max: a flyout and a specialized zoom.
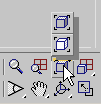
After a moment, the Zoom Extents flyout opens, as shown. A flyout is an icon-based menu; every button with the small lower-right “corner” tick has one.
The standard Zoom Extents command (the gray box) automatically zooms the active window to show all of its contents. Its alternate Zoom Extents Selected command (the white box) zooms the active window to show only selected objects.
To use a flyout, drag the mouse to the command you want and then release the mouse button. As you drag the mouse, the name of the button currently under the cursor appears on the status bar near the lower-left corner of the 3ds Max interface. After you choose a button from a flyout, that button continues to appear in the interface until you choose another, even if you quit and restart the program.
 Choose
Zoom Extents Selected from the Zoom Extents flyout.
Choose
Zoom Extents Selected from the Zoom Extents flyout. The sphere moves back and to the center of the viewport.
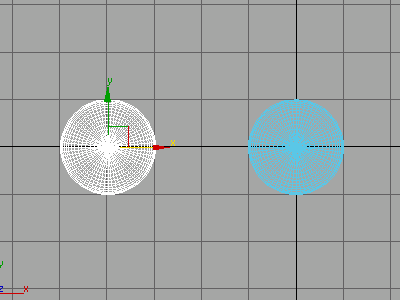
Create the moons:
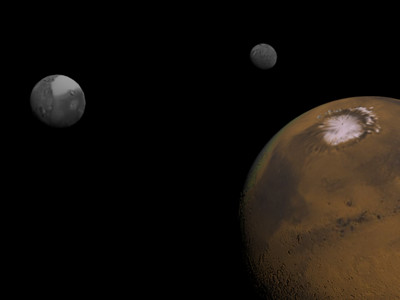
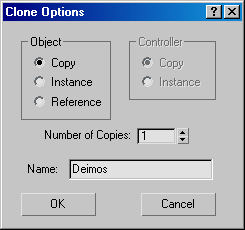
Mars has two moons named Deimos and Phobos. Instead of making additional spheres, you can create the objects by cloning.
 Right-click
in the Top viewport and click Zoom. Place the zoom cursor on the
X axis, just to the right of the sphere.
Right-click
in the Top viewport and click Zoom. Place the zoom cursor on the
X axis, just to the right of the sphere. If necessary,
click Pan to move the scene so that you can see Mars in its entirety.
If necessary,
click Pan to move the scene so that you can see Mars in its entirety. 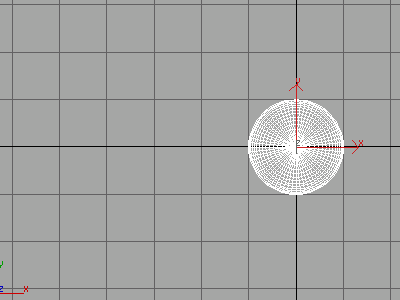
 Click
Select and Move from the toolbar.
Click
Select and Move from the toolbar.The Transform gizmo appears in the viewport.
 Open
the Modify panel and change the Radius parameter of Deimos to 22.0.
Since this object is smaller than Mars, reduce its Segments value
to 24.
Open
the Modify panel and change the Radius parameter of Deimos to 22.0.
Since this object is smaller than Mars, reduce its Segments value
to 24. Right-click
in the Front viewport and pick Select and Rotate from the toolbar.
Right-click
in the Front viewport and pick Select and Rotate from the toolbar.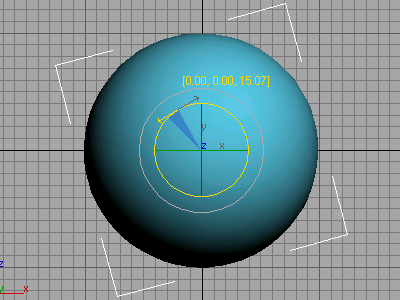
Mars tilted in a shaded viewport
 Click
Zoom Extents All so each viewport displays the planet Mars and its
moons, Deimos and Phobos.
Click
Zoom Extents All so each viewport displays the planet Mars and its
moons, Deimos and Phobos.To see Mars and the planets with texture maps, open mars_texturemapped.max in the \tutorials\intro_to_modeling folder.
To learn more about materials and mapping, refer to Introduction to Materials and Mapping .
Map the planet Mars:
To create the illusion of physical texture, you'll build a new material, assign an image as a diffuse map, and then use the same image as a bump map.
If you opened mars_texturemapped.max from the \tutorials\intro_to_modeling folder, choose File > Open and reload your scene, my_mars.max.
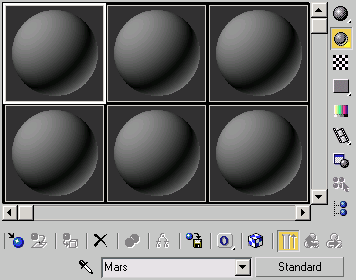
The selected sample sphere and new material name.
This gives the sphere a softer look.
The Select Bitmap Image File dialog opens.
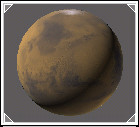
The map appears on the sample sphere.
The planet turns gray. In the Material Editor, the corners of the material sample slot turn white, indicating that the material is being used in the scene.
 Click
the Show Map In Viewport button in the Material Editor.
Click
the Show Map In Viewport button in the Material Editor.The Mars map appears on the surface of the planet in the scene.
 Click
Go To Parent.
Click
Go To Parent.The Material Editor navigates up the material hierarchy from the map level to the material level.
 Most
materials are hierarchical, in that they can contain several levels
of maps and with children, parents, and siblings. Some materials,
such as Multi/Sub-Object, can also contain other materials. You
can view and navigate a material's hierarchy by activating its sample
slot and then clicking the Material/Map Navigator button.
Incidentally, clicking the link in the previous sentence opens the
3ds Max Help file in the same window; to return to the tutorials,
just click the Back button.
Most
materials are hierarchical, in that they can contain several levels
of maps and with children, parents, and siblings. Some materials,
such as Multi/Sub-Object, can also contain other materials. You
can view and navigate a material's hierarchy by activating its sample
slot and then clicking the Material/Map Navigator button.
Incidentally, clicking the link in the previous sentence opens the
3ds Max Help file in the same window; to return to the tutorials,
just click the Back button.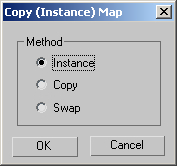
By choosing Instance, any change you make to the bitmap parameters of one map, will automatically be reflected in the other.
 Render
the scene.
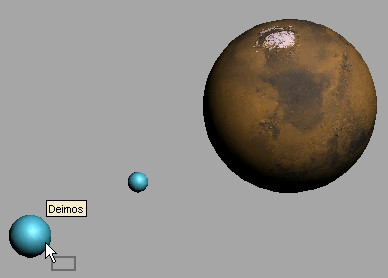
Render
the scene.The surface of Mars appears bumpy.

Map the moons:
Click
the Go to Parent button, or select Deimos in the List drop-down,
to navigate back up the maps hierarchy.In the Maps rollout, notice that the Bump map uses the deimos.jpg file. This is due to the Instance you made when building the Mars material.
The object label confirms you're about to apply the material to Deimos.
Render
the scene.