In this lesson, you'll open an existing scene of a still life and learn to adjust the view and navigate the viewports.
Navigating the scene
All the files necessary for this tutorial are provided on the program disc in the \tutorials\still_life directory. Before starting the tutorials, copy the \tutorials folder from the disc to your local program installation.
Find the \tutorials\still_life directory on your hard drive and highlight still_life_start.max, then click Open.

Perspective viewport
The Perspective viewport should be active, indicated by a yellow border. If it's not, right-click to activate this viewport.
 Click
the Zoom button in the viewport navigation controls at the lower-right
corner of the screen.
Click
the Zoom button in the viewport navigation controls at the lower-right
corner of the screen.To show that this control is now active, the button appears pressed in, with a yellow background.
Your view zooms out so you can see the corner in the scene.
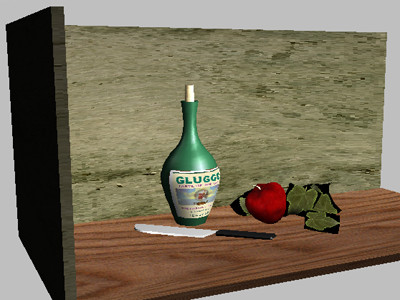
Zooming out reveals the corner.
 Click
Arc Rotate in the viewport navigation controls at the lower-right
corner of the screen. The button highlights when active.
Click
Arc Rotate in the viewport navigation controls at the lower-right
corner of the screen. The button highlights when active.A yellow navigation circle appears in the viewport.
The point of view orbits around the scene.
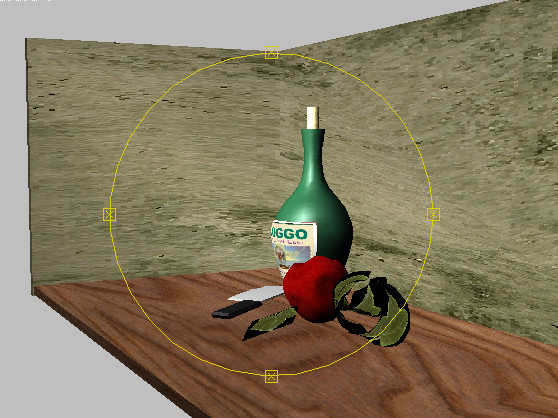
Orbiting the scene
You'll notice that the back side of the corner is dark. This is because there are already hidden lights in this scene prepared to cast shadows in your rendering.
 Click
Pan in the viewport navigation controls and move the mouse in the
viewport.
Click
Pan in the viewport navigation controls and move the mouse in the
viewport.The viewport pans with your movement.
Next you'll create a camera and a Camera viewport. The Camera viewport is similar to the Perspective viewport, but with different functionality. It can be animated, and effects can be added to it.
Creating a camera
The Top viewport is outlined in yellow.
The viewport display changes from wireframe to shaded.
 On the
Create panel, click the Cameras tab, and then click Target.
On the
Create panel, click the Cameras tab, and then click Target.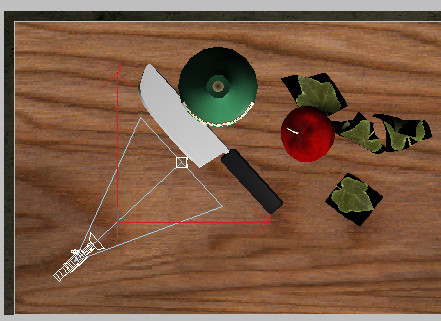
Camera created in Top viewport
Press Ctrl+D to make sure the new camera is not selected.
To see what the camera sees, you need to change one of the viewports into a Camera viewport. You'll replace the Front viewport with a Camera viewport.
The Select Camera dialog opens.
Click Camera02, then OK.
The camera you created is Camera02. There was already a Camera01 hidden in this file.
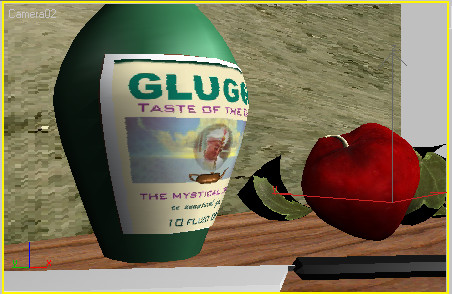
The view from Camera02 (yours might differ)
The navigation controls have changed. Because tools and controls are context-sensitive, activating a Camera viewport switches to camera-specific navigation controls.
Next you'll render the scene.
Rendering the scene
You've looked at the scene from many different angles, but the viewport tells only part of the story. To see the full effect of the scene settings, such as reflections and shadows, you need to render the viewport to an image.
 On the
toolbar, click the Render Scene button.
On the
toolbar, click the Render Scene button.The Render dialog appears.
The rendered frame window appears, and the rendering takes place line-by-line from the top to the bottom of the image.
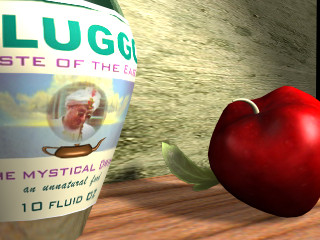
Rendering from Camera02 zoomed in
Observe the rendering. You'll see shadows on the wall, reflections in the knife blade and bottle, and transparency on the leaf objects. None of these were visible in the viewport display.
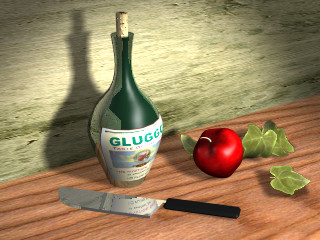
Rendering from Camera01
Next, you'll create an orange to add to the scene. Then you'll animate the objects so they fly into place.


