


Adding the Text for the Logo
You'll now create the flying logo by modeling the three dimensional text using spline objects. Later, you'll add an extrude modifier and a Bend modifier to create the desired text effect.
Setup:
Create a text object:
 Zoom
back in the viewport so the globe is small but visible.
Zoom
back in the viewport so the globe is small but visible. Open
the Create panel > Shapes and in the object type rollout, click
Text. Click above the earth in the viewport to place the default
text.
Open
the Create panel > Shapes and in the object type rollout, click
Text. Click above the earth in the viewport to place the default
text.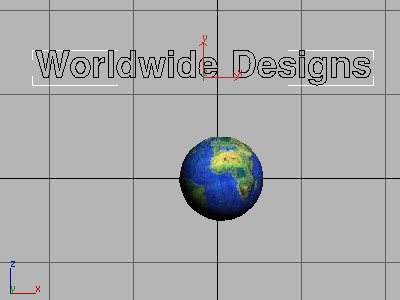
Worldwide Designs Text
 Click
the Zoom Extents to zoom in the Front viewport.
Click
the Zoom Extents to zoom in the Front viewport.Add extrude and bend modifiers:
Now add Extrude and Bend modifiers.
The text turns white in the viewport.
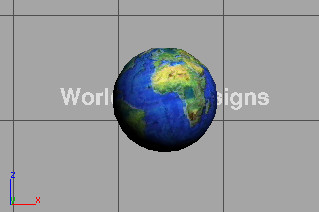
The text moved to bisect the earth sphere
You'll use this to bend the text around the earth.
The text is moved down in the Top viewport
Adjust the pivot point:
The pivot point of the text object is displayed as a tripod.
The pivot point is aligned to the center of the earth sphere object.
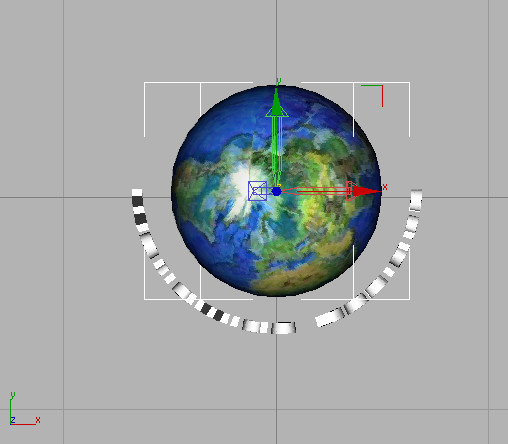
Pivot point of text object aligned to planet earth object
As you rotate the text, you can refer to the onscreen coordinate readout in the viewport.
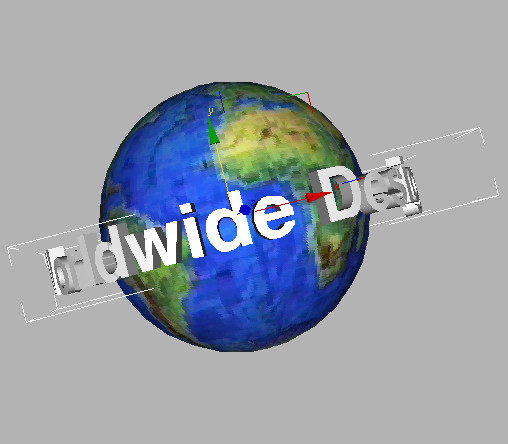
Rotated text matches the tilt of the earth
Now you can finally animate the text rotating around the planet. You'll set it going in the opposite direction from the way the earth spins.
Animate the text:
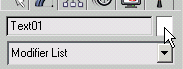
 Make
sure Text01 is still selected, then
open the Motion panel. In the Assign Controller rollout, choose Rotation in
the Transform Position list.
Make
sure Text01 is still selected, then
open the Motion panel. In the Assign Controller rollout, choose Rotation in
the Transform Position list. Click
the Assign Controller button to open the Assign Rotation Controller
dialog. Choose TCB Rotation from the list.
Click
the Assign Controller button to open the Assign Rotation Controller
dialog. Choose TCB Rotation from the list. At frame
0, turn on the Auto Key button and rotate the text around the Y
axis until the text is behind the sphere.
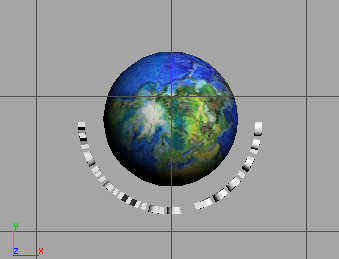
At frame
0, turn on the Auto Key button and rotate the text around the Y
axis until the text is behind the sphere.No key will be created, yet.
![]()
Rotation for text at frame 0
You now have keys at frame 0 and frame 100.
If Continuity is not displayed in the Key Info rollout, click the Rotation button in the PRS Parameters rollout.
This allows the text to rotate around the earth at a continuous rate of speed.
Turn
off Auto Key and play the animation. The rotation of the text and
earth sphere should be smooth and loop continuously.Next, you'll add a couple of lights for dramatic effect.
 Activate
the Top viewport and Zoom out so you see some empty space around
the Earth.
Activate
the Top viewport and Zoom out so you see some empty space around
the Earth.
 In the
Create panel, choose Lights and click Omni. Then in the Top viewport,
set a light in front of and another light behind the planet.
In the
Create panel, choose Lights and click Omni. Then in the Top viewport,
set a light in front of and another light behind the planet.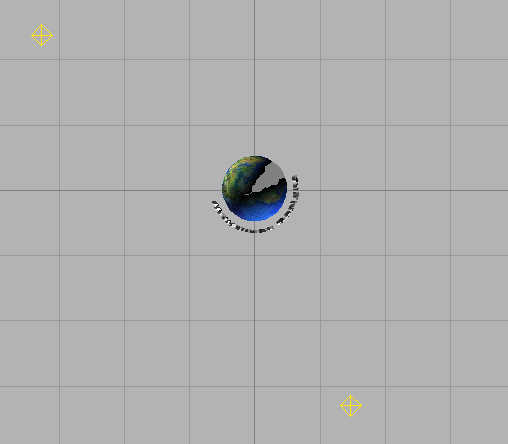
Add lights for drama.
 Save
your work as mywwdesign04.max.
Save
your work as mywwdesign04.max.