Creating the Earth Using Textures
You will create a sphere and apply a texture map to create the illusion of a globe.
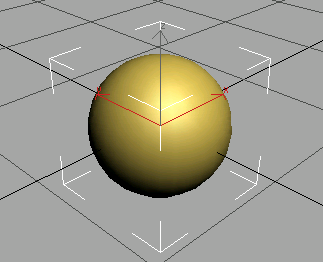
Create the earth object:

 In the
Viewport Navigation Controls, click Zoom Extents Selected.
In the
Viewport Navigation Controls, click Zoom Extents Selected.Create the earth material:
 On the
toolbar, click the Material Editor button or press M on the keyboard to open the Material
Editor.
On the
toolbar, click the Material Editor button or press M on the keyboard to open the Material
Editor.The Material Editor opens in a floating window. The first material is active, highlighted in white.
 Click
the Assign Material To Selection button.
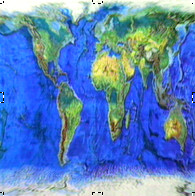
Bitmap texture for the planet
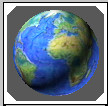
The material in the Material Editor now displays the earth map on a sphere.

Texture displayed on material sample
 On the
Material Editor toolbar, click the Show Map In Viewport button.