Adding a Star Effect

Creating the Sun with a Lens Flare

Creating and Animating a Flying Logo

Adding Another Glow
The effects
you’ve added to the Sun have included the Glow Behind option, so they
are not adding a glow to the planet, which is in front of the light.
Now that your Sun is glowing in the sky, you need to add glow to
the planet itself.
Add
a second glow to your scene:
- Select
the planet in a viewport. Right-click and choose Properties in the
Transform quadrant of the quad menu.
- In
the Objects Properties dialog > G-Buffer group, change Object Channel
to 1 and click OK to close the dialog.
- In
the Environment and Effects dialog > Lens Effects Parameters rollout,
add another Glow to the list of effects.
NoteIf you closed this dialog you need to select
the
Sun
omni
light and click Setup on the Atmospheres & Effects rollout.
- In
the Glow Element rollout, rename this effect Glow on Planet.
- Click
the Options tab and in the Image Sources group, turn on Object ID.
Notice
that the number is set to 1 by default.
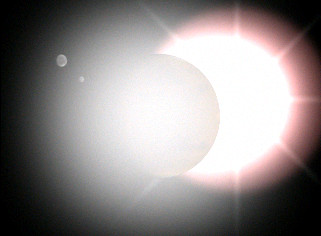
The planet
now renders with a bright white glow. This is too intense.
- Click
the Parameters tab. Set Occlusion to 0.0 and turn
off Glow Behind.
- Change
Intensity to 45.0 and Source Color to 50.0.
- In
the Radial Color section, change the white color swatch to a darker
brick red.
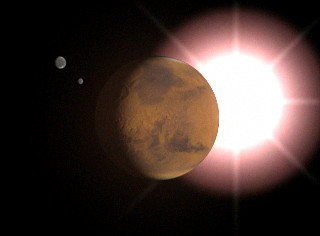
The planet is looking better now.
TipIf the planet is still shadowy, move the
marslight
closer to
the planet in the Top viewport.
Make
global adjustments:
On the Lens Effect Globals rollout, you can
make global adjustments to control the whole effect.
- Experiment
to see what happens when you change Size to 11.0, 22.0,
and 33.0.
As an additional
exercise, try animating the effects' settings.
- Save
the scene as mymarsandsun.max.
Summary
This tutorial has shown how to create Glow,
Ring, and Star lens effects, and how to adjust their settings. It
also showed how multiple Glow effects can create the effect of ambient
lighting, how to create and navigate a camera viewport, and the
use of omni lights for scene illumination.


