Creating a New Vault


In this section you will use Autodesk Vault Manager to create a new vault. A vault is a location where files shared by a project team are located.
NoteThis section assumes you have Autodesk Vault installed on your system. For installation information, refer to the 3ds Max install disc.
  1. From Windows Start menu, navigate to the Autodesk program group and open Autodesk Vault Manager.
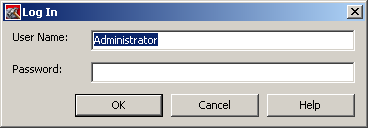
  2. At the Log In dialog enter your user name and password. By default, the user name is Administrator and the password is blank.

  3. Highlight the Master Vault, named “Vaults.”

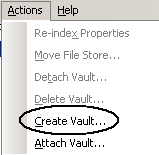
  4. Click Actions > Create Vault.

  5. Enter FullHouse as the name for the new vault.

    The default File Store Location is where Autodesk Vault maintains the project files. Your location might be different from that shown.
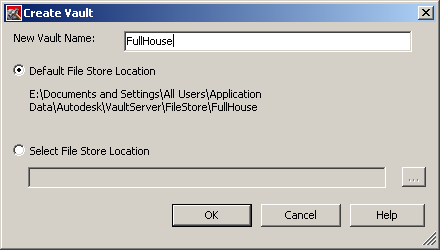
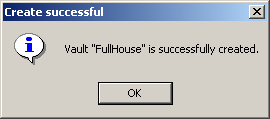
  6. The file store can be located in a default location, or you can specify a new location. Click OK to create the new vault with the default file store location or click Select File Store Location to specify a new location. Click OK.

    The file store is where the vault database stores the master files that will be shared by all team members. The location is typically on a remote server.

Next

Logging into the Vault Server from 3ds Max