


Using Asset Tracking to Revise Asset Paths
Although the majority of the Asset tracking features are designed to work in conjunction with Autodesk Vault or another ATS system, you can modify asset paths independently of external applications. This can be a useful feature.
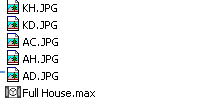
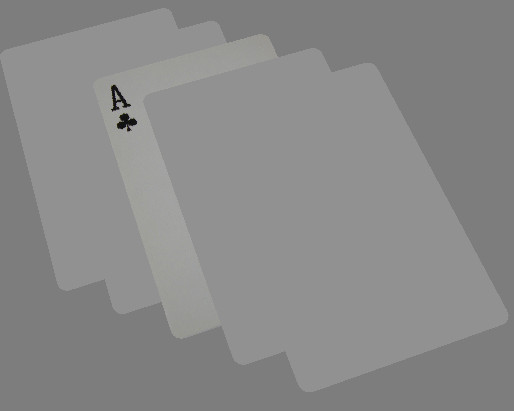
The file contains five playing cards, each of which uses a different material that references one of the five bitmaps.

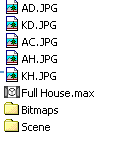
Next, you'll rearrange the files into folders and then use asset tracking to specify new paths for the bitmaps.
You receive a message indicating that the bitmap files were not located.

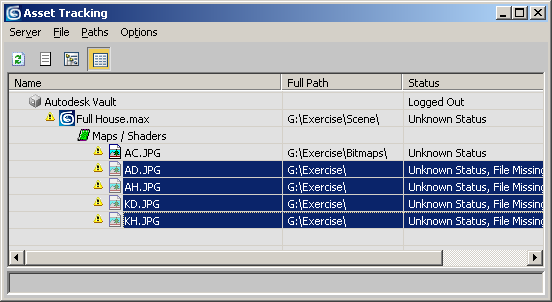
The Asset Tracking dialog shows the external files used by Full House.max and indicates that they are missing.
![]()
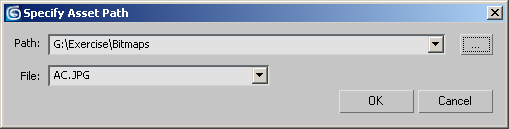
 On the
Specify Asset Path dialog, click the ellipsis button.
On the
Specify Asset Path dialog, click the ellipsis button.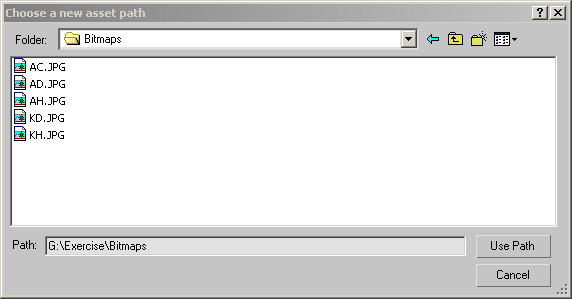
The new path appears in the dialog.
The bitmap appears in the viewport.
 Click
Get Material.
Click
Get Material.The Material/Map Browser dialog opens.
 On the
Maps rollout, click the Diffuse Color map button.
On the
Maps rollout, click the Diffuse Color map button.The Bitmap button on the Bitmap Parameters rollout
indicates the correct new path. 
The remaining images appear.