


Materials Tool Palettes |
|
Materials Tool Palettes |
|
The Materials tool palettes gives you quick access to preset materials selections.
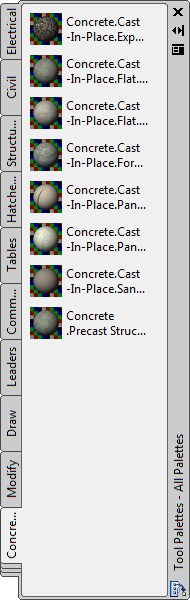
A library of over 400 materials and textures is included with the product. The materials are available on tool palettes after they are installed and are displayed on the palettes with a checkered underlay.
A typical installation installs less than 100 materials on the Materials tool palettes. An additional 300 or more materials are available by optionally installing the Materials library. The library can be accessed through the Configuration button on Add/Remove features in the installer. By default, all of the Materials tool palettes are installed in the Tool Palettes File Locations path specified on the Files tab of the Options dialog box. (See Texture Maps Search Path on the Files tab for the location of texture maps.)
The individual material palettes in the Tool Palettes window contain materials that you can apply to objects in the scene.
The Tool Palettes window can be “hidden.”
While it is hidden, only the vertical title bar is displayed. You can turn the visibility of the Tool Palettes window on and off as an open window or a vertical bar from the shortcut menu. Right-click on the title bar and use the shortcut menu to select Auto-hide. If Auto-hide is active, the hidden Tool Palettes window is displayed when you move your mouse over this bar. If Auto-hide is not active, the Tool Palettes window is always visible.
You can apply materials to objects from the individual tool palettes in the Tool Palettes window. You can also drag materials from the individual tool palettes to the Materials window swatch display. You can make changes to materials in the Materials window.
Position the mouse over an empty area of the tool palette and right-click. The menu that is displayed contains standard tool palette commands.
You can create a custom palette to display the materials in your workspace. This can save you time if you work with materials on a regular basis.
By clicking the Tool Palettes window title bar and clicking New Palette, you can create and name a new palette. The palette is customizable. You can add material tools by copying and pasting from other material palettes. The controls for doing so are on the Tool Palettes window shortcut menu.
Editing Materials and Saving Them
Make a copy of a material and paste it to the new palette. You can edit a material’s properties. Right-click the new material and click Properties. The material’s properties are displayed. The properties can be edited and saved by selecting OK.
 Expand All
 Collapse All


