Previous Next


Inventory > Purchasing > Back Orders

Back Orders
A Back Order is a purchase order that can be created when fewer supplies are delivered than were ordered and the vendor or commissary can promise delivery at a later date. When back orders are created, MenuLink Client keeps track of the original purchase order, as well as all back ordered items and their subsequent delivery.
Vendor Setup
The ability to create back orders in MenuLink Client is handled on a vendor-by-vendor basis, since some vendors may be able to process back orders, and others may not. To enable back orders for a particular vendor, the ‘Supports Back Orders’ check box must be selected in the General Info tab for the vendor. Contact your system administrator for more information.
Creating a Back Order
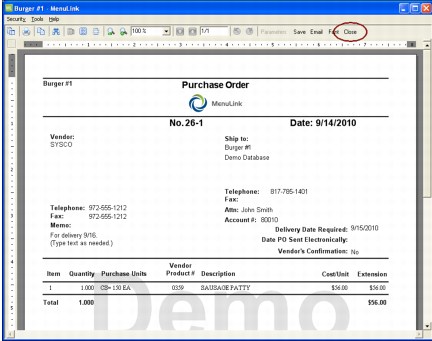
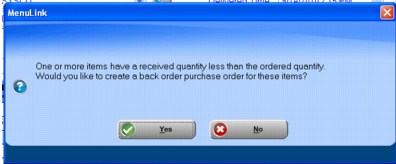
When an order is received, the purchase order is converted to invoice and the quantity of supplies that were received is entered as described in Converting and Managing Invoices. If the quantity received is less than the quantity ordered (and the vendor is set up to support back orders) MenuLink Client prompts you to create a back order for the items not received.
After converting a purchase order into an Invoice, enter the Received Quantity for the appropriate items. If the quantity entered is less that the quantity ordered, and the vendor is appropriately configured, MenuLink Client prompts you to create a back order.
CL_Orders_CreateBackOrder
 
1.
Click Yes to create a back order for the items.
2.
3.
Click Exit to Main or Exit to Previous.
 
Managing Back Orders
When a back order is created, MenuLink Client assigns the Order ID by keeping the original Order ID and appending a number; for example, if the original Order ID is 12, then the Order ID of the back order is 12-1. A back order can be managed much like a normal purchase order. You can also print the back order and/or send the order electronically (if set up to do so).
To review a back order:
1.
2.
3.
The Order ID
is the original ID with a number appended.
4.
In the PurchasingPurchase Orders screen, you can make changes to the order as necessary, for example, changing the quantity ordered (the default quantity is the amount that was not received from the original order), removing items from the order, or adding new items to the order. Notice that ‘Back Order’ check box is selected to indicate how the purchase order was created.
 
5.
After reviewing the order and making any necessary changes, you can Print, Save, and/or Send the order electronically (if set up to do so).
CL_Orders_POPrint.tif
6.
Click Close in the header to close the purchase order.
7.
Click Exit to Main or Exit to Previous.
Receiving a Back Order
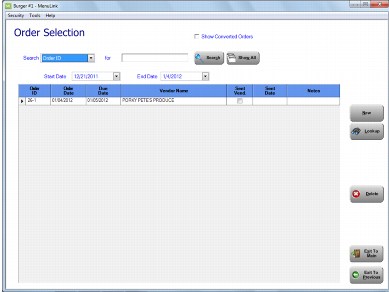
The procedure to receive a back order is the same as receiving a ‘regular’ purchase order. When the back order arrives, convert the ‘back order’ purchase order to invoice and enter the quantity received as usual.
Multiple Back Orders
If you enter a received quantity in a back order that is less than what was ordered in the back order, MenuLink Client prompts you to create a new back order just as it did with the original order. If you choose to create another back order, MenuLink Client creates a new purchase order. The order ID of the new order is the original ID with the next sequential number appended. For example, if the original order is ID is 12 and the first back order ID is 12-1, then the next back order ID is 12-2.
 
Back Orders and Reports
Back orders are displayed in purchase order reports along with ‘regular’ purchase orders as shown in the following examples. Remember, back order ID’s are the original ID numbers with sequential numbers appended to them.
 

MenuLink Online Help
Copyright © 2012 Radiant Systems, Inc. All rights reserved.