Add or Edit a Production Preset
Add a new production preset to:
- Create a production standard for company, team, or yourself
- Save frequently used production settings
Edit a production preset to:
- Customize the default presets to fit your production needs
- Make changes to existing presets
To Add or Edit a Production Preset
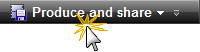
- In Camtasia Studio, click Produce and Share.
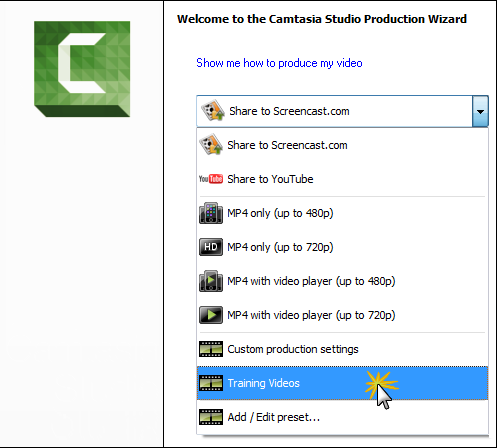
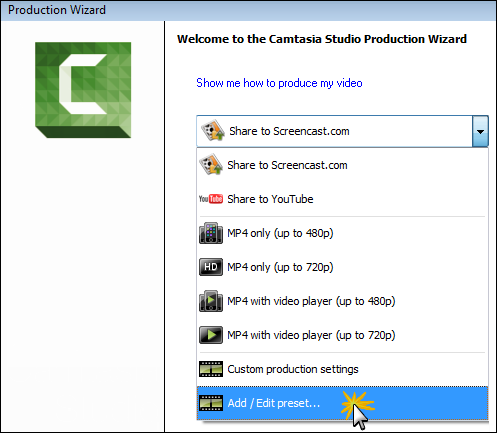
- The Production Wizard appears. Select Add / Edit preset from the dropdown.
- Click Next. The Manage Production Presets dialog box appears.
- To add a preset, click the New button. The Create a Production Preset Wizard opens.
- To edit an existing preset, select a preset from the dropdown and click the Edit button. The Edit a Production Preset Wizard opens.
- Enter a name and description for the preset and choose a file format.
- Click Next. Step through the rest of the wizard to make selections relevant to the file format that you chose.
- At the end of the wizard, click Finish.
- In the Manage Production Presets dialog, click Close.
The production preset appears in the dropdown list in the Production Wizard.