
There are two ways to create PDF files with Solid PDF Creator.
1. To start the program, first open your original document using any Windows program. When you are ready to create the PDF, select File|Print, then select Solid PDF Creator as your printer.
After you click OK, the Create PDF dialog box will open.
2. You can drag and drop your document onto the Solid PDF Creator icon on the desktop to create your PDF file.
The Create PDF dialog box allows you to select different saving options and start the PDF creation process.
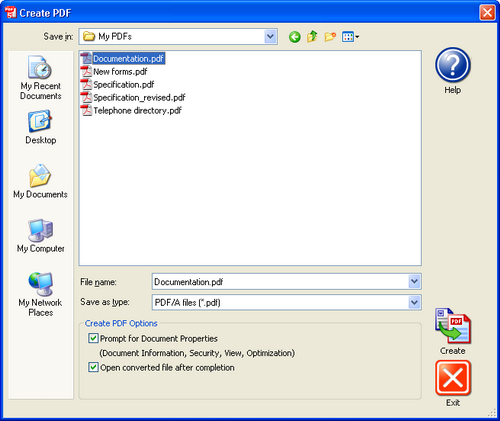
The following choices are available:
The Prompt for Document Properties
Document
Information
Security
View
Optimization
If the Prompt for Document Properties is not selected, the prompt will not display and the PDF file will be created with the settings that are currently specified for Solid PDF Creator. To configure Solid PDF Creator behavior to your specifications please see Configuring Solid PDF Creator Using the Preferences or Properties Dialog.
Open converted
file after completion
In the Create PDF dialog box first make sure you have assigned a File Name and a location where the file will be saved using the Save In drop-down menu. Then click the Create button. If you have selected the Prompt for Document Properties check box a Properties dialog will display requesting the appropriate information. Finally, a dialog will display during the actual conversion process to show the progress of the conversion.
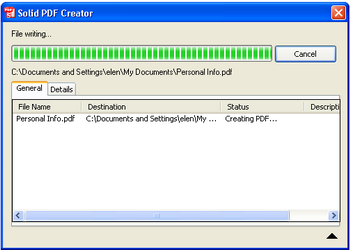
The Status shows the creation processing results. Click on Details to get more information about the creation process.