To delete the Unknown UII Settings option from the site map
- Using CRM administrator credentials, log on to Microsoft Dynamics CRM.
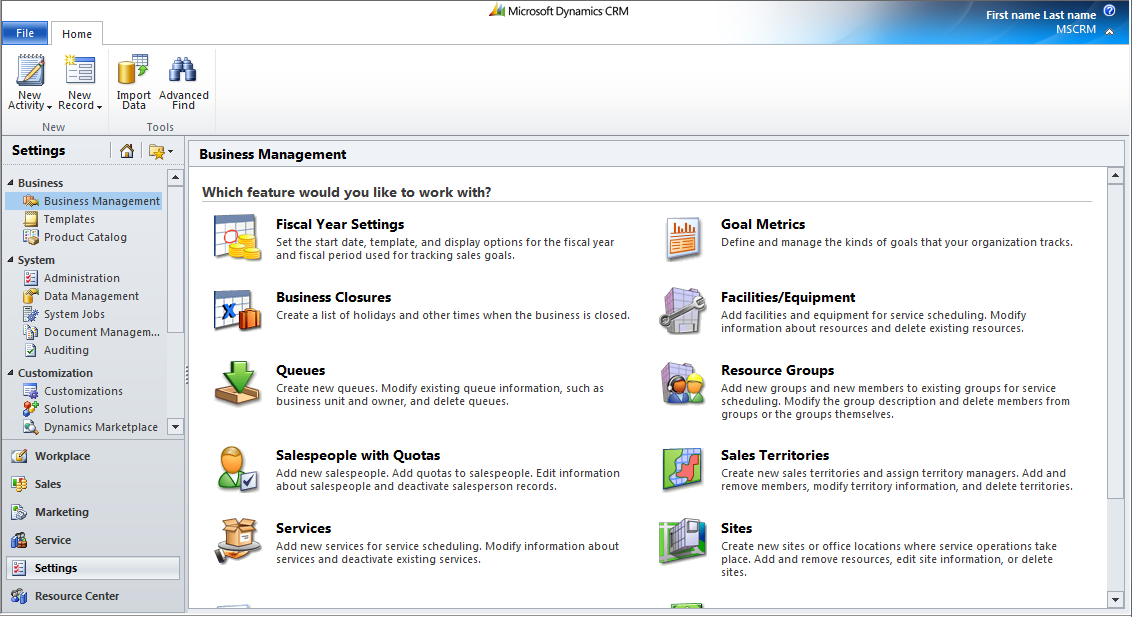
- In the left navigation pane, click Settings > Solutions.
- Under All Solutions, click New, as shown in the following illustration.

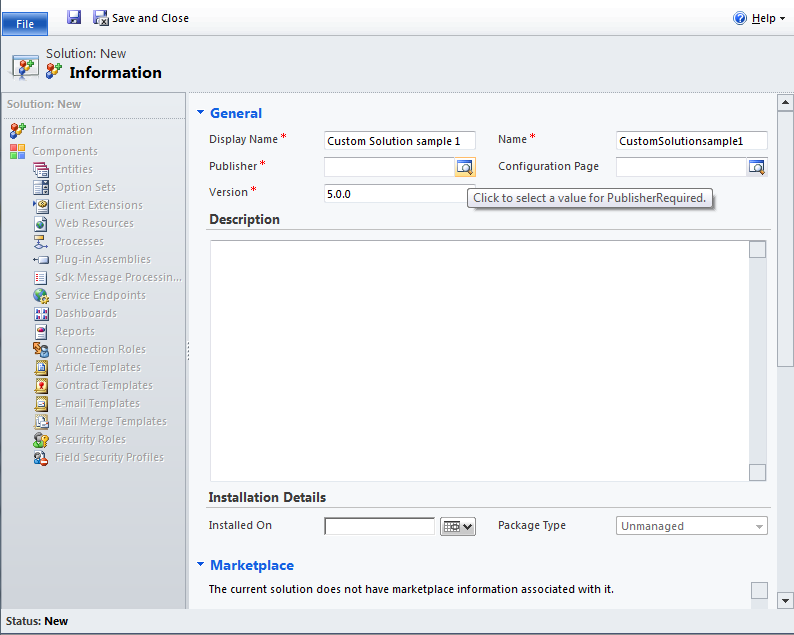
- The Information page appears, as shown in the following illustration. Enter the mandatory details, such as display name, name, and version details. Click the Search icon next to the Publisher box.
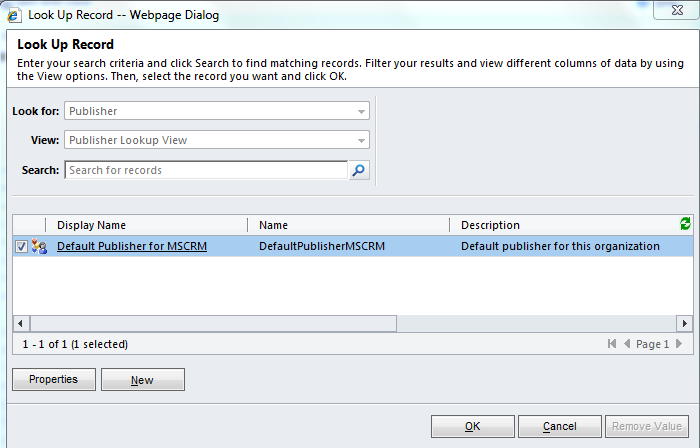
- The Look Up Record dialog appears, as shown in the following illustration. Search for the publisher or select the check box for the publisher from the displayed list, and then click OK.
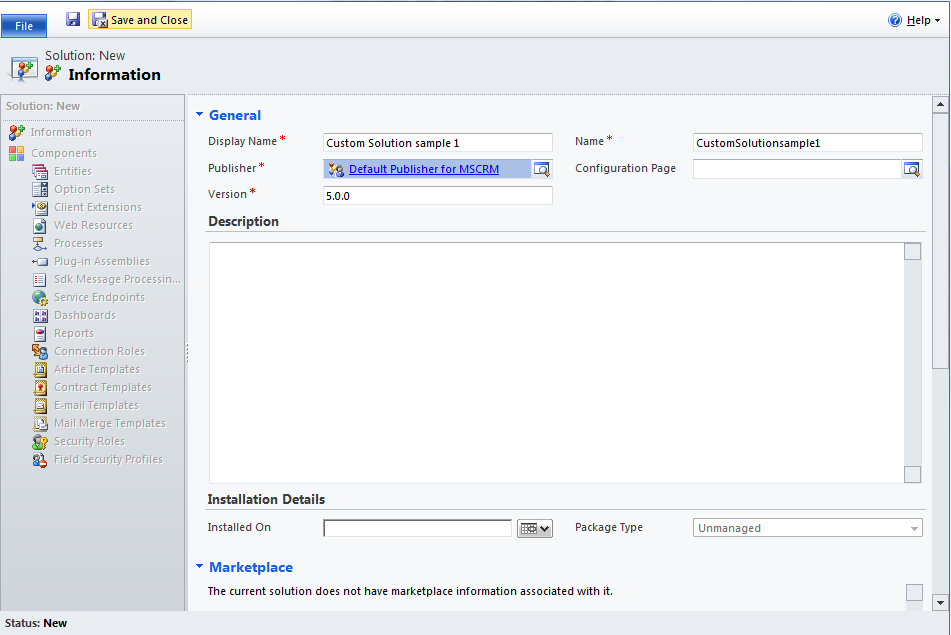
- Click Save and Close to create a new solution in the .zip file format.
- In the left navigation pane, click Settings > Customization > Solutions, as shown in the illustration.

- In the Add Existing drop-down list box, click Site Map.
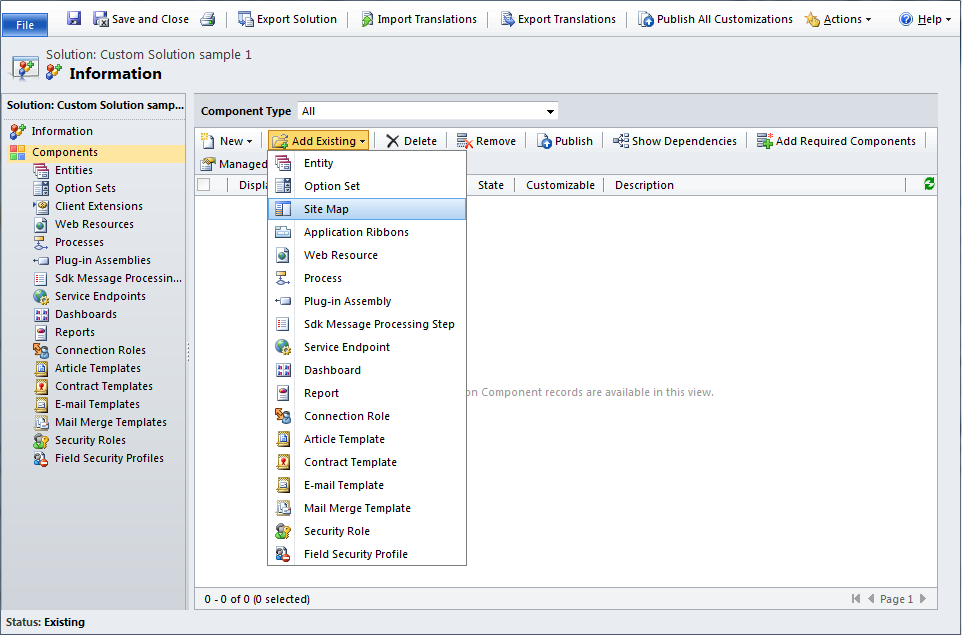
- Click the Save icon to add the site map to the solution.
- The Solution page appears, as shown in the following illustration. Click Export Solution.

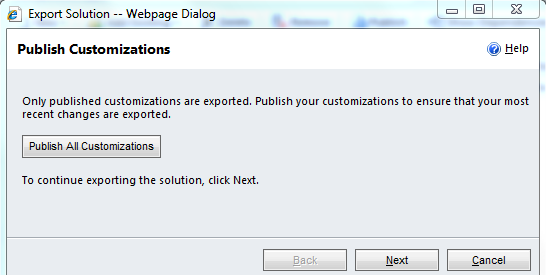
- The Publish Customizations dialog appears, as shown in the following illustration. Click Next.
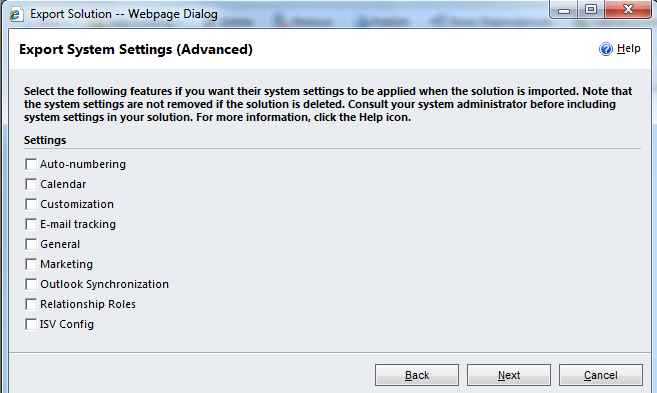
- The Export System Settings dialog appears, as shown in the following illustration. Select the check boxes for the features whose system settings you want to be applied when the solution is imported, and then click Next. If you do not want any of them applied, click Next without selecting any of the check boxes.
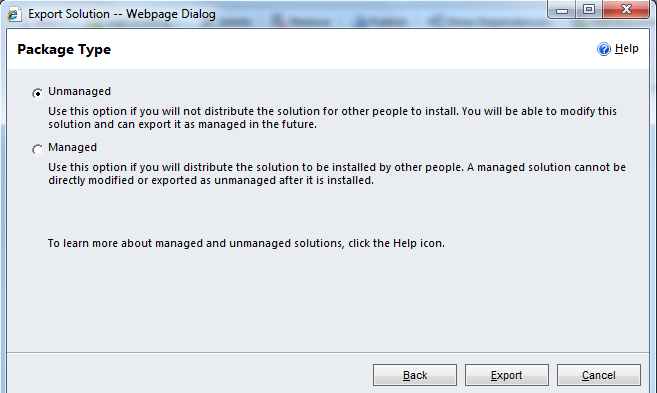
- The Package Type dialog appears, as shown in the following illustration. Select Unmanaged, and then click Export.
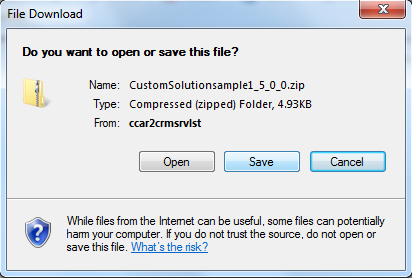
- In the File Download dialog box, click Save. Save the .zip file on your computer.
- Go to the location where you saved the .zip file, unzip the file, and then open the customization XML.
- In the customization XML, remove the following tag from the file, and then save and close the file.
XML  Copy Code
<SubArea Icon="/_imgs/ico_18_administration.gif" Id="UII_Settings" Url="/ISV/UII-ISV/Microsoft.Uii.Customization/LandingForm.aspx" PassParams="1">
<Titles>
<Title Title="UII Settings" LCID="1033" />
</Titles>
</SubArea>
- Replace the edited file with the unedited file in the .zip folder that you downloaded.
- Log on to Microsoft Dynamics CRM.
- In the left navigation pane, click Settings > Solutions > Import.
- Select the same .zip file, and then import the solution. The customizations will be successfully overwritten.

- In the Importing Solution dialog box, click Close.
- To implement the customizations, click Publish All Customizations.
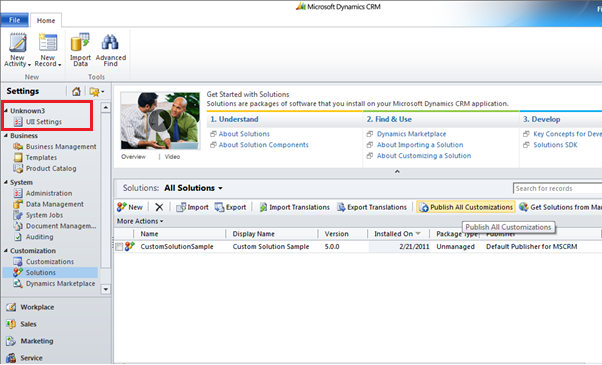
The custom solution applies the changed settings and the UII Settings menu is successfully deleted, as shown in the following illustration.