


UII Administrator can use the UII Hosted Application management features to create a new action and then add it to an application.
To create an action
- Using CRM administrator credentials, log on to Microsoft Dynamics CRM.
- In the left navigation pane, click Settings > UII Settings > Hosted Application.
- Double-click the name of a hosted application.
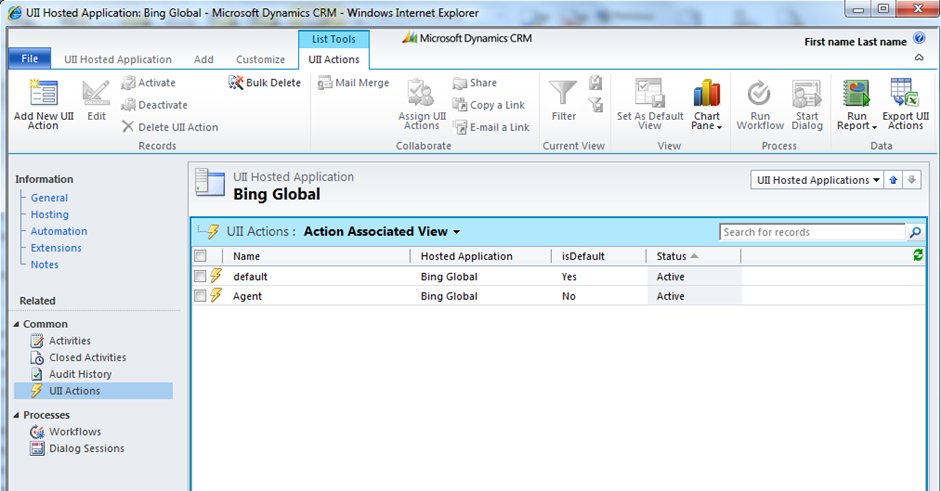
- In the left navigation pane, click UIIActions. The UII Actions page appears, as shown in the following illustration.
 Note:
Note:Note: A default action is automatically created. - In the UII Actions action pane, click AddNew UII Action. The UII Action: New page appears, as shown in the following illustration.
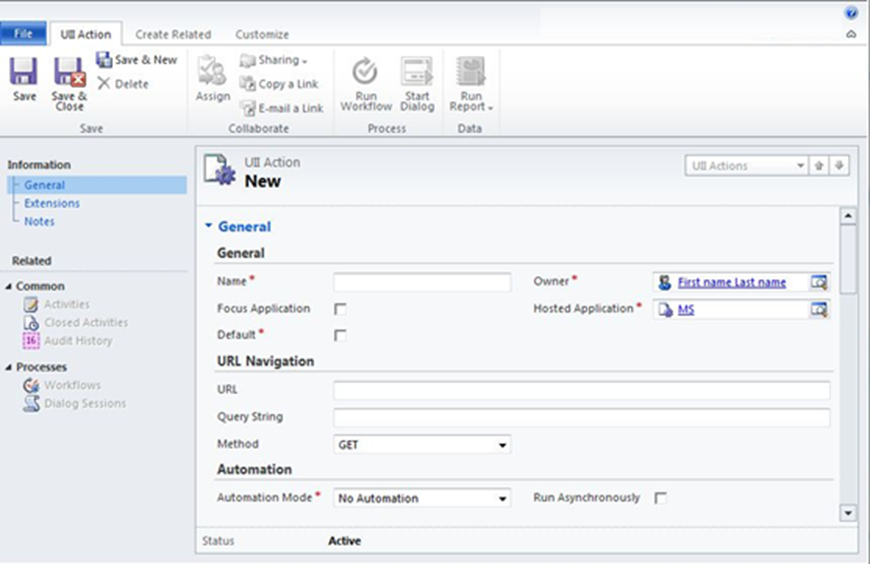
- In the General section, type the action name in the Name box, and then select the owner in the Owner field. If you want the application to be brought into focus when the UII action is triggered, select the Focus Application check box. For any hosted application, the actions are uniquely identified by name. In the HostedApplication field, click the Search button to locate the application. Select the application, and then select the Run Asynchronously check box to asynchronously execute the action on the desktop thread.
- In the Automation section, elect one of the following from the Automation Mode drop-down list:
- No Automation – Select this option if you do not want the action to automate the hosted application.
- Use Workflow Assembly – Select this option if you want the action to use a workflow assembly to automate the hosted application.
- Use Workflow XAML – Select this option if you want the action to use XAML to automate the hosted application.
- In the left navigation pane, click Extensions.
- On the Extensions page, type or paste the required extensions XML in the Extensions XML box. This XML will be part of the main initString XML in the extension node.
XML  Copy Code
<initstring>
.
.
.
<extension>
<Extensions XML/>
</extension>
</initstring>
- In the left navigation pane, click Notes.
- In the Notes box, type any additional information about the application or extensions, and then click Save or Save and Close
