1) Run FlashBoot Pro, click Next
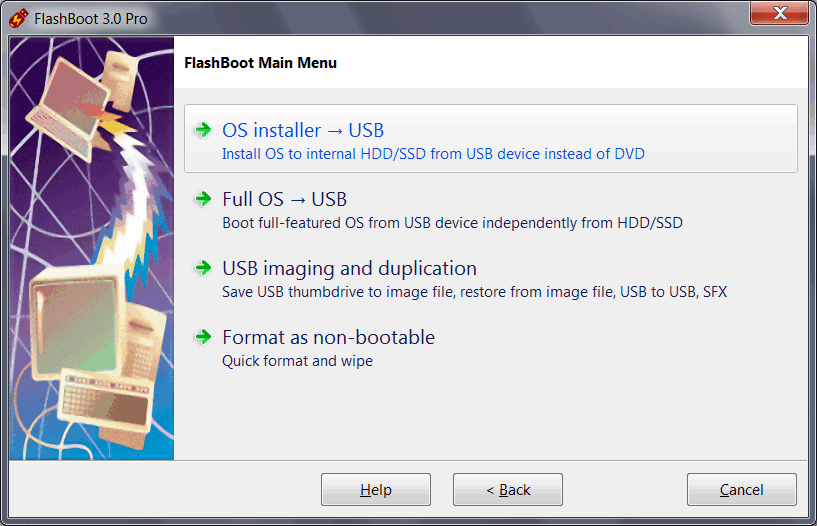
2) Choose "OS installer -> USB" in the Main Menu
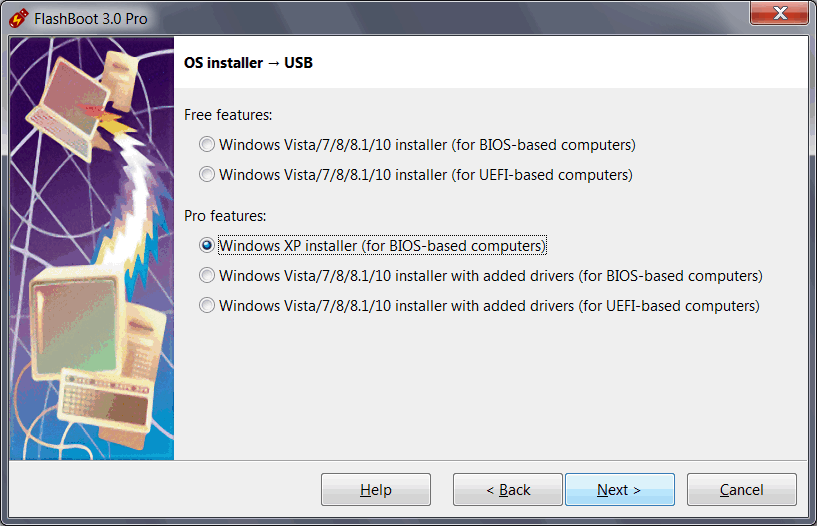
3) Choose "Windows XP installer (for BIOS-based computers)" in this menu and click Next
4) Specify ISO image file (or CD disc) of Windows XP setup and click Next

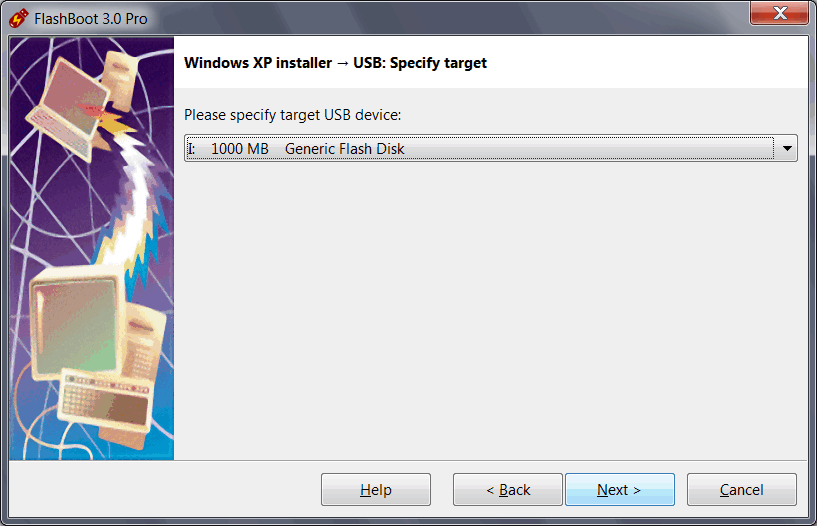
5) Specify target USB storage device and click Next
6) If necessary, change volume label, or leave it as is, and click Next

7) Check summary information and click Format Now

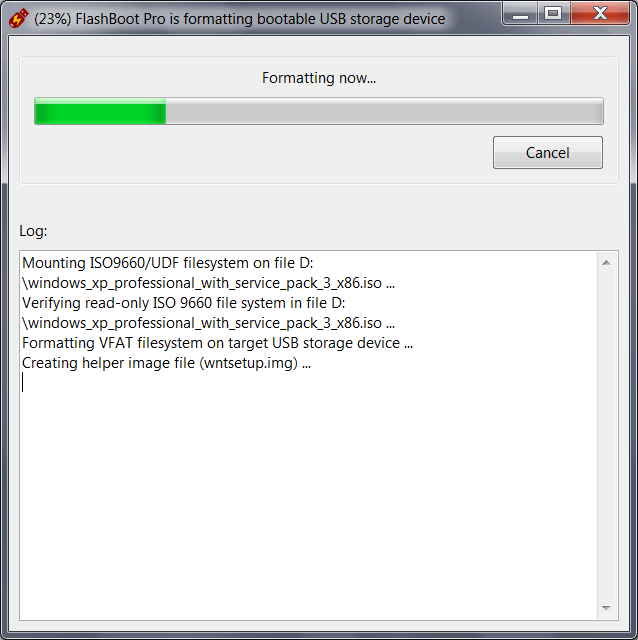
8) Wait for process completion
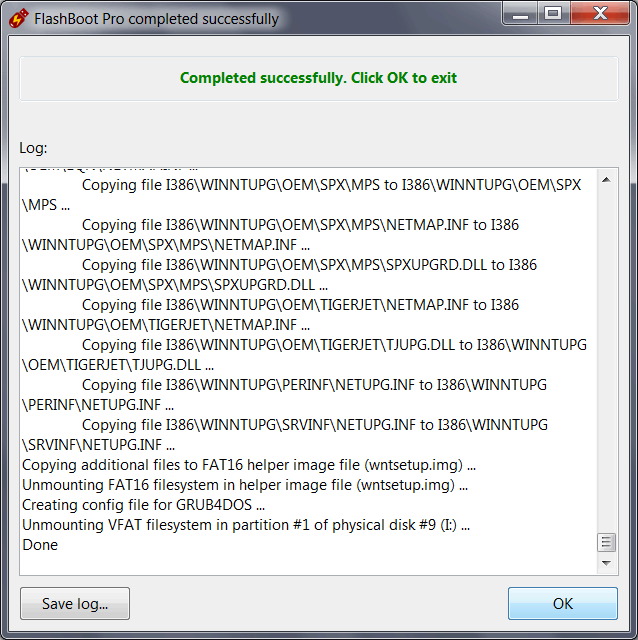
9) Bootable USB storage device is ready to use. Click OK to exit
Please Note: Installation of Windows XP may look like halted at this point:
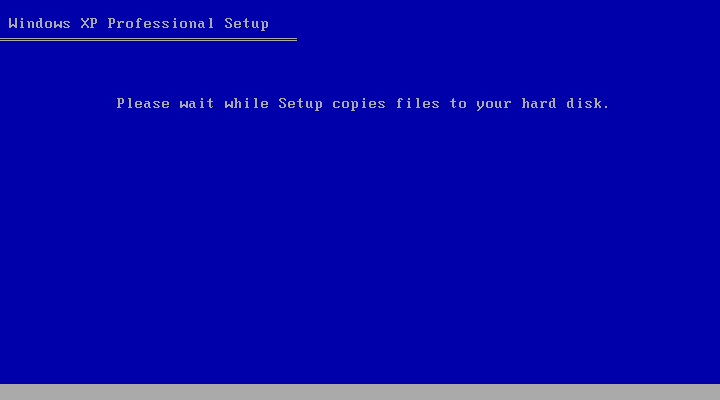
If you see that screen does not update and installation looks like halted for a long time at this point, please be patient and don't panic. Wait at least for a 45 minutes before aborting Windows XP installation.
Click here to view gallery of screenshots made during installation of Windows XP from FlashBoot-formatted USB disk to netbook. Windows XP was installed to the newly-created disk C: (which took 20 Gb out of 64 Gb total SSD space). Intermediate filesystem of disk C: is FAT32, final filesystem of disk C: is NTFS.