


Autodesk 3ds Max Tutorials > Lighting and Rendering >
Rendering with mental ray: Sky Portal and
Exposure Control >
Using Sky Portal and Photographic Exposure Control
You will now use a Sky Portal to gather existing sky lighting and direct its flow to the interior of the scene.
Add the Sky Portal:
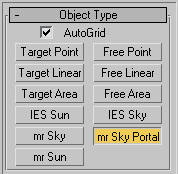
The Sky Portal should not be much larger than the window.
 With
the Sky Portal object still selected, go to the Modify panel. In
the mr Skylight Portal Parameters rollout > Shadows group, make
sure Shadows is on and set Shadow Samples to 32.
With
the Sky Portal object still selected, go to the Modify panel. In
the mr Skylight Portal Parameters rollout > Shadows group, make
sure Shadows is on and set Shadow Samples to 32.
Increasing the Shadow Samples value improves shadow accuracy, but also increases rendering time.
The scene shows that the Sky Portal arrow, which indicates the direction of light flow, is pointing the wrong way: from the interior of the scene outward.
![]()
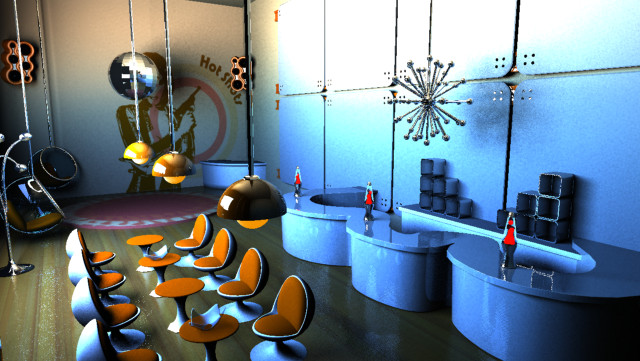
The result is much improved. The Sky Portal has focused the light source, so that more photons are available to be scattered across the room. Nonetheless, the rendered scene is still grainy, and the colors are too bright. We’ll further refine scene illumination by adjusting the scene exposure.
Set exposure:
Proper exposure can improve mid-tones and shadows, and produce more realistic colors.
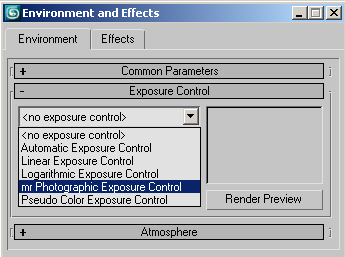
Lower values add more light to the scene.
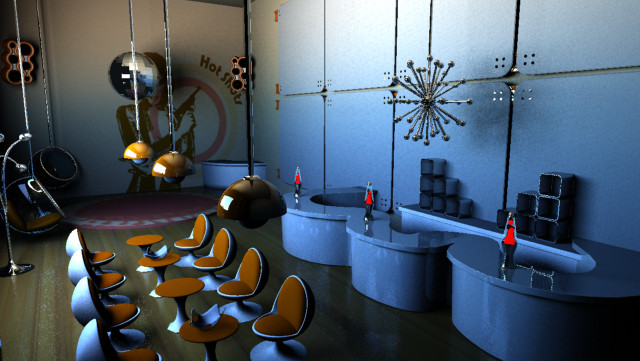
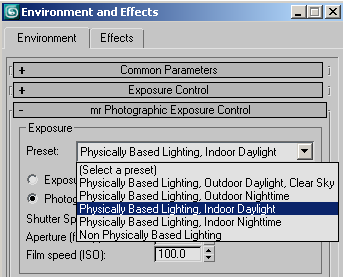
mental ray re-renders the lounge using an exposure preset suitable for indoor illumination. As a result, colors are more muted and subtle, and shadows appear more life-like.
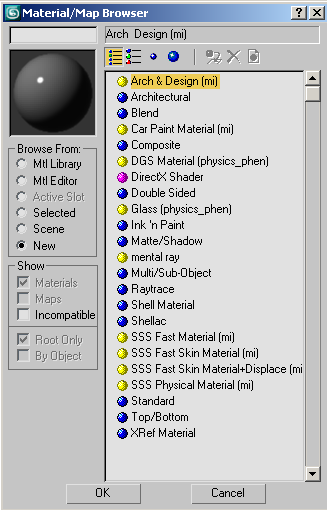
Add an Arch & Design material:
Despite all that you’ve done to this point, the scene still looks a little dull. In this part of the lesson, you’ll take advantage of the mental ray Arch & Design material to add more interesting lighting effects. You’ll switch the original wall panel material on the wall behind the bar with that of frosted glass, then optimize its reflective attributes.
 On the
toolbar, click Material Editor to open the Material Editor.
On the
toolbar, click Material Editor to open the Material Editor.
The material currently applied to the wall panel is indicated by a white triangle at each corner of its sample slot. If this isn’t already active, click it to activate it.
The glass properties are displayed in the Main Material Parameters rollout. Here, you will customize the glass material by adjusting its light diffusion, refraction, and reflection attributes.
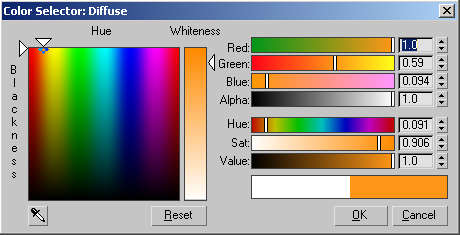
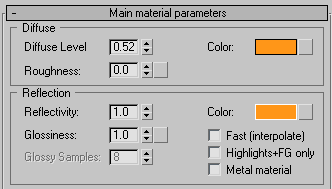
The light diffusion and reflection properties of the wall panel material now simulate a construction of pigmented glass.
At zero, light will bounce off the material surface rather than penetrate it. This results in more sharply-defined reflected images in the glass.
BRDF, which stands for bidirectional reflectance distribution function, is a property that lets the material’s reflectivity be determined by the angle from which the object surface is viewed.
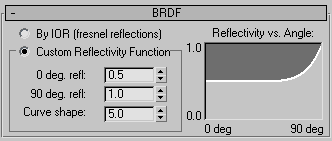
Viewing material reflections using the By IOR setting is fine if you are viewing reflective surfaces straight on. The Custom Reflectivity Function option is a better choice, however, since it better calculates reflectance from the 45-degree position of the camera.
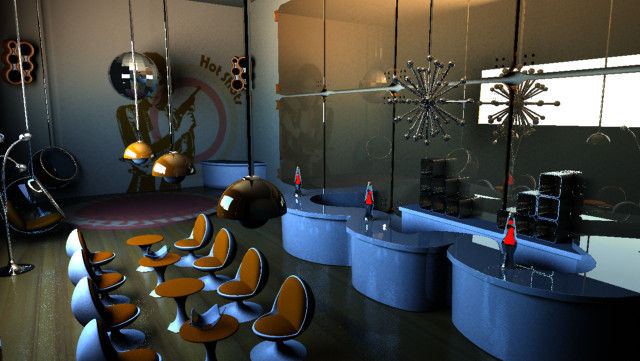
The newly-applied wall panel material has added considerable interest to the scene.