


Applying and Grooming Hair
Set up the tutorial:
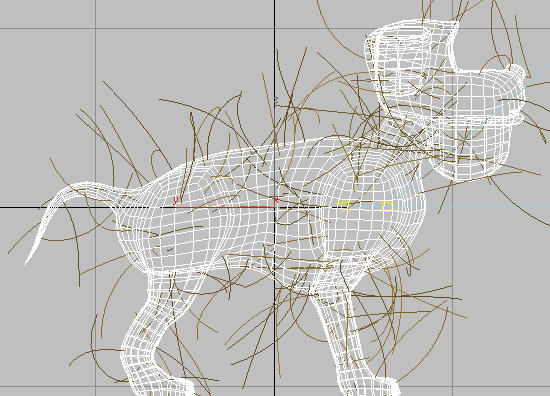
This scene contains a cartoon dog model. The dog was created using the box-modeling method, and was then mesh-smoothed. This automatically creates smaller polygons where the hair should be shorter, such as on the legs.
Apply Hair and Fur and choose a preset:
The hairs appear as brown lines emanating from the dog model.
Begin grooming the fur:
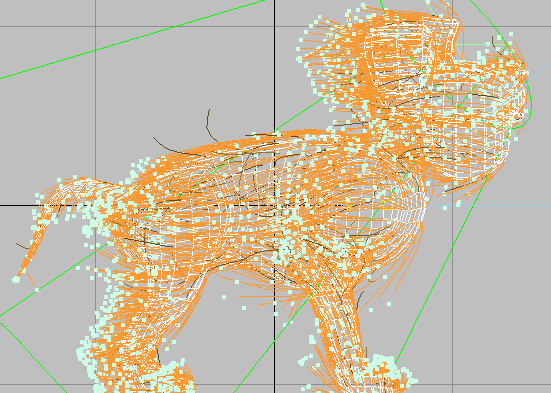
A large number of orange hair guides appear in the viewports. By default, all the guides are standing perpendicular to the mesh surface, and are all the same length.
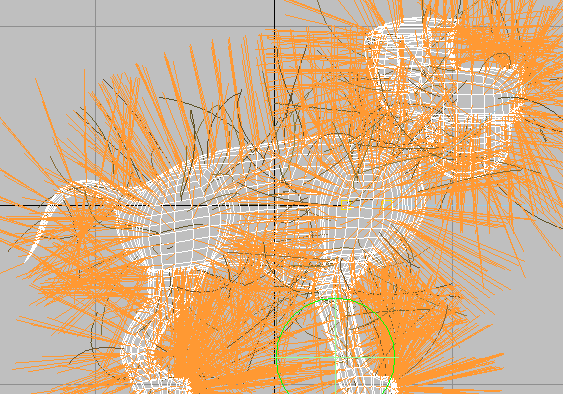
At the start, all the guides stick straight out.
 In the
Utilities group, click the Attenuate button.
In the
Utilities group, click the Attenuate button. 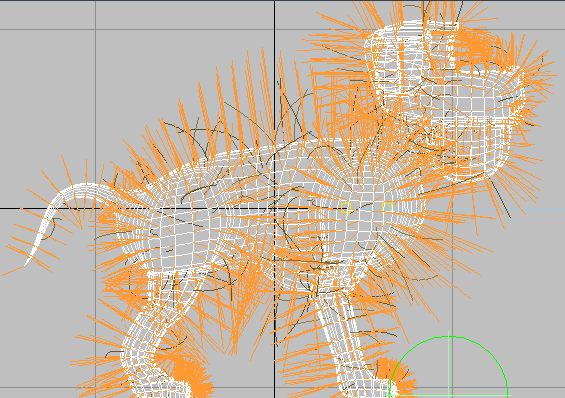
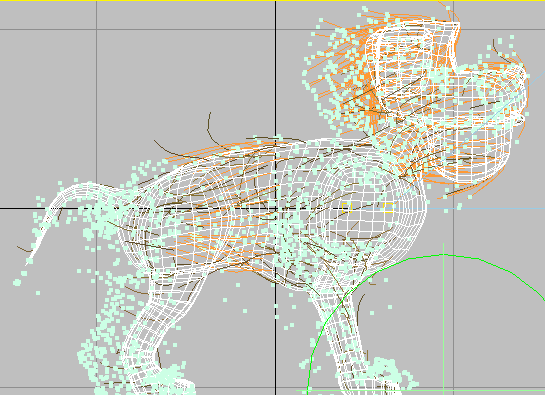
Attenuated guides
Attenuate makes the length of hair guides proportional to the size of the polygons they grow from. Attenuate is a useful tool in this case, because most dogs have shorter hair in areas with higher detail, such as the head and legs.
Use the Translate tool to brush the fur:

![]() When
you turn on Style Hair, the Hair Brush and Translate tools are on
by default. You'll use these to begin grooming the dog.
When
you turn on Style Hair, the Hair Brush and Translate tools are on
by default. You'll use these to begin grooming the dog.
 In the
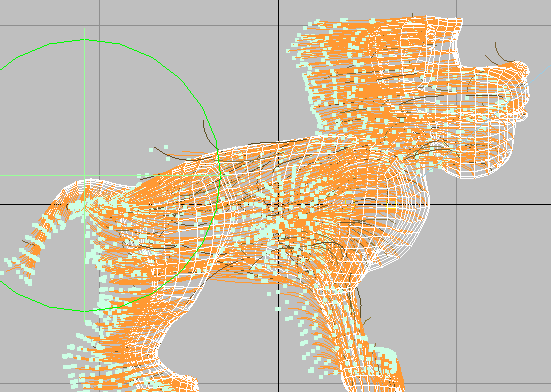
Selection group, click the Select Hair By Ends button to turn it on.
In the
Selection group, click the Select Hair By Ends button to turn it on.The tip vertices of the hair guides appear in the viewport.

This selection option moves hairs by the end only. The effect is softer than Select Whole Guide, which is the default.
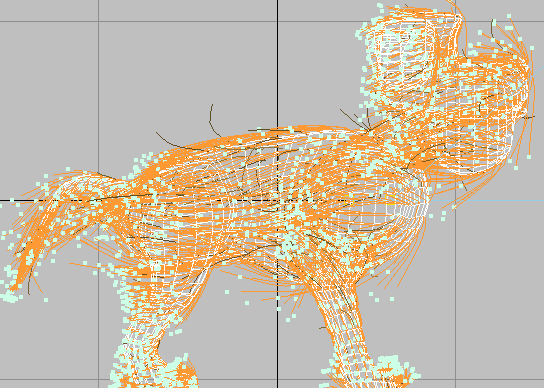
The dog after a first brushing
Because this is a big soft brush, you can get a fairly smooth transition from one direction to another. As you continue to groom, make the brush smaller for fine-tuning the fur.
 In the
Utilities group, click Recomb.
In the
Utilities group, click Recomb.The Recomb tool snaps all the hair that you've just brushed to the surface's tangent, but it preserves the hair's length and overall direction.
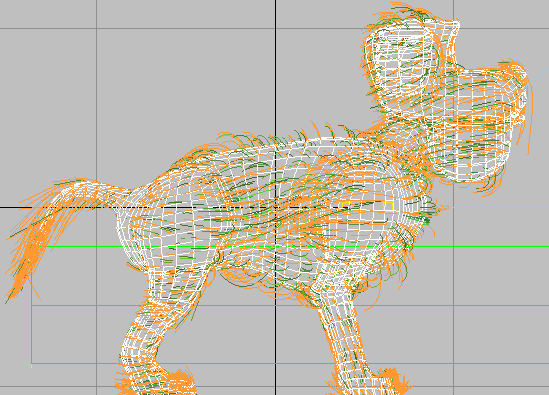
Recombing “tames” the guides.
The dog after further grooming and recombing
Scale the fur to adjust its length:
 In the
Styling group, click the Scale tool to turn it on. Reduce the size
of the brush, and then go around the dog, manually adjusting the guide
lengths. Dragging to the right increases hair length, and dragging
to the left decreases it.
In the
Styling group, click the Scale tool to turn it on. Reduce the size
of the brush, and then go around the dog, manually adjusting the guide
lengths. Dragging to the right increases hair length, and dragging
to the left decreases it.The hair on the ears and legs should be a bit shorter, and you might want to grow the hair on the snout and tail out a bit.
Scale the guides in places where the fur should be shorter.
Click
Recomb again.Use the Stand tool to make the hair stand out from the body:

 In the
Selection group, click Select Whole Strand to turn this selection
mode on once again. Then in the Styling group, click the Stand tool
to turn it on. Position the brush over areas of the dog, and drag
to the right a bit to puff the hair away from the body.
In the
Selection group, click Select Whole Strand to turn this selection
mode on once again. Then in the Styling group, click the Stand tool
to turn it on. Position the brush over areas of the dog, and drag
to the right a bit to puff the hair away from the body.Using Stand with the brush pushes the hair away from the skin.
Use the Stand tool to make the guides stick out more.
Natural fur usually stands out at about 60 degrees from the surface; you can also use the Translate brush at a side angle to do this. For this tutorial, you're modeling a stuffed animal, so you can stand the hair out a bit more than might be natural.
Adjust the material settings:
This is a toy dog, so you can use unreal coloring to enhance the effect.
The scene already contains two spot lights, both set to cast shadows in the form of shadow maps. Because the Hair and Fur render effect uses these by default, the spot lights will automatically cast shadows from the hair.
Adjust other settings to make the hair like fur:
Render the dog:
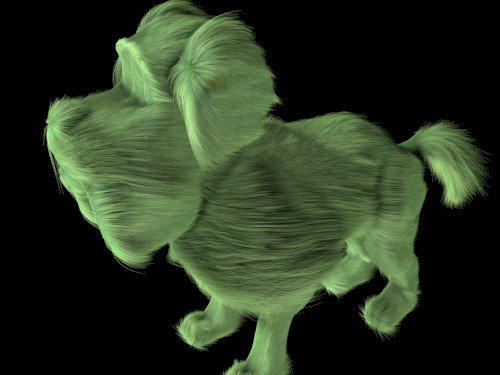
The furry dog