


Adding Facial Hair to the Centurion
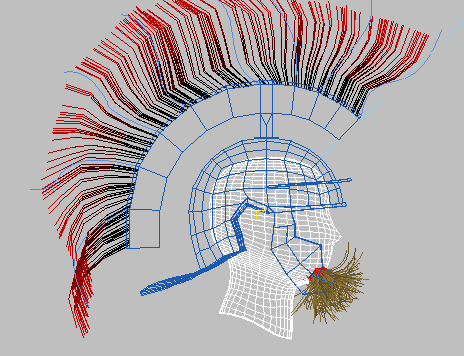
Now that you have the helmet ready to go, you'll add hair to the centurion’s face.
 As with
the helmet, Arc Rotate can help you locate the polygons you need,
and once you've made the sub-object selection, Shift+Z will undo the viewport changes.
As with
the helmet, Arc Rotate can help you locate the polygons you need,
and once you've made the sub-object selection, Shift+Z will undo the viewport changes.
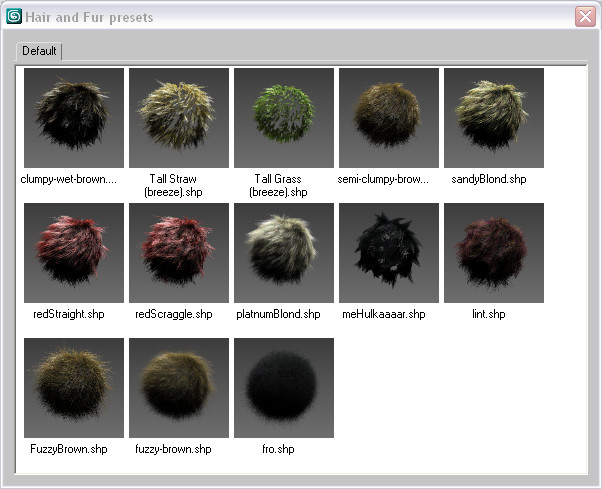
Hair as a goatee, with chin polygons selected
Use preset hair values:
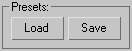
The Hair And Fur Presets dialog appears.
You now have fine, spiky hair growing from the chin.
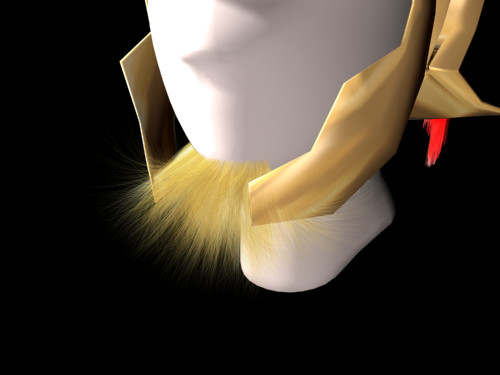
The goatee before styling
Style the goatee:
A green brush gizmo appears in viewports. In the active viewport, the brush appears as a circle, but it is actually a cylindrical region, as you can see in inactive viewports.
Orange guide hairs also appear in the viewports, among the actual hairs. When you style hair, you are styling the guides. There are fewer guides than hairs, so this method saves performance time.
 The
Guides can be easier to see in viewports if you turn off Toggle
Hair in the Styling rollout's Utilities group.
The
Guides can be easier to see in viewports if you turn off Toggle
Hair in the Styling rollout's Utilities group.The Front and Left viewports are the easiest to use for this adjustment.
![]()
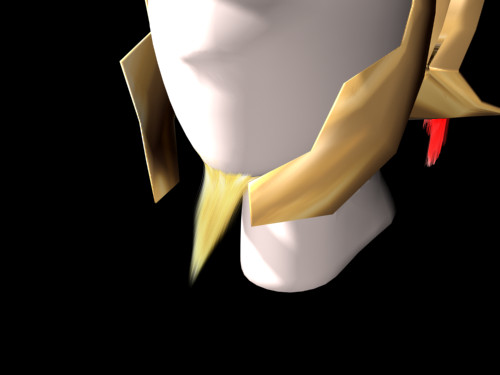
Goatee translated downward and away from the chin
 Click
the Clump button to turn it on. In the Front viewport, place the
brush over the goatee and then drag toward the right to move the guide
hairs together until they come to a point (see the illustration
below).
Click
the Clump button to turn it on. In the Front viewport, place the
brush over the goatee and then drag toward the right to move the guide
hairs together until they come to a point (see the illustration
below).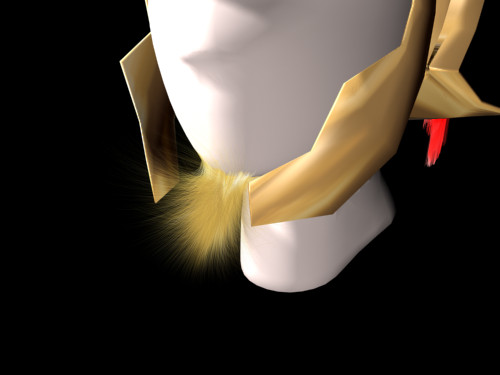
The goatee after translating and clumping
The hair still frizzes out a bit too much at the tips.
Fix the frizz value:
The goatee with tip frizz removed