In this lesson you'll learn how to style the
hair using the Recomb From Splines tool.
Continue
from the previous lesson or open recomb_helmet.max.
Before
you begin to draw the splines, turn on the Snaps Toggle (press S) so that the start of the splines
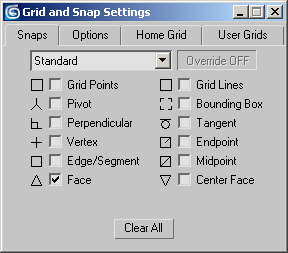
begin at the roots of the hair. Also, right-click the Snaps Toggle
button to open the Grid And Snaps Settings dialog, and on the Snaps
panel, turn off Grid Points and turn on Face. Close the dialog with
the X button in the upper-right corner.
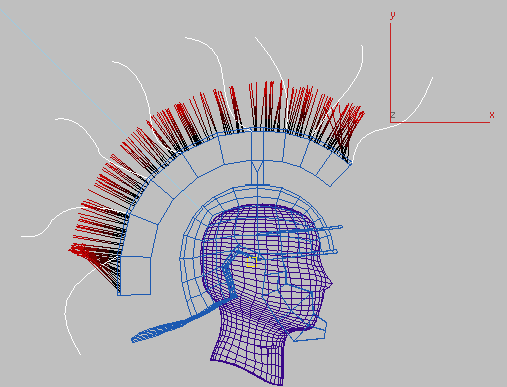
Starting
at the front of the helmet, draw Line splines away from the head as
illustrated below. Hair requires that all the splines are part of
the same object, so after you draw the first spline, turn off the
Start New Shape check box on the Object Type rollout.
Spline object to use for recombing
Select
the Line object to make sure all the splines are part of the same object.
If they are not, select the first line, go to the Modify panel,
and at the Spline sub-object level, use Attach to attach the other
lines.
Select
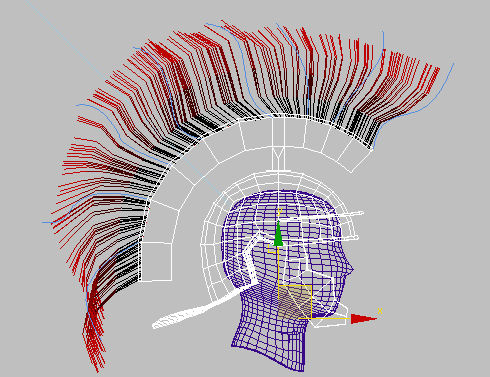
the Helmet object, and on the Tools rollout, click Recomb From Splines.
In a viewport, click the spline object.
The hair now follows the shape of the splines.
Render
the Perspective viewport to view the new hair.