


Creating an Animated Shadow Study
In addition to animating a camera, you can animate the Daylight system's time of day. This is a good way to create a shadow study.
Set up the scene:
Also, if you encounter the Missing External Files dialog, just click the Continue button.
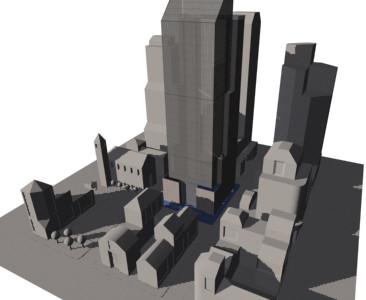
This is a scene of nine city blocks, with a skyscraper at the center. The scene contains a Daylight system. The Daylight system is set to position the scene at the latitude of San Francisco, California, and the sun is set at 0700 hours, about the time of dawn on a winter day.
Animate the daylight:
 Make
sure Select Object is active on the toolbar.
Make
sure Select Object is active on the toolbar.Daylight01 appears in the name field on the command panel.
 Turn
on Auto Key.
Turn
on Auto Key.
 The
button, the track bar, and the border of the active viewport all
turn red.
The
button, the track bar, and the border of the active viewport all
turn red.
The spinner arrows of the Hours, Minutes, and Seconds fields are now bracketed in red, indicating that you have set a key to animate the time of day.
You have set 10 keyframes (and 3ds Max has automatically set one at frame 0, as well) to track the course of the sun through a day. Drag the time slider and watch the Left viewport. The sun moves smoothly: 3ds Max interpolates from one keyframe to the next so each frame is different, even if it doesn't have a key on it.
Set the animation range:
As the animation only lasts 51 frames (0 to 50), you don't need the full default range of 101 frames.
 Click
Time Configuration.
Click
Time Configuration.The Time Configuration dialog is displayed.
(This button is at the extreme lower right of the 3ds Max window.)
Now the range of frames is no greater than the length of the animation.
Save your work:
Render the animation:
Rendering the animation takes about half an hour on a high-speed system. If you want, you can skip these steps and just view the file shadow_study.avi, provided with the other tutorial files. See “View the animation,” below.
The Render Scene dialog is displayed, with the Render panel active.
In the Output Size group, make sure that the resolution is 640x480.
A smaller size would render more quickly, but the shadows don't show up as well.
A Render Output File dialog is displayed.
You can render an animation to either the AVI or MOV (QuickTime®) formats. After you click Save, you see a format-specific dialog that asks you to specify the animation's compression. You can accept the default values, and then click OK.
3ds Max renders the animation. This takes a while (about a half hour on the high-speed system), so this is a good point to take a break.
View the animation:
A View File dialog appears.
Depending on the movie type, a Media Player or a QuickTime viewer is displayed, which lets you play the animation.
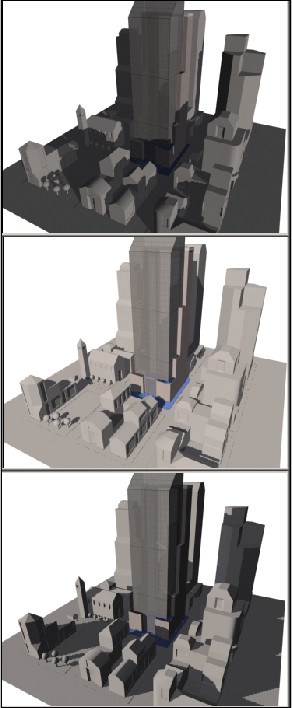
You can create a shadow study by animating the time of day of a Daylight system. To do so, use the Auto Key button, and change the hour at regular intervals of frames. (The longer the interval, the slower the animation will play.)