


Rendering an Animation
There are some specific techniques to learn for rendering your animation into a movie file. You can render directly to a movie format such as AVI, or you can render a sequence of still image files to file formats such as TGA and then use the RAM Player to save them into a movie. The latter method is the recommended choice. It's a few steps more than rendering directly into a movie, but it gives you more control over file size and quality of output, plus if you have frames with artifacts or other errors, you can repair or remove them.
Set up the scene:
If you get a Units Mismatch dialog, choose Adopt The File's Unit Scale and click OK. In general, when encountering this dialog, choose Adopt Unit Scale.
This is a large file, so it will take a while to load. This file has stored all the radiosity rendering information, so the render times will be quicker.
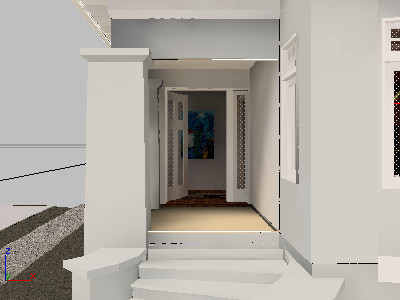
This file is similar to the one created in the earlier walkthrough lesson. It has been reduced from 730 frames to 257 frames to shorten the total rendering time.
Render to an image sequence:
Next, you'll define the animation range.
This option automatically renders all currently playable frames. Alternatively, you could choose Range or Frames and set the frame range to render.
The Render Output File dialog opens.
Next you'll define the type of still image file to render.
This is a high-quality file type, good for this kind of rendering.
After you click Save, you see a format-specific dialog that asks you to specify attribute and information settings. You can accept the default values, and then click OK.
When you render an still-image sequence, as in this case, the software automatically appends the first part of the file name with a four-digit frame number. So the first frame will be my_walkin0000.tga, the second will be my_walkin0001.tga, and so on.
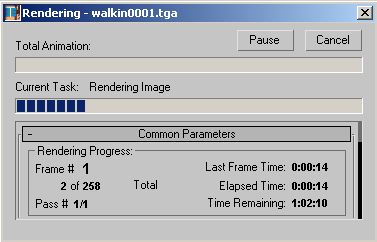
The Rendering dialog appears, or you may first see a Raytrace Messages dialog. Wait for a short while as the first frame is rendered. You will see the Last Frame Time, Elapsed Time, and Time Remaining values change after the first frame finishes.
If you did see the Raytrace Messages dialog, click the Raytracer tab of the Render Scene dialog, and then turn off Show Messages.
When the rendering is finished, the target directory contains the 258 output files.
Convert an image sequence into a movie:
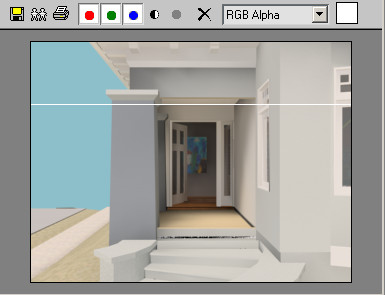
The RAM Player loads still image sequences into memory and plays them so you can watch them as a movie. It actually lets you load two different sequences and then compare them visually, but you won't use that functionality here. You'll simply use the RAM Player to save the files into an AVI file.
 On the
RAM Player toolbar, click Open Channel A.
On the
RAM Player toolbar, click Open Channel A.
Now the RAM Player will load the sequential image files, rather than just the first one.
The Image File List dialog appears. Here you can use the Every Nth and Multiplier fields if you need to speed up or slow down your animation. If your animation is too slow, change Every Nth to 2 or 3. If your animation is too fast, increase the Multiplier.
The RAM Player Configuration dialog appears. Here you can observe and adjust your memory usage. Loading this sequence takes about 57 MB. There are also tools here to resize your animation, specify a range of frames to use, and split the alpha (transparency) information into a separate file.
The RAM Player loads the file into memory. In the Loading dialog, observe how much memory is being used and remains available.
If it looks like you are about to run out memory, click Stop Loading. If you have a low-memory system, reduce the number of frames to load and try again.
 On the
RAM Player toolbar, click the Play button and watch the movie play.
On the
RAM Player toolbar, click the Play button and watch the movie play.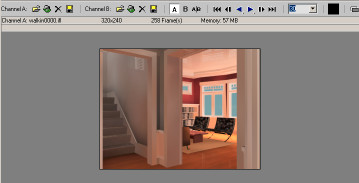
 On the
RAM Player toolbar, click the Save Channel A button.
On the
RAM Player toolbar, click the Save Channel A button.The Save File dialog appears.
The Video Compression dialog appears. Here, you can choose a codec (compression/decompression type) and adjust the quality of the file. To reduce file size, lower the quality.
You have learned how to render your animation to a sequence of still image files. This allows you better control for later correction of your animation. You also learned how to assemble the still image sequence into a movie file, such as AVI or QuickTime, using the RAM Player.