Both photometric and standard lights use shadow-mapped shadows by default. 3ds Max offers some alternate ways to generate shadows, as this lesson demonstrates.
Set up the scene:
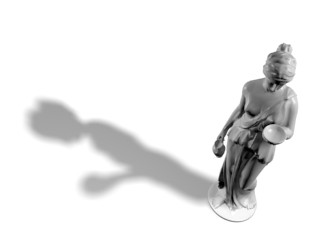
The scene is a classical sculpture against a plain white background. It is lit by three omni lights, but only one of them, Omni01, is shadow-casting.
Render the scene:
 On the main toolbar, click Quick
Render.
The statue's shadow is shadow mapped. It has a fairly sharp-edged outline.
Create a soft-edged shadow:

 On the
main toolbar, click Select By Name. Use the Select Objects dialog
to select Omni01, and then go to the Modify panel.
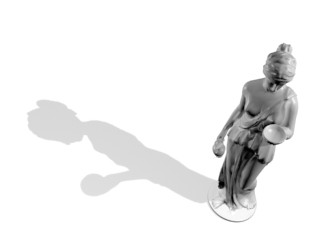
The edge of the shadow is softer. Shadow-mapped shadows can have soft edges, but ray-traced shadows cannot.
Use a ray-traced shadow:

This time the shadows are very hard edged.
Make the shadow lighter:

The shadow is now lighter. Options on the Shadow Parameters rollout are independent of which kind of shadow you are generating.
Use an area shadow:

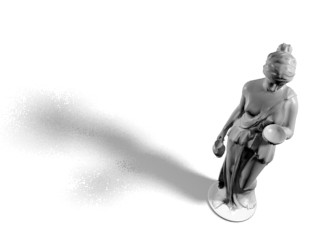
This time the results are even more diffuse than a soft-edged shadow-mapped shadow. Area shadows simulate shadows cast by an area of light, such as a window or skylight, rather than from a point source like a spotlight.
Save your work:
Photometric and standard lights both have the same options for generating shadows. The main choices are shadow-mapped (the default), ray-traced, or area. Shadow-mapped shadows can have a soft edge; ray-traced shadows are always sharp edged; and area shadows are diffuse, simulating shadows cast by a light-emitting area.
Each kind of shadow generator has its own settings. The settings not demonstrated in this lesson are mainly for adjusting shadow quality. They are described in the User Reference.