


Lighting an Interior Space
To light an interior space, the guidelines are simple: use light objects with realistic values, and place them where you would in the actual building. Photometric lights are preferred for this, but to use photometric lights, it is essential that the model have realistic dimensions.
Set up the scene:
The scene shows an interior living-room space, with a fireplace and entrance alcove. The walls, floor, and ceiling of the room have been frozen to make them difficult to select accidentally.
If you were to render the scene now, you would see a plain, bare room. This is the default lighting from a single light source.
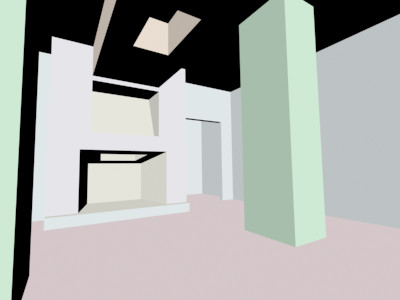
Room rendered with default lights
Add a light with a preset value to the entryway:
This creates a light object with a typical wattage.
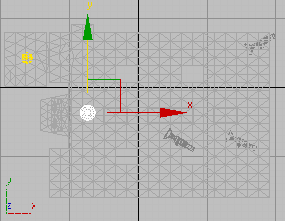
The light is now in the alcove.

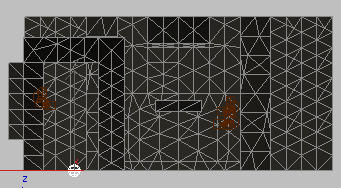
Positioning the alcove light
If you look at the Left viewport, however, you will see that the light is on the floor.
By default, the alcove light is created at the level of the floor.
 Right-click
the Left viewport to activate it. Turn on Move, and then move the
new light up to the level of the ceiling.
Right-click
the Left viewport to activate it. Turn on Move, and then move the
new light up to the level of the ceiling.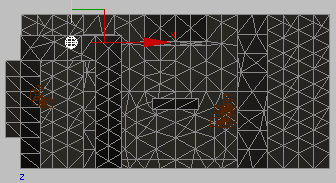
Alcove light moved to ceiling level
If you were to render the scene now, it would be very dim.
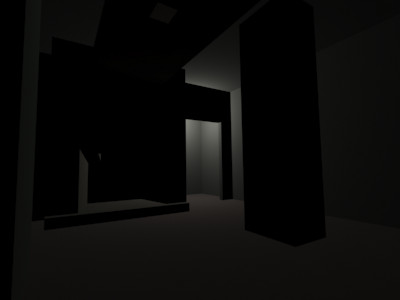
Room lit only by the alcove light
Adding a light turns off the default lighting. Once you add a light, all the lighting for the scene must come from light objects that you place yourself. (The rendering also shows what appears to be a bit of a light leak above the door frame. Don't worry about this: it won't be apparent once you add more lights.)
Add an overhead fixture:
For overhead lighting in the living room, you will use a prepared light assembly from a separate MAX file.

 On the
Create panel, turn on Lights. Choose Photometric from the drop-down
list, turn on one of the light object buttons, and then turn on
the AutoGrid toggle.
On the
Create panel, turn on Lights. Choose Photometric from the drop-down
list, turn on one of the light object buttons, and then turn on
the AutoGrid toggle.It doesn't matter which button you turn on. You are not going to create a light from scratch. However, AutoGrid should be on so the merged light-fixture assembly will align with the ceiling.
AutoGrid doesn't work well when the geometry is frozen.
A pop-up menu appears, giving you the choice of opening, merging, or cross-referencing the scene with the ceiling pendant.
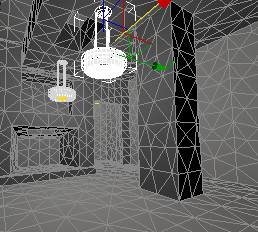
The ceiling pendant geometry appears. It is selected and because of AutoGrid, it is aligned to faces in the scene.
Top plan position of the ceiling pendant fixture

Camera view of the pendant light
Now that you have a single light in the living room, you can make instances of it to provide the room with more light.
Freeze the room again:
This keeps you from selecting and moving the entire room, when you are trying to clone the light fixture.
Make an array of light instances:
Activate
the Top viewport and turn on Move.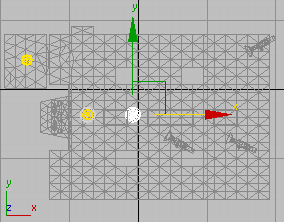
Top plan position of the first cloned light
Camera view of the first cloned light
The Clone Options dialog appears.
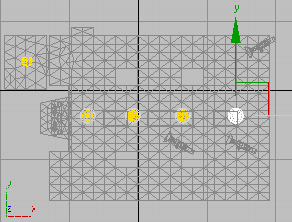
The first row of cloned lights
 On the
toolbar, make sure that the Window/Crossing toggle is set to Window,
then drag in the Top viewport to select all four lights.
On the
toolbar, make sure that the Window/Crossing toggle is set to Window,
then drag in the Top viewport to select all four lights.The Clone Options dialog appears.

Top plan view with two rows of ceiling lights
Render the scene:
 On the
main toolbar, click Quick Render.
On the
main toolbar, click Quick Render.3ds Max renders the room.
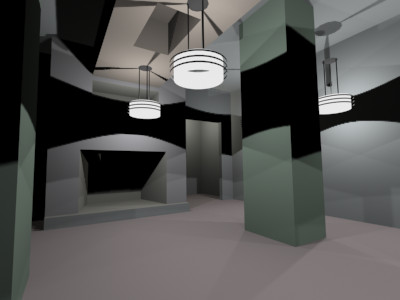
Room lit by all lights (direct lighting only)
Now the living room is illuminated, and you can see the colors on the walls. It still looks rather shadowy, but this is only because the rendering shows direct light only. In real life, objects are illuminated by both direct light and reflected (“bounced”) light. In 3ds Max, you can add reflected light by calculating the scene's radiosity.

Room with radiosity calculated to provide bounced (indirect) light as well as direct light
The radiosity solution shows that in fact, you might want to turn down the level of the living-room lights before making a final rendering. The lesson Managing Multiple Lights shows some ways to manage an array of instanced light objects such as those you just created.
Save your work:
These are the main points of this lesson: