Creating a Building


In this lesson you'll create a building from a Box object with Taper and Bend modifiers applied. This is probably the simplest modeling you can possibly do; it's the materials that do most of the work in creating the art. To build this level, start by building a box.

Create the box object:

  1. In the Create Panel, on the Object Type rollout, click Box.
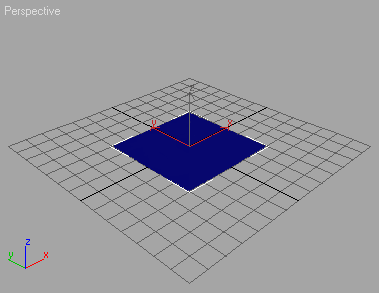
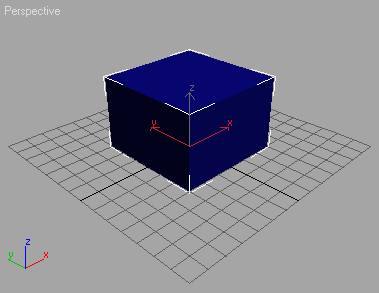
  2. In the Perspective Viewport, drag out a box. First you define the width.

  3. When you release the mouse button, continue to drag to create the height interactively.

  4. Click again to set the height of the box.
  5. You can now adjust the box parameters from the Create panel. Change the box parameters by entering these values in the Parameters rollout:

    Length=17

    Width=19

    Height=42

    As long as the box remains a parametric object, you can always access and change these values by selecting the object and opening the Modify panel.

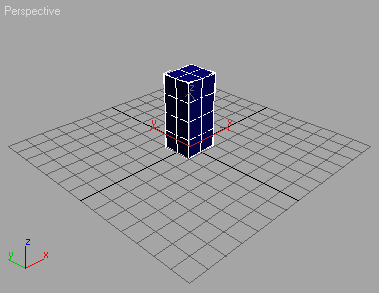
    The box is going to be deformed, so you'll want some extra segmentation in the object.
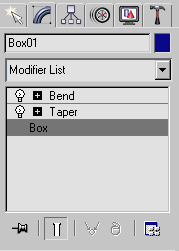
  6. Click in the Length Segments field, and change the Length Segments to 2.
  7. Press the Tab key to move to the Width Segments field, and change the width segments to 2.
  8. Press the Tab key to move to the Height Segments field. Change the Height segments to 4.
  9. Right-click the Perspective viewport label and turn on Edged Faces. Now you can see the segments in shaded mode.

Add modifiers:

  1. Go to the Modify panel > Modifiers List, choose Object-Space Modifiers > Taper from the list.
    TipYou can quickly find a modifier by typing the first letter. In this case, entering T on the keyboard will highlight Taper from the list.

    Taper the box by changing the parameters in the rollout.

  2. On the Parameters rollout, in the Tapers group, change Amount to 0.6.
    TipYou can click the spinner arrows, click the spinner arrows or type in the values to change the amount of the taper.
  3. Change Curve to -0.61.

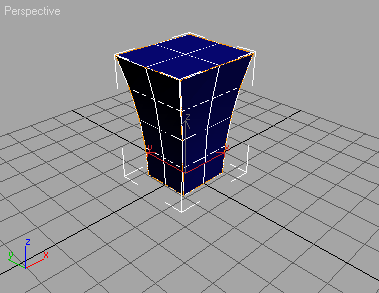
    Next you'll add a Bend modifier.

  4. On the Modifiers List, choose Object-Space Modifiers > Bend.
  5. On the Parameters rollout, in the Bend group, change Angle to 10.5.
  6. Change Direction to 55.

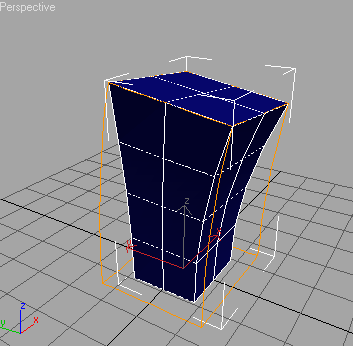
    You can adjust the height of the box after applying the Taper and Bend modifiers.

  7. In the modifier stack display, click Box.

    It turns gray to show it is selected.

  8. In the Modify panel, make sure Show End Result On/Off Toggle is on.
  9. Change the height of the box using the spinner arrows. Don't make the box so high you can't see the top in the viewport.
  10. Save your scene as mybuilding.max.

    You've just made the form for a building with cartoon attitude. Next you'll add materials to turn this pinched column into a cartoon garage.

Next

Adding Mapping and Materials for the Building