


Autodesk 3ds Max Tutorials > Modeling Tutorials > Modeling a Low-Poly Character > Modeling a Low-Poly Head >
Creating the Visor
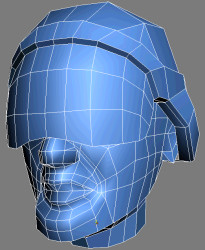
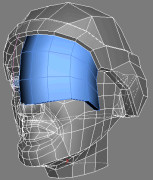
In this lesson, you create a visor using the front side of the helmet as a starting mold. This visor is modeled as a separate object and reattached to the helmet at the end.
Create the visor:
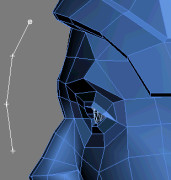
 From
the Create panel, choose Shapes.
From
the Create panel, choose Shapes.This new line serves as path for the visor.
 Select Low-Poly-Head,
then go into Polygon sub-object level and select the helmet polygons
closest to the forehead.
Select Low-Poly-Head,
then go into Polygon sub-object level and select the helmet polygons
closest to the forehead.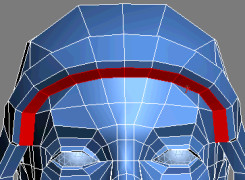
This duplicates your selection as a separate object.
 Click
Select By Name (or press H on
the keyboard). In the Select Objects dialog, pick Low-Poly-Visor.
Click Select. Go to
Polygon sub-object level. If the rim polys are not automatically
selected, select them.
Click
Select By Name (or press H on
the keyboard). In the Select Objects dialog, pick Low-Poly-Visor.
Click Select. Go to
Polygon sub-object level. If the rim polys are not automatically
selected, select them.
Define the visor:
You can now edit the visor without accidently selecting the character's head or helmet.
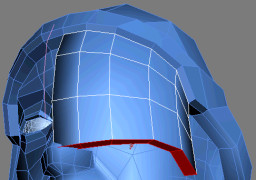
Select Low-Poly-Visor and
go into Polygon sub-object level. Then, select the inner side of
the visor, as well as any border polygons.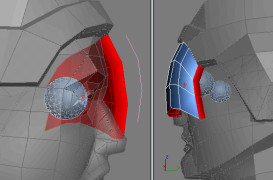
 Go into
Vertex sub-object level and adjust the visor's vertices to curve
the lower part.
Go into
Vertex sub-object level and adjust the visor's vertices to curve
the lower part.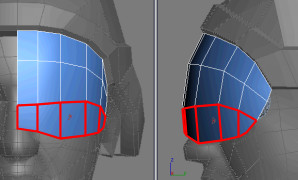
 Go into
Element sub-object level and, on the Edit Geometry rollout, click
Attach.
Go into
Element sub-object level and, on the Edit Geometry rollout, click
Attach.The helmet integrates the visor's geometry as a distinct element. Note that he Symmetry modifier automatically mirrored the visor half.