The HSDS (Hierarchical SubDivision Surface) modifier is a finishing tool rather than a modeling tool. It gives you the best result when working on low-polygon models, like the P-38 Lightning.
This lesson will give you a better understanding of HSDS modifier's use. You'll use the modifier on the tail of the airplane to give it a couple of levels of detail.
Set up the lesson:
Refine the rudder:
 In the
Right viewport, use Zoom Region to center the view around the rudder
of the airplane.
In the
Right viewport, use Zoom Region to center the view around the rudder
of the airplane.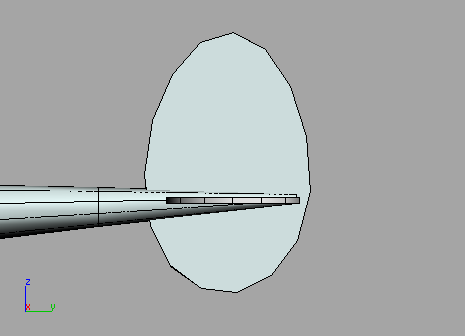
 Go to
the Modify panel and pick the Editable Poly entry in the Modifier
stack.
Go to
the Modify panel and pick the Editable Poly entry in the Modifier
stack. Click
the Show End Result On/Off Toggle button that is located along the
bottom of the modifier stack.
Click
the Show End Result On/Off Toggle button that is located along the
bottom of the modifier stack. From
the HSDS Parameters rollout, turn on the Element button.
From
the HSDS Parameters rollout, turn on the Element button.You'll see half of the airplane displayed in a yellow mesh.
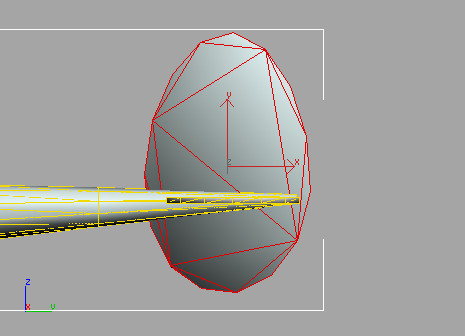
The rudder becomes more refined and the edges are much smoother. A level of detail, Level 1 is added to the level of detail list.
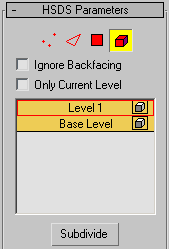
HSDS allows you increase the mesh resolution of specific parts of the model instead of the entire model
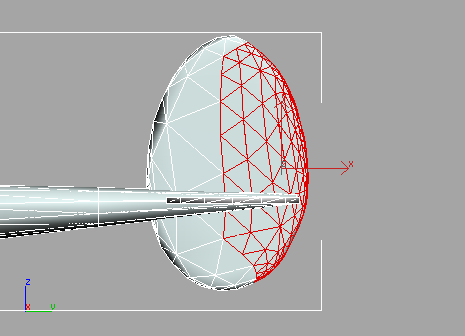
 On the
HSDS Parameters rollout, turn on the Polygon button, then drag a
selection window over the rear polygons on the rudder.
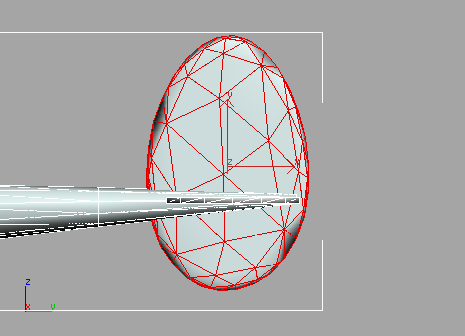
On the
HSDS Parameters rollout, turn on the Polygon button, then drag a
selection window over the rear polygons on the rudder.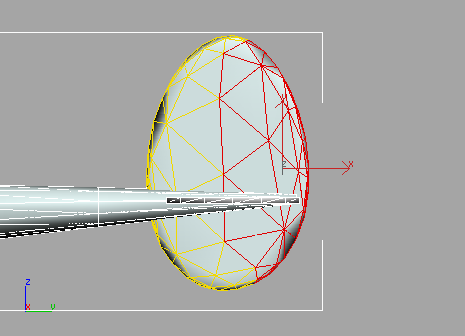
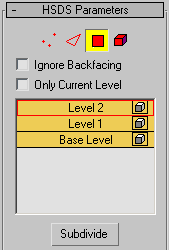
A second level of detail is added to the level of detail list and the rear part of the rudder is even more refined.
Level 1 and 2 are turned off and you see the original polygons you started with.


