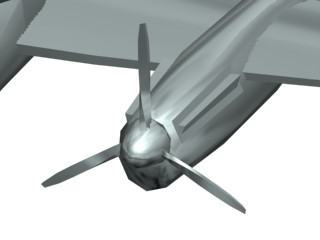
The original propellers on this model are a little too clunky-looking. In this lesson, you'll remove the existing propeller blades and replace them with new blades.
Set up the lesson:
Change the propellers:
 In the
Front viewport, use Zoom Region to center the view around the port
engine of the airplane.
In the
Front viewport, use Zoom Region to center the view around the port
engine of the airplane.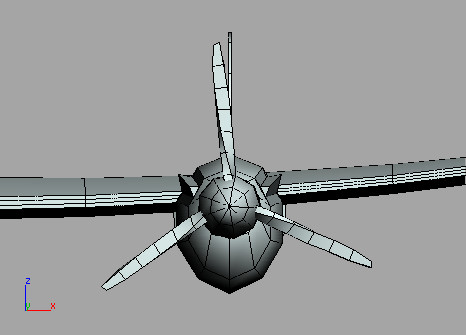
 Go to
the Modify panel and pick the Editable Poly entry in the modifier
stack.
Go to
the Modify panel and pick the Editable Poly entry in the modifier
stack. Click
the Show End Result On/Off Toggle button that is located along the
bottom of the modifier stack.
Click
the Show End Result On/Off Toggle button that is located along the
bottom of the modifier stack. From
the Selection rollout, turn on the Element button and make sure
Ignore Backfacing is turned on.
From
the Selection rollout, turn on the Element button and make sure
Ignore Backfacing is turned on.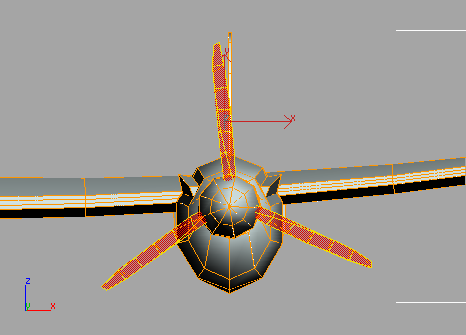
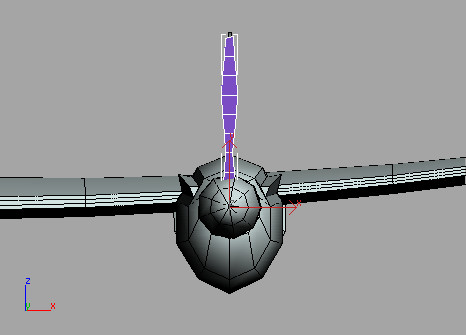
The Lightning has no propellers now.
Add the new propeller blades:
You'll use the Merge command to add a new propeller blade to your model.
The Merge File dialog appears.
The Merge – newprops.max dialog appears.
The new propeller blade appears in your scene.
 Activate
the Front viewport and turn on the Select And Rotate button.
Activate
the Front viewport and turn on the Select And Rotate button.The Clone Options dialog appears when you release the mouse button.

Add a final touch for realistic propeller blades
Now that the new blades are in the scene, you'll want to twist the blades to make them look realistic. You'll use a Soft Selection to accomplish this.
Twist the blades:
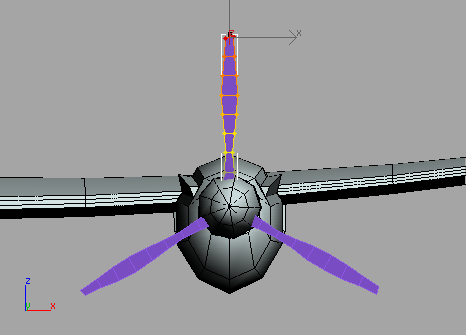
 Turn
on Select Object. In the Front viewport, select the top propeller
blade.
Turn
on Select Object. In the Front viewport, select the top propeller
blade.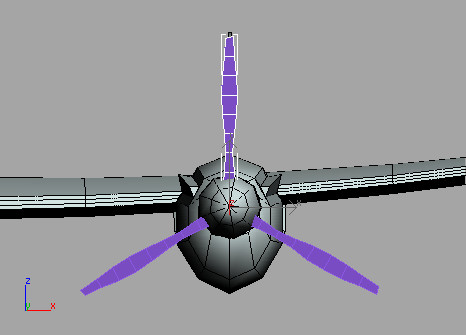
On the
Modify panel, click the Vertex button in the Selection rollout.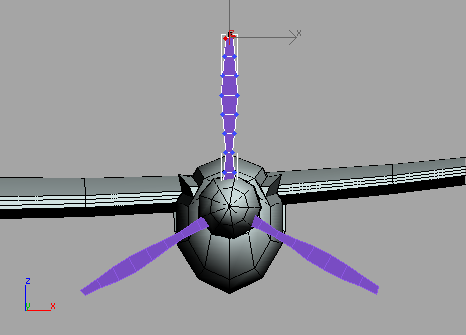
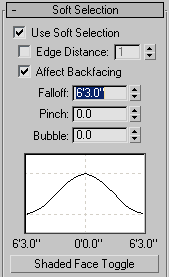
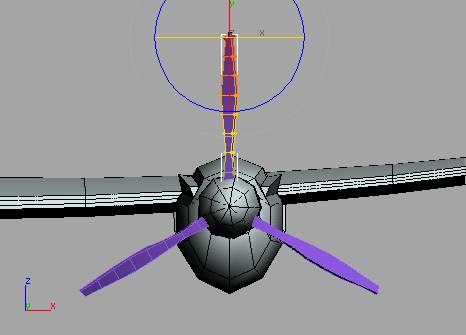
Notice what happens to the adjacent vertices as you increase the falloff. Vertices closest to the top will be affected more than the vertices that are further away.
Turn
on the Select And Rotate button and rotate the selected vertices
around the Y-axis to –35 degrees.Because the second and third blade are instances of the first, any change you make to the first blade affects the other two.
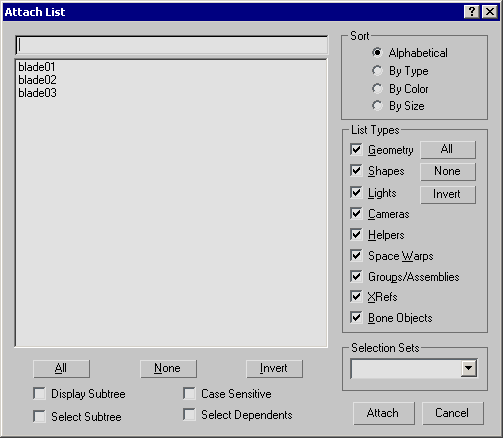
Turn
on Select Object and select the Lightning. Select
the Editable Poly entry in the modifier stack and click the Attach
List button, next to the Attach tool, in the Edit Geometry rollout.The Attach List dialog opens showing you the three propeller blades.
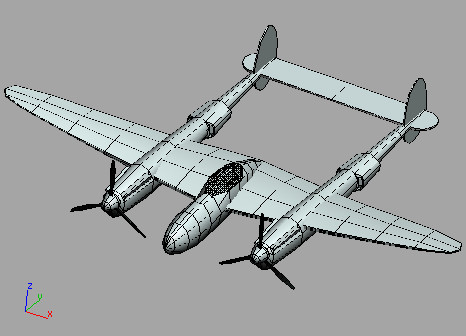
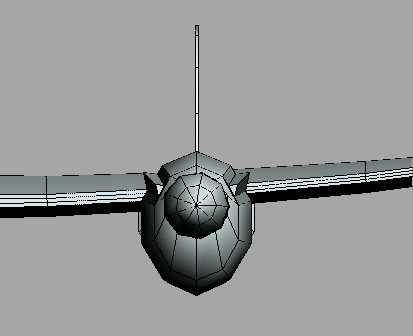
The blades are now attached to the rest of the airplane, and they are automatically added to the opposite half due to the Symmetry modifier.


