


Adding the Stabilizer and Rudders
Continue from the previous lesson, Creating the Wings or open p38_wing.max from the \tutorials\p38_lightning folder.
In this lesson, you'll add the horizontal stabilizer and the twin rudders. You'll use cylinders and editable poly techniques to build these pieces.
Add the horizontal stabilizer:
 From
the Create panel, click Cylinder.
From
the Create panel, click Cylinder.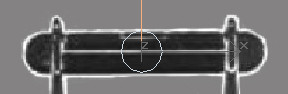
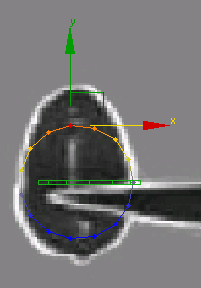
Create a cylinder to make the stabilizer.
Naming your objects proves useful later.
 In the
Modify panel, on the Selection rollout, click Vertex.
In the
Modify panel, on the Selection rollout, click Vertex.Now the vertices are visible in the cylinder.
 Select
half the vertices, and move them to the right. Select the other
half of the vertices and move them to the left.
Select
half the vertices, and move them to the right. Select the other
half of the vertices and move them to the left.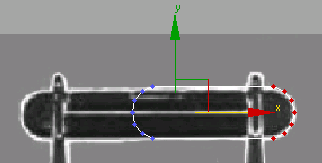
Move the vertices to match the top view of the stabilizer in the background image.
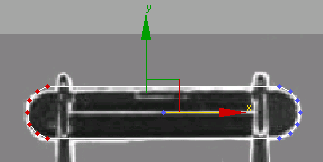
 Click
Vertex selection again to turn it off. In the
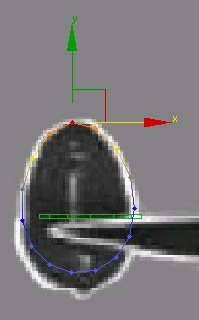
Front viewport, move the stabilizer up along the Y axis so it lines
up with the background image.
Click
Vertex selection again to turn it off. In the
Front viewport, move the stabilizer up along the Y axis so it lines
up with the background image.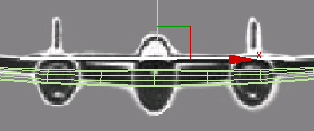
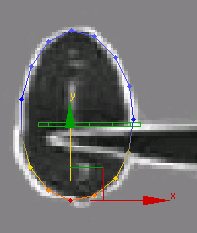
Align the stabilizer with the background image.
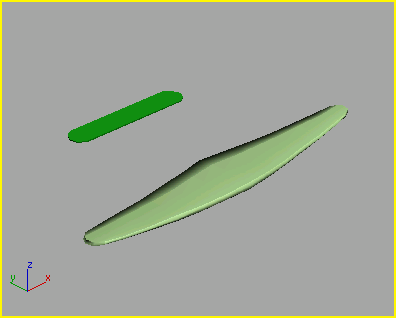
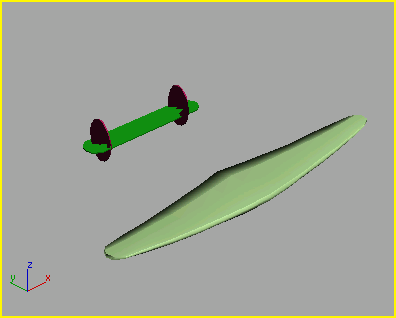
Wingspan and stabilizer in Perspective viewport
Next, you will construct the twin rudders.
Just like the stabilizer, you'll use a cylinder, converted to an editable poly object, to create one of the rudders. In this case, you'll use the soft-selection feature when you select and move vertices. After the rudder is properly shaped, you'll use the Symmetry modifier to create the second rudder.
Create the twin rudders:
 Click
the Left viewport to active it and click Zoom Extents if necessary.
Click
the Left viewport to active it and click Zoom Extents if necessary.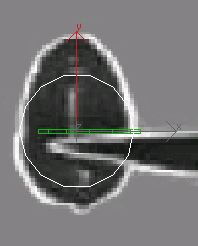
Start with a cylinder to make the rudder.
 Click
the Modify panel tab, and then right-click the Cylinder in the modifier
stack. Choose Convert To: Editable Poly.
Click
the Modify panel tab, and then right-click the Cylinder in the modifier
stack. Choose Convert To: Editable Poly.The modifier stack no longer shows the cylinder; it now shows Editable Poly instead.
In the
Selection rollout, click Vertex.Remember that there are vertices at the top and bottom of the cylinder, so even though a single red dot appears in the viewport, you are actually selecting two vertices.
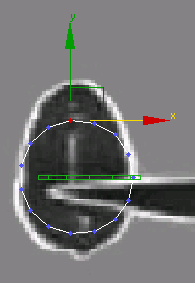
Select the top vertex.
Now the red dot is flanked by yellow-green dots.
Soft Selection display
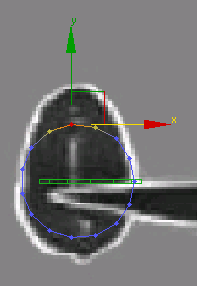
The selection expands in the viewport.
The rudder begins taking shape.
The rudder is fully shaped.
Use Symmetry to create the second rudder:
There are several ways that you could create the second rudder but you'll use the Symmetry modifier for this part of the lesson.
Make
sure the rudder object is selected and
open the Modify panel. In the
modifier stack display, expand the Symmetry hierarchy by clicking
the box marked with a plus sign. When Symmetry expands, click Mirror.
In the
modifier stack display, expand the Symmetry hierarchy by clicking
the box marked with a plus sign. When Symmetry expands, click Mirror.
At the Mirror sub-object level, you can adjust the location of the mirror axis.

The new rudder
The Symmetry modifier adds geometry to an existing object. It does not make a clone of the original so both rudders are treated as a single object.
The completed tail section and wings.
In the next lesson, Creating the Sponsons , you'll create the sponsons that support the tail section and house the engines.
(Optional) Separate the rudders:
It's not really necessary, but if you want to separate the rudders, you can do so by adding an Edit Mesh modifier.
 From
the Selection rollout, choose Element.
From
the Selection rollout, choose Element.The Detach dialog appears.