Adding Default Lights to the Scene

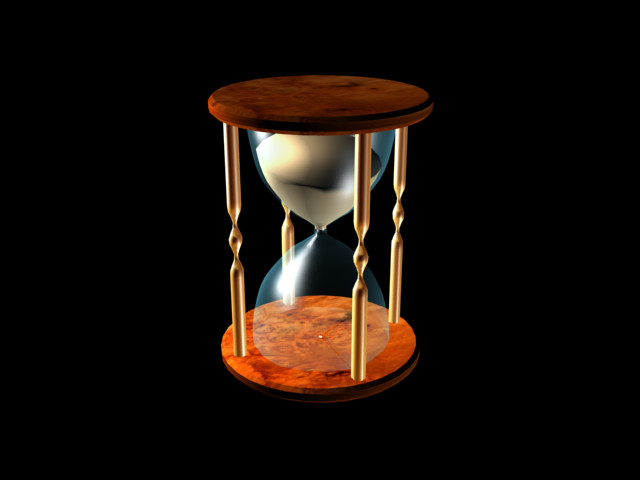
Creating a Realistic Hourglass

Modeling an Airplane

Rendering Your Work
So far, everything you've done has been displayed in
the viewport only: you haven't actually tried to create any output.
You essentially have two output types from which to choose:
-
RasterRaster
formats, such as QuickTime MOV and Windows AVI, are flip books of
still images, which means they can be rather large in size but very
rich visually.
-
3D
geometry3D output, such as VRML, MAX, DWG, 3DS, DXF or
AI, allows you to choose your own viewpoint, as well as providing
animation and behaviors through proximity triggers.
Since the hourglass has both transparency and
particles, you'll choose the only output type which supports both,
which is raster. You'll create a QuickTime movie that you can play
on a Web site. First you'll render some still frames.
- Activate
the Camera viewport. If you do not have the Camera viewport visible,
press C on the keyboard.
- On
the main menu, choose Rendering > Render.
In the Output Size group of the Common parameters
rollout, click the 640x480 preset button.
- Click
Render.
- To
change the background, choose Rendering > Environment. In the
Background group, click the Background Color swatch. In the Color Selector,
type these RGB values:
This should produce a pale blue.
- Close
the Environment dialog, and press F9 to
render again automatically.
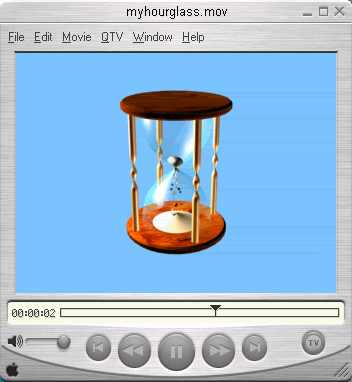
Next you'll render to an animation file.
- In
the Render Scene dialog, in the Common Parameters rollout in the
Time Output group,
change from Single to Active Time Segment. This renders the entire
animation.
- Reduce
the size to 320x240. That's a better size animation for Web playback.
- In
the Render Output group, click the Files button and name the file
you're about to create myhourglass.
avi (for
a Video for Windows animation) or myhourglass.
mov,
(for a QuickTime animation). Make a note of where you are saving
this file.
- If
you are rendering to AVI, click OK in the Video Compression window,
then click Save. To start the rendering, click Render.
- If
you are rendering to MOV, make adjustments as you like in the Compression
Settings dialog, then click OK. To start the rendering, click Render.
A Rendering dialog appears. As each frame is
rendered, a bar shows the progress. You can see all types of information
updating in the Rendering Progress group as your rendering advances.
- When
your rendering is finished, close the Rendering dialog. On the File
menu, choose View Image File, navigate to where you saved the file,
and open it. The appropriate player program will play your animation.
TipIf you like, you can play sands_of_time.avi or sands_of_time.mov to see a finished
rendering of the animation.
Summary
From this tutorial, you can see that modeling
and animating particle effects doesn't always mean that all particles
have to be created with a particle system. In the hourglass animation,
you used a particle system only for the falling sand. The effects
of sand at the top and bottom of the hourglass were created with
various modeling tools.