Adding a Camera

Creating a Realistic Hourglass

Rendering Your Work

Adding Default Lights to the Scene
You can create your own lights, or you can let 3ds Max do
it for you. In this section you'll add a key light and a fill light
using an automatic process.
Continue from the previous lesson.
Add
lights to the scene:
- Right-click
the Camera viewport label, and then choose Configure.
- On
the Rendering Method panel, in the Rendering Options group, turn
on Default Lighting, and choose 2 Lights. Click OK.
- On
the main menu, choose Views > Add Default Lights To Scene.
- In
the Add Default Lights To Scene dialog, set Distance Scaling to 0.2,
then click OK.
This hourglass is relatively small, so you use
Distance Scaling to set the lights closer to the object.
View
the new lights:
Follow these steps to see the new lights.
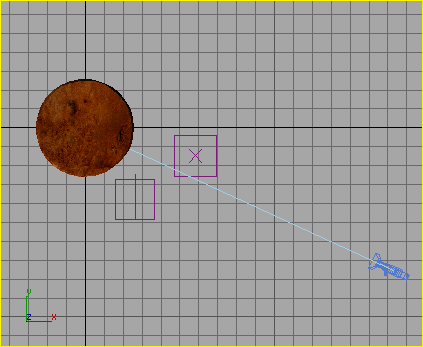
- Press T on the keyboard to change the
Camera viewport to a Top view. Also right-click the viewport label and turn
off Show Safe Frame.
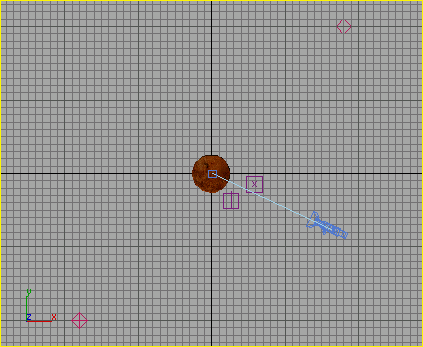
-
 From the view navigation
tools, click Zoom Extents.
Now you'll add your own light to create a specular
highlight on the glass.
Add
your own light to create a specular highlight:
- On
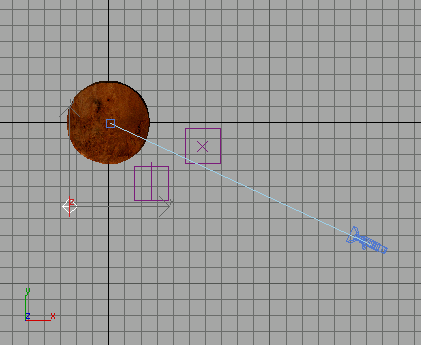
the main menu, click Create > Lights > Standard Lights > Omni.
Zoom in the Top viewport and click in the lower-left quadrant, as shown
in the illustration.
- Set
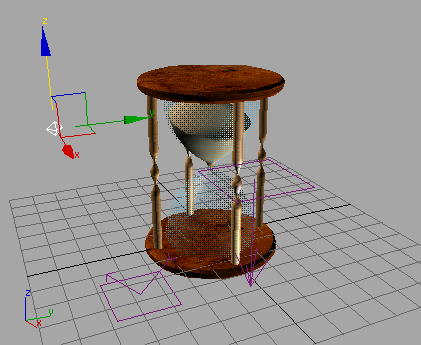
the Top viewport back to the Camera view by pressing C and then move the Omni light up
so it is just above the height of the sand level. When you render
the image this light will create a specular highlight on the glass.
- Open
the Modify panel for the light you just created. Locate the Multiplier
value on the Intensity/Color/Attenuation rollout and change it to 1.33.
To produce a larger specular highlight on the glass, you can turn
up the multiplier or you can move the light closer to the glass.
Save
your work:
- Choose
File > Save As, and name your file MyHourglass_with_Lights.max.
 From the view navigation
tools, click Zoom Extents.