You'll start by building the chamber that will contain the sand using a cylinder and then add a taper modifier. Using the symmetry and curve parameters, you'll create the approximate shape of an hourglass.
 Click
the Min/Max Toggle button found in the view navigation tools at
the lower right corner of the user interface. This switches from
a display of four, small viewports to a single, large one. The currently
active viewport is the one that is enlarged, in this case the Perspective
viewport.
 On the Create panel click
Cylinder.
 Right-click the Snap Toggle
button to open the Grid And Snap Settings dialog and make sure the
Grid Points snap setting is active and all other snap settings are
turned off. Close the Grid and Snap Settings dialog.
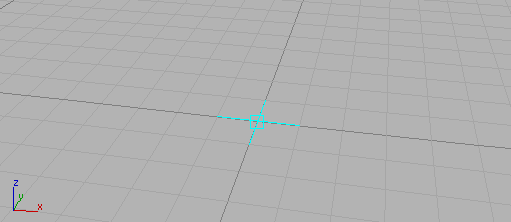
Snap cursor
Using snapping in this fashion lets you begin creating the cylinder exactly in the center of the grid, but you can then make the radius any amount you want by turning snapping off in the middle of the action.

Drag outward to set the cylinder's radius.
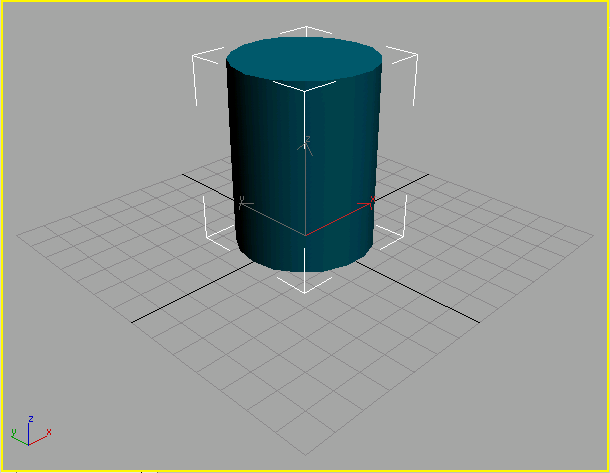
Drag upwards to set the cylinder's height
It doesn't matter what radius and height you create now because you'll change them later.
 Click
the Zoom Extents button to center the scene in the viewport.
 Click
the Modify panel tab, and then, in the Parameters rollout, change
the Cylinder Radius to 20 and the Height to 60.
You can either type the new values or use the spinner.
Edged Face display
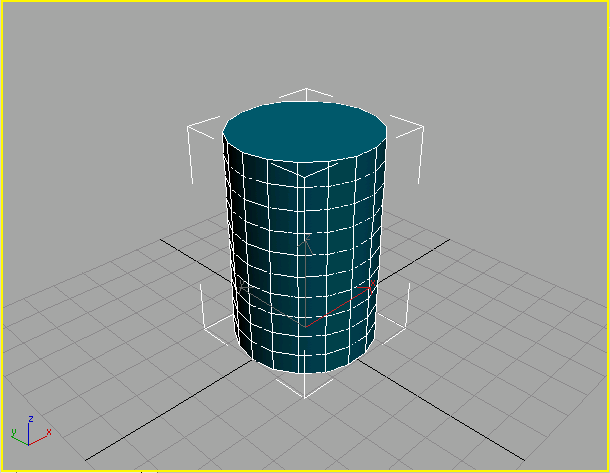
Additional height segments displayed on the cylinder
The Parameters rollout shows the default Amount setting of 1.0.

The cylinder tapers in the viewport.
 In the
modifier stack, click the plus button to expand the stack, then
click Center.
In the
modifier stack, click the plus button to expand the stack, then
click Center.The Center tripod is visible in the viewport, as well as the orange taper gizmo.
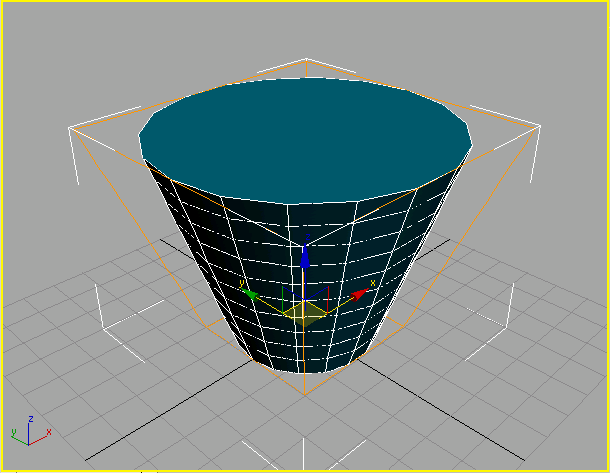
Taper center
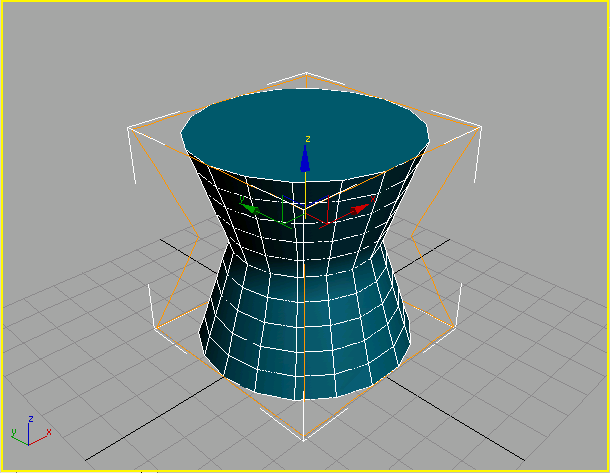
Move the Taper center.
This places the gizmo precisely at the center of the cylinder's height.
On the Parameters rollout of the Modify panel, reduce the radius of the cylinder to 3.
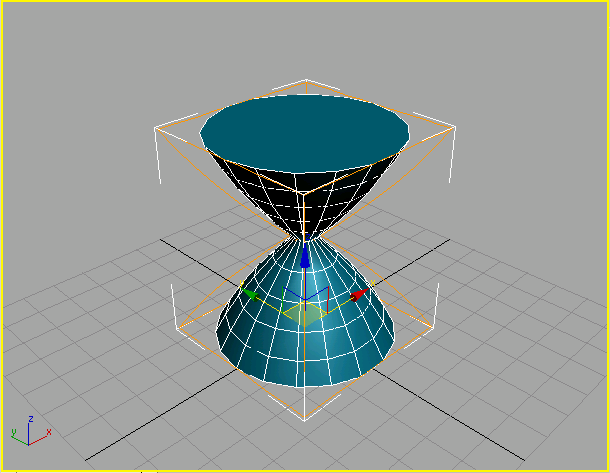
Increased taper and maximum curve amount
Two more adjustments will make this look more like an hourglass.
 If you
don't see the taper when you highlight the Cylinder, turn on the
Show End Result On/Off Toggle button at the bottom of the modifier
stack display.
If you
don't see the taper when you highlight the Cylinder, turn on the
Show End Result On/Off Toggle button at the bottom of the modifier
stack display.By creating an odd number of height segments, you create a small band around the center of the hourglass.
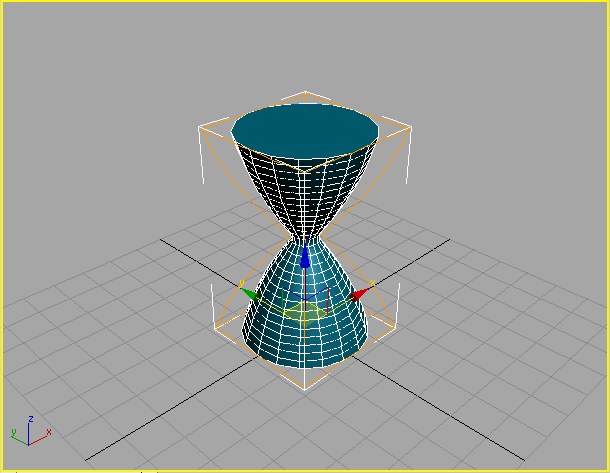
The chamber is taking shape.
Although the object is beginning to look more like an hourglass, it still needs some refinement. In the next lesson, you'll add an FFD modifier that will allow you to narrow the passage where the sand will flow from the upper chamber to the lower one.