


Adding a Free-Form Deformation
The Free-Form Deformation (FFD) modifier provides a lattice of control points that let you deform geometry.
Continue from the previous lesson or load sands_of_time1.max found in the \tutorials\hourglass directory.
The FFD gizmo is applied to the tapered cylinder.
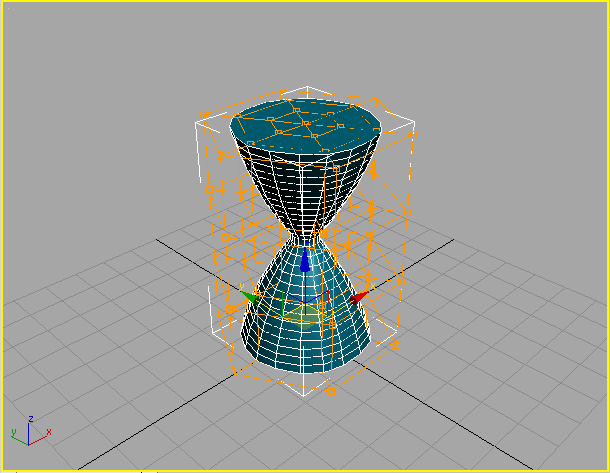
Free-Form Deformation Lattice enclosing the cylinder.
Now there are many more lattice control points to work with.
 Click the Min/Max Toggle
to reset the display to four viewports, and then right-click the
Front view.
Click the Min/Max Toggle
to reset the display to four viewports, and then right-click the
Front view. In the
view navigation tools, click Zoom Extents so that you can zoom in
on the FFD Lattice.
In the
view navigation tools, click Zoom Extents so that you can zoom in
on the FFD Lattice.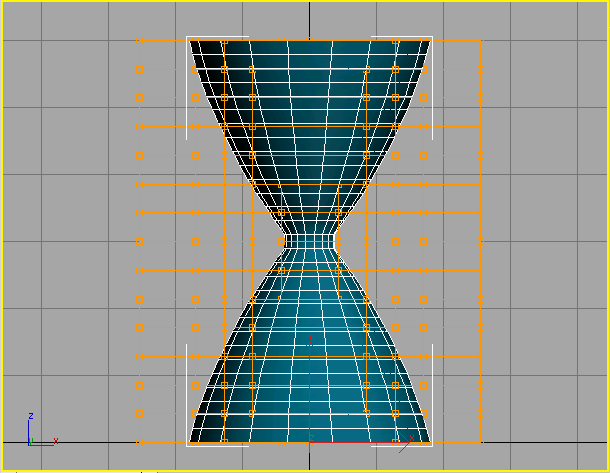
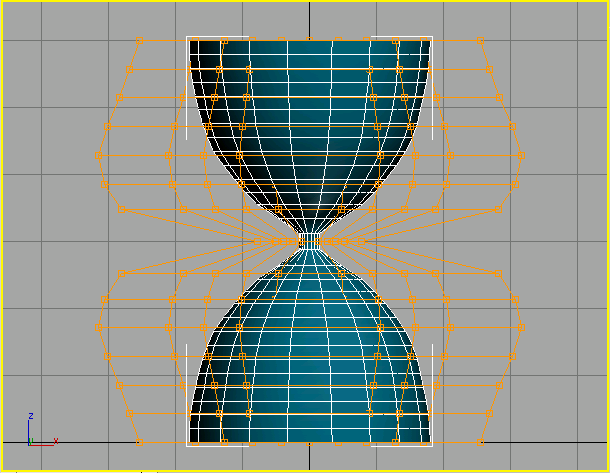
Front view of lattice.
 On the
modifier stack, click the plus button next to FFD(cyl) to expand
it. Select Control Points.
On the
modifier stack, click the plus button next to FFD(cyl) to expand
it. Select Control Points. If the
modifier stack is blank, click the Select Object button on the toolbar,
and select the cylinder.
If the
modifier stack is blank, click the Select Object button on the toolbar,
and select the cylinder. In the
view navigation tools, turn on Arc Rotate, and then rotate the Perspective
viewport so you can see the grid behind the hourglass.
In the
view navigation tools, turn on Arc Rotate, and then rotate the Perspective
viewport so you can see the grid behind the hourglass.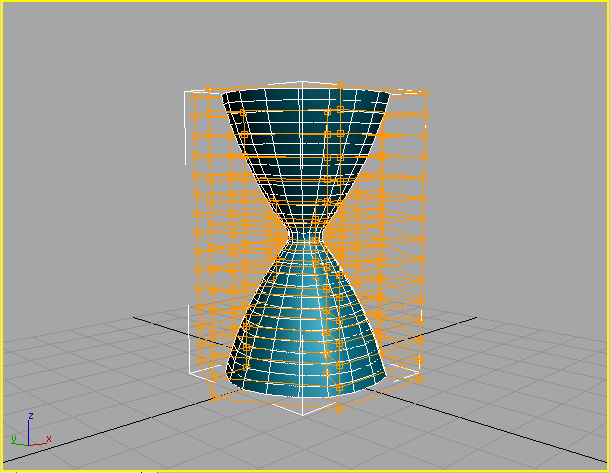
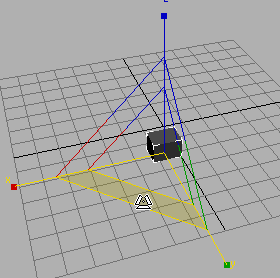
View grid behind the hourglass.
It's important to use an angled view so that you'll be able to see the transform corners when they appear.
Now, you'll select the vertices in the Front viewport, so you're sure to get horizontal rows, then scale the vertices using the transform gizmo in the Perspective viewport.
The control points become outlined in yellow to show they are selected. You are selecting the points in the Front viewport
Select the middle row of FFD control points.
 On the
toolbar, click Select And Uniform Scale. Right-click in the Perspective
viewport to activate it without losing the selection you made in
the Front viewport.
On the
toolbar, click Select And Uniform Scale. Right-click in the Perspective
viewport to activate it without losing the selection you made in
the Front viewport.
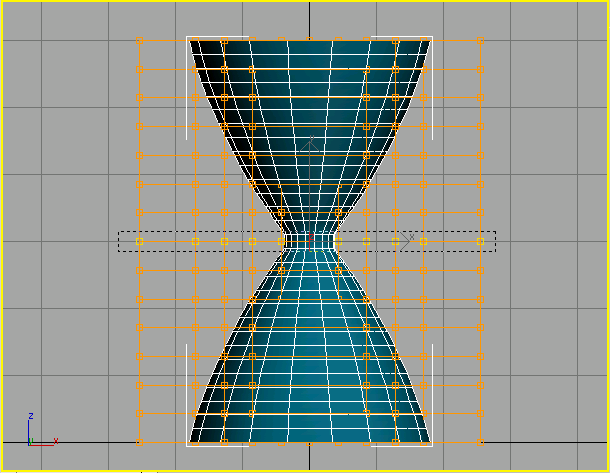
Scale the transform gizmo display.
Scale cursor appears over the inner plane handle.
Drag downward to deform the center.
To refine the shape of the hourglass, you'll need to repeat this process on all the horizontal rows of control points, scaling two rows at a time. This is a two-step process for each pair of rows:

Drag the bottom section of the Scale gizmo to scale on X and Y only.
It might be a little difficult to see where exactly to drag in the above image, so we've added the following image, for illustration purposes only, to show you which part of the gizmo to adjust. Position the mouse cursor on the horizontal strip between the X and Y axes until the strip and the two axes highlight in yellow, and then drag.
To select the control points, drag a selection rectangle around a row, then press the Ctrl key and select the corresponding row in the opposite half of the hourglass. Select each pair of rows then scale them on the XY plane by varying amounts to create the hourglass shape.
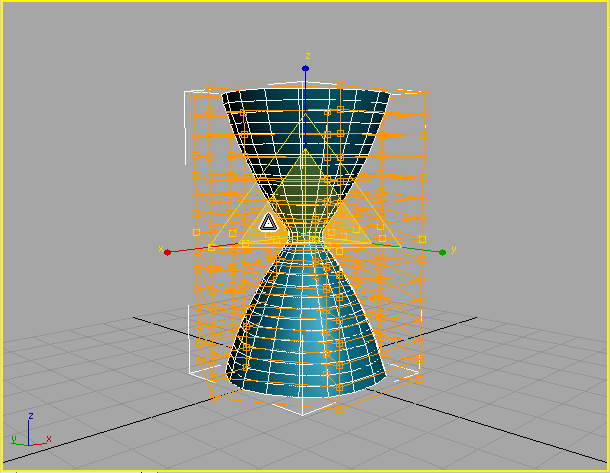
Here is the shape you are trying to achieve.
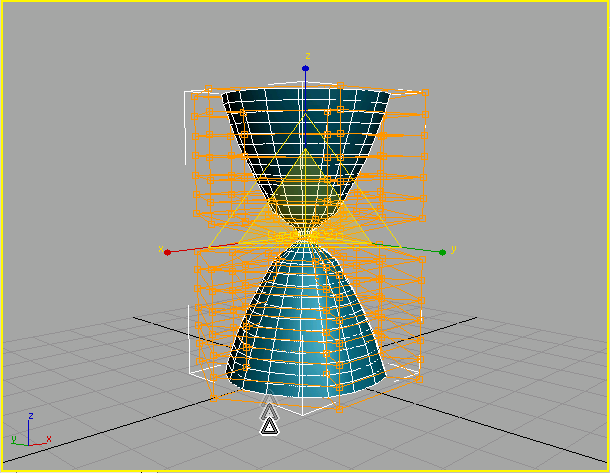
FFD lattice scaled from the front.
Activate
Arc Rotate, click inside the yellow circle, then drag the cursor
around to view the object from different angles.It's good practice to look at objects from all sides while you work.

Sculpted object
The next stage in transforming the hourglass involves adding the caps and posts.