


Introduction to Materials and Mapping
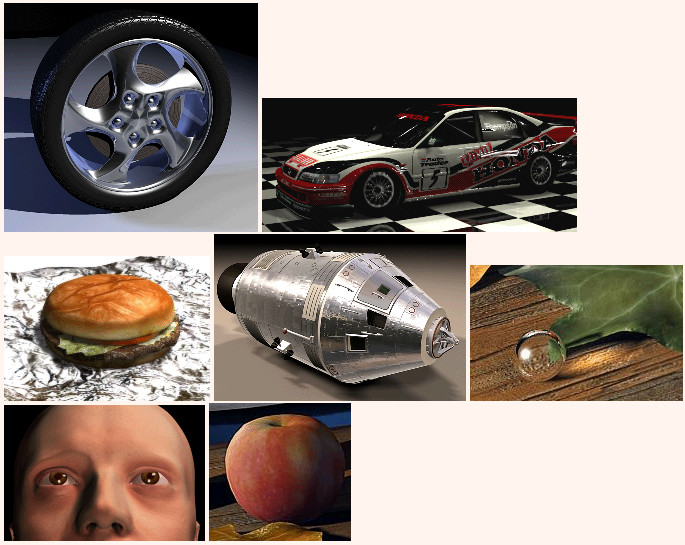
Materials are like paint. With materials, you make apples red and oranges orange. You put the shine in chrome and the polish on glass. By applying maps, you can add images, patterns, and even surface texture to objects. Materials are what make your scenes look real.
Mapping is a method of projecting pictorial information (materials) onto surfaces. It is a lot like wrapping a present with wrapping paper, except the pattern is projected mathematically, with modifiers, rather than being taped to the surface.
This tutorial introduces the Material Editor, the master design studio for materials and maps. In the following lessons, you will learn how to assign materials to objects, how to create basic materials, and how to create several kinds of advanced materials.
In this tutorial, you will learn how to:
Skill level: Basic to Intermediate
Time to complete: 1.5 hours
All the files necessary for this tutorial are provided on the program disc in the \tutorials\intro_to_materials directory. Before starting the tutorials, copy the \tutorials folder from the disc to your local program installation.
Assigning Materials to Objects
Understanding Ambient Color and Light
Mapping and Mapping Coordinates
Creating Multi/Sub-Object Materials
Using Raytrace Materials and Maps