In this lesson you'll animate the objects in this scene. You'll learn how to make objects fly off screen, much like the network logos you see on television.
You'll do this with keyframe animation. The Auto Key tool in 3ds Max lets you set the important or key positions for the objects in the scene at different points in time. Then the software figures out all the in-between positions.
The procedure consists of three steps. At frame 50, you will rotate the bottle and the knife to create rotation keys for them. You will then position the apple and the orange so they are floating in the air. Then you'll shift the keys around to reverse the animation.
3ds Max gives you three different ways to create keyframes. One is to turn on the Auto Key button, move to any point in time, and transform (move, rotate, or scale) the object. A second method is to right-click the time slider and then set keys using the Create Key dialog. There is also a Set Key animation mode, designed for professional character animators.
You’ll use the Auto Key button in this exercise.
Animate the position of the orange:
 Click
the Auto Key button.
Click
the Auto Key button.
 The
button turns red. You are now in automatic animation mode.
The
button turns red. You are now in automatic animation mode.
After a moment a tooltip appears that says Orange.
 On the
toolbar, click the Select Object button, if it isn't already active,
then click to select the orange.
On the
toolbar, click the Select Object button, if it isn't already active,
then click to select the orange.In all viewports, you see the transform gizmo.
Because you’re working in Auto Key animation mode, you've just set a key for the orange. The key appears as a red rectangle in the time scale, below the time slider.
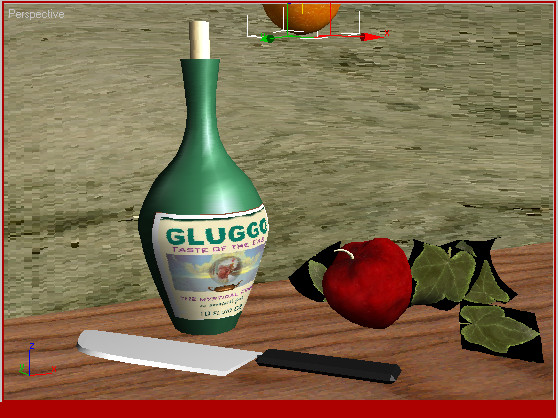
Animate the rotation of the bottle:
The transform gizmo appears over the bottle.
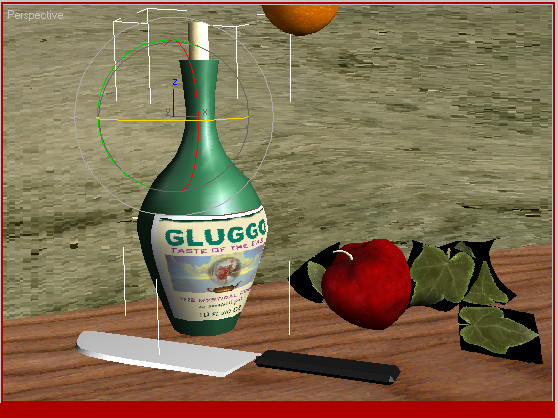
As you move your cursor over the transform gizmo, different axes display as yellow. The axes are color-coordinated (red, green, and blue equals X, Y, and Z, respectively).
You can see the X,Y,Z values displayed in yellow above the transform gizmo as you rotate the bottle. These values also appear in the Coordinate Display below the viewport.
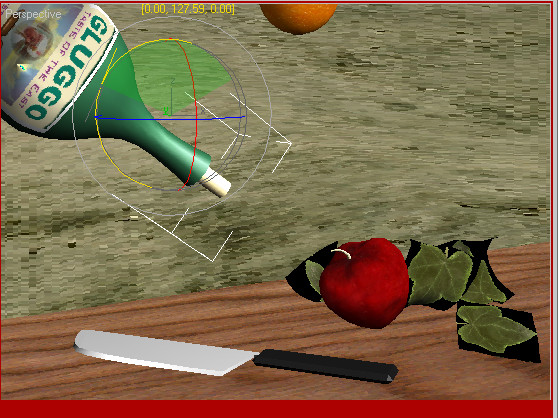
Bottle rotated 127 degrees about Y axis
You'll repeat this for the knife and the apple.
The knife blade is linked to the handle, so when you animate the handle, you'll be animating the knife blade as well.

Rotated still life objects

 In the
animation playback controls, click the Go To Start button, and then
click the Play Animation button.
In the
animation playback controls, click the Go To Start button, and then
click the Play Animation button.Watch the animated objects fly up in the air.
To avoid accidentally creating unwanted animation, develop the habit of turning Auto Key off after animating.
Reverse the animation:
It's a simple procedure to reverse this animation. You'll move keys in the track bar to accomplish this.
The Select Objects dialog appears.
The objects are displayed with selection brackets in the viewport. The keys for all the animated objects are displayed on the track bar.
The keys turn white on the track bar to show they are selected.
This creates a copy of the keys from frame 0 to frame 100.
Press
the Play Animation button in the VCR controls to see the animation
you've createdThe still life objects fly up and around at frame 50 and then return to their positions at frame 100. The animation loops because the position and rotations at frame 0 and 100 are the same.
Experiment with changing the animation:
You can change the animation so the objects fly in from off screen.
Again play the animation.


