


Creating a Simple Freeform Animation
This lesson provides an introduction to using freeform animation techniques with Biped.
In this lesson, you will animate a biped swimming in place. You’ll use freeform animation methods to produce the kicking legs and arm strokes.
In order to create this motion, you’ll use a combination of rotations and moves. You'll also make use of Copy and Paste Posture Opposite to animate one arm and copy its tracks to the other.
Set up the lesson:
 On the
Create panel, click the Systems button.
On the
Create panel, click the Systems button.Create a biped and load a FIG file:
 Click
the Biped button and then create a biped in the Front viewport.
Click
the Biped button and then create a biped in the Front viewport. Go to
the Motion panel.
Go to
the Motion panel.
 Turn
on Figure Mode and click Load File.
Turn
on Figure Mode and click Load File.The Open dialog displays.
The biped takes on new structural elements saved in the FIG file. This simplified figure has one large toe on each foot and one large finger on each hand, and its spine contains two segments instead of four.
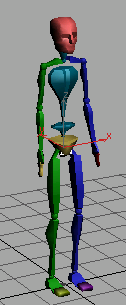
The biped with FIG file applied
 Turn
off Figure mode.
Turn
off Figure mode. Select
all the biped objects, and then click Zoom Extents All.
Select
all the biped objects, and then click Zoom Extents All.Start a freeform animation:
You start a freeform animation by activating automatic key recording and transforming any part of the biped.
This activates the Left viewport without affecting the selection in the scene.
The biped should be in wireframe. Change the shading display of the Left viewport if it is not wireframe.
 Turn
on Auto Key.
Turn
on Auto Key.The button turns red, and the active viewport is outlined in red.
 On the
Track Selection rollout on the Motion panel, click Body Rotation.
On the
Track Selection rollout on the Motion panel, click Body Rotation.
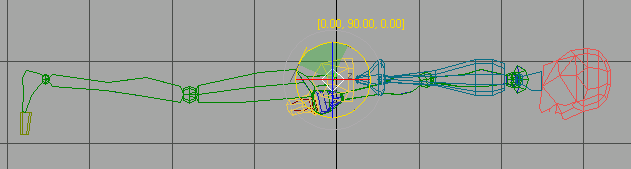
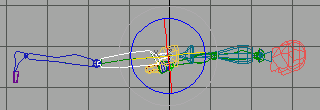
Rotation transform gizmo
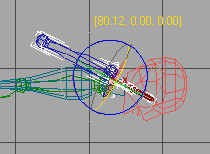
The rotation transform gizmo lets you easily rotate an object about a chosen axis. As you move your cursor over the gizmo in the viewport, the axis circles turn yellow, indicating the axis around which the rotation will occur:
The cursor turns yellow, meaning that any rotation is locked to that axis.
An animation key appears at the far left of the track bar, at frame 0.
You can select all three COM tracks under Track Selection to create keyframes simultaneously. Try this:
 On the
Track Selection Rollout, click Lock COM Keying, and then click the
Body Rotation button.
On the
Track Selection Rollout, click Lock COM Keying, and then click the
Body Rotation button. On the
Track Selection rollout click both the Body Horizontal and Body
Vertical buttons so that both tracks are selected.
On the
Track Selection rollout click both the Body Horizontal and Body
Vertical buttons so that both tracks are selected.
![]() All
the multiple tracks for the COM are now active.
All
the multiple tracks for the COM are now active.
 Expand
the Key Info rollout and click Set Key.
Expand
the Key Info rollout and click Set Key.This sets keys for all the COM tracks at frame 0. The trackbar key shows a multi-color display, indicating that both position and rotation keys have been created.
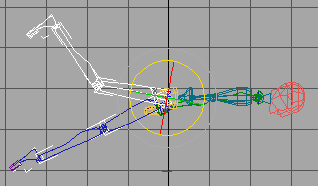
Pose one leg:
Now that the biped is prone, you're ready to animate the swimming motion. First, you’ll position the legs. You’ll work on the right leg first, setting up its position at frame 0.
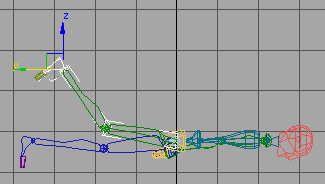
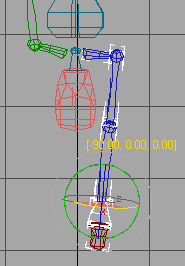
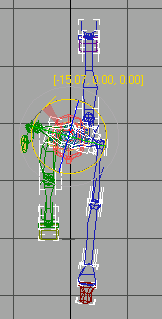
The right thigh is selected.
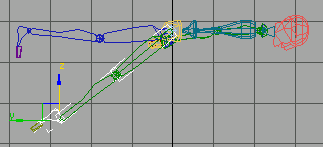
The right leg is rotated, but the right foot is pointing straight down.
The foot looks more natural in this position.
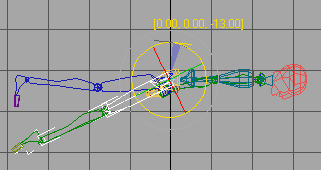
So far you’ve used only forward kinematics to animate the biped. Next you’ll use inverse kinematics by moving the foot to move the entire leg.
The Transform gizmo switches to an axis tripod showing two of three arrows in this viewport. They are displayed at right angles with the Z axis pointing up and the Y axis pointing left.
Ready to move the foot
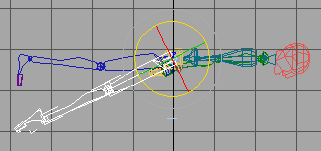
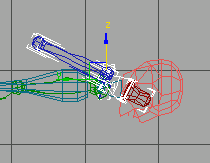
The knee bends to accommodate the new position of the foot.
The knee bends
In this move, you’ve just used inverse kinematics. The foot, calf, and thigh are linked together in a hierarchical chain. By moving the end of the chain, the foot, you rotated the lower and upper leg objects.
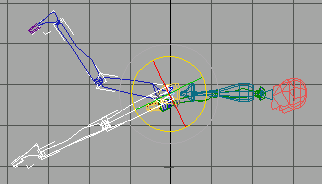
Animate the leg:
Everything you’ve done so far has been at frame 0. Now you’ll move forward in time and animate the pose at frame 10.
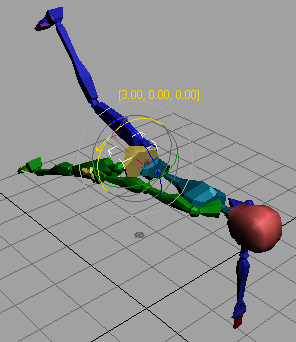
Rotating the thigh
The leg moves up and down.
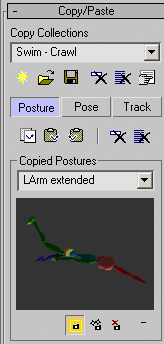
Use copy and paste:
Now you’ll use some specialized Biped tools to pose and animate the opposite leg.
The entire leg is selected from the thigh down to the toes.
The Copy/Paste functionality includes the creation of collections. You must create a collection before you can start creating postures.
 On the
Copy/Paste rollout, click the Create Collection button. This creates
a collection named Col1. Rename it to Swim
– Crawl.
On the
Copy/Paste rollout, click the Create Collection button. This creates
a collection named Col1. Rename it to Swim
– Crawl. Make sure the Posture button
is activated.
Make sure the Posture button
is activated. Also make sure that Capture
Snapshot From Viewport is chosen, just above the Paste Options group.
This forces the thumbnail of the pose to be taken from the active
viewport. This particular posture, for example, is better seen from
the Left viewport rather than the Front.
Also make sure that Capture
Snapshot From Viewport is chosen, just above the Paste Options group.
This forces the thumbnail of the pose to be taken from the active
viewport. This particular posture, for example, is better seen from
the Left viewport rather than the Front. Click
Copy Posture.
Click
Copy Posture.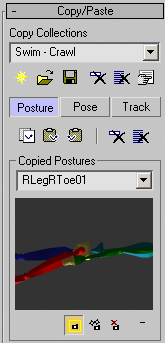
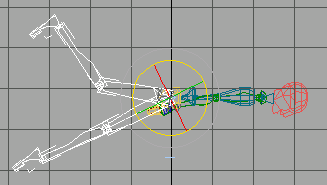
The posture of the right leg is copied into a buffer. Change the name of the Copied Posture to RLeg – downkick.
 Move
the time slider back to frame 0. Click Paste Posture Opposite.
Move
the time slider back to frame 0. Click Paste Posture Opposite.The left leg rotates downward. The right leg hierarchy is still selected.
 At frame
0, choose Copy Posture again.
At frame
0, choose Copy Posture again. Click
Paste Posture Opposite again.
Click
Paste Posture Opposite again.Now the left leg is raised, and the right leg is down.
Now you‘ll repeat this process to make the legs kick several times.
Use Paste Posture to create multiple kicks:
You can use the Copy Posture tools to quickly duplicate all the leg keys from one frame to another to create repeated kicking motions.
 Make
sure Auto Key is still on and move the time slider to frame 0.
Make
sure Auto Key is still on and move the time slider to frame 0. On the
Track Selection rollout, click Symmetrical.
On the
Track Selection rollout, click Symmetrical.Now both legs are selected.
Click
Copy Posture at frame 0. Name the copied posture R up
L down.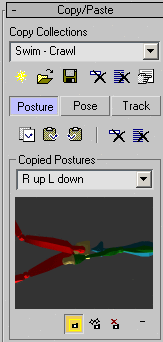
Both legs are added to the collection.
 At frame
20, click Paste Posture.
At frame
20, click Paste Posture.Animating a kicking leg was fairly easy, requiring only two poses: one with the leg up, and one with the leg down. Animating the arms is more complex. To animate the stroke of an arm, you’ll need five poses:
When one arm is animated correctly, you’ll use Copy Track and Paste Opposite Track to animate the second arm. You’ll adjust the timing of the second arm by sliding the keys in the track bar.
Animate one arm:
Make
sure Auto Key is still on, and move the time slider to frame 0. In the
Left viewport, select and rotate Bip01 L UpperArm approximately −160
degrees about the Z axis, until it is extended in front of the biped.
In the
Left viewport, select and rotate Bip01 L UpperArm approximately −160
degrees about the Z axis, until it is extended in front of the biped.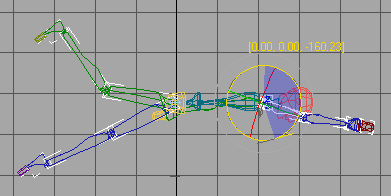
This should prevent the arm from passing through the head.
This completes the first arm pose, so it's a good time to save your data.
Thumbnail snapshot from perspective viewport
 On the
main toolbar, click Select And Move, and then change the Reference
Coordinate System to World if necessary.
On the
main toolbar, click Select And Move, and then change the Reference
Coordinate System to World if necessary.
This will facilitate working with the Transform gizmo in different viewports.
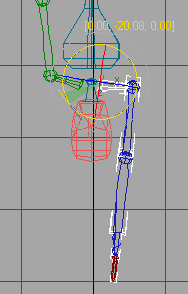
Select Bip01
L Hand and then move the hand along the Y axis toward
the legs.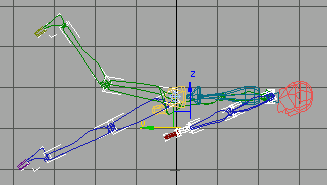
Activate
the Front viewport and press Page
Up three times to select Bip01 L Clavicle.
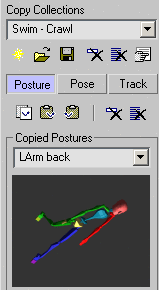
Rotate this part about 24 degrees around the Z axis.This completes the third arm pose. Save it by double-clicking Bip01 L UpperArm in the Top viewport to select the hierarchy, then click Copy Posture. Name the pose LArm back. If you activate the Perspective viewport before you copy the posture, you can adjust the viewport so the pose is clearly visible in the thumbnail.
Select Bip01
L Hand and then move the hand in the XY plane until the hand
is level with the shoulder.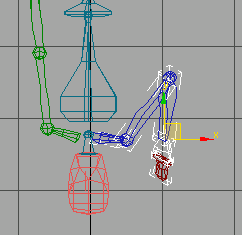
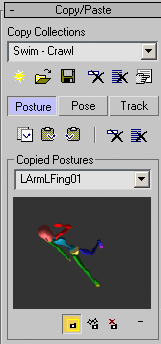
This completes the fourth arm pose. Save it to the collection by double-clicking the upper arm to select the entire hierarchy, then click Copy Posture. Name it LArm up.
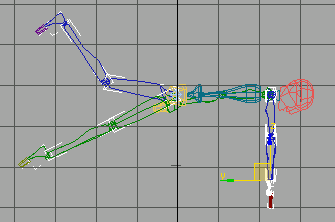
Applying a twist pose:
You can use twist poses to correct upper arm rotations. Twist poses are primarily used to correct arm twisting, but in this case we’ll use it to simply position the arm efficiently.
Consider these default poses as additional copied postures that you can use to “straighten out” problems by defaulting to fixed rotations.
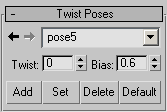
Twist Poses
 When pose 5 is selected
the arm will be rotated and positioned correctly. Expand the Key
Info rollout and click Set Key to keyframe the twist pose.
When pose 5 is selected
the arm will be rotated and positioned correctly. Expand the Key
Info rollout and click Set Key to keyframe the twist pose.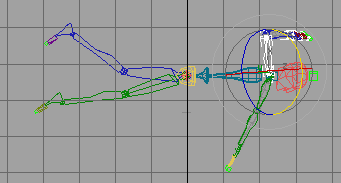
Default Twist pose 5
Copy the Arm pose:
To complete the arm cycle, in the next few steps you’ll copy the arm pose from frame 40.
Turn
on Auto Key.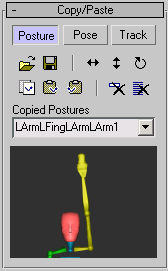
Advance
the time slider to frame 40 and click Paste Posture.If you see any unusual rotations or out-of-place movements, you can set additional keys to refine the animation.
Repeat the animation:
If the animation is going to be 80 frames in length, you’ll need to repeat the arm movement.
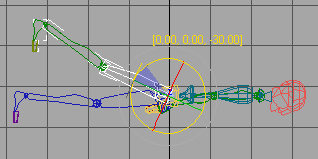
Add rotation to the spine:
Next you’ll add some rotations for the spine to make the animation more convincing. This spine of this biped figure (cs4_tut_rtgame.fig) has only two segments. You’ll rotate the large section representing the upper torso.
Move the time slider to
frame 0, and on the Key Info rollout, click Set Key.This sets a start key for the rotation.
This makes the body appear to follow the movement of the arm.
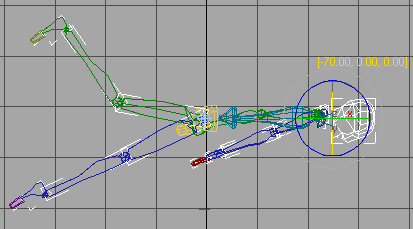
Spine rotation

The spine now rotates once in the 40-frame cycle.
Move the time slider to
frame 0 and on the Key Info rollout, click Set Key.This sets a start key for the rotation.
Rotate the pelvis
Next you’ll copy the pelvis and spine rotation keys to repeat the motion.

The final set of Bip01 Spine1 keys
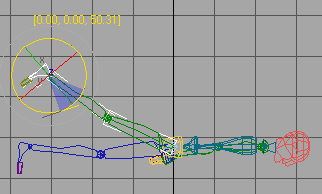
Animate the head:
The biped can breathe as it swims, if you animate the head rotation appropriately.

Rotate the head for breathing motion.
Actually, it would look better if the head were turned up at frame 30.
The biped lifts and lowers its head once in the 40 frame cycle.
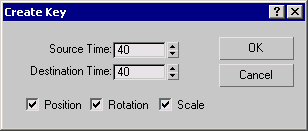
The Create Key dialog is displayed. This lets you create keys by choosing a source and a destination.
This completes the head motion, but the right arm motions still need work. That comes next.
Animate the other arm with Copy Tracks:
Copy Tracks lets you copy and paste the animation tracks of selected objects to other objects, or to opposite body parts.
Make
sure Auto Key is still on. On the
Copy/Paste rollout, turn on the Track button.
On the
Copy/Paste rollout, turn on the Track button. Click
Copy Track.
Click
Copy Track.The track is copied to the buffer. Name the track LArm – Crawl.
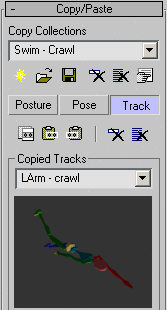
 Click
Paste Track Opposite.
Click
Paste Track Opposite.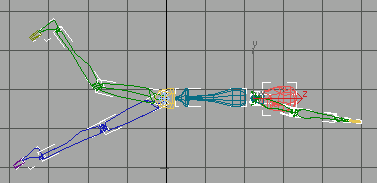
 Play
the animation.
Play
the animation.The biped is swimming the butterfly stroke. The two arms move together.
Next you'll change the timing so the arms alternate.
The entire right arm is selected in the viewport.
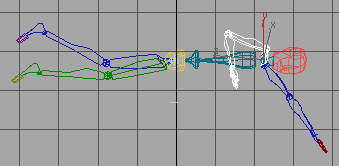
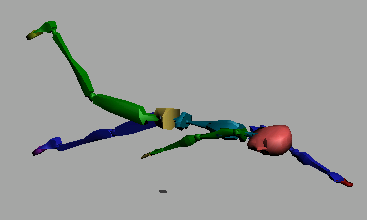
The biped swimming a freestyle stroke
 Play
the animation.
Play
the animation.Now the beginning and end are not quite right. The easiest way to correct this is to copy and paste poses.
Fix the beginning and end:
Make
sure Auto Key is still on. On the
Copy/Paste rollout, click the Posture button. Move
the time slider to frame 50 and click Copy Posture. Move
the time slider back to frame 10 and click Paste Posture.
On the
Copy/Paste rollout, click the Posture button. Move
the time slider to frame 50 and click Copy Posture. Move
the time slider back to frame 10 and click Paste Posture.Now the arms alternate.
To correct the other end of the animation, you can crop the animation to 80 frames.
 In the
time controls, click Time Configuration.
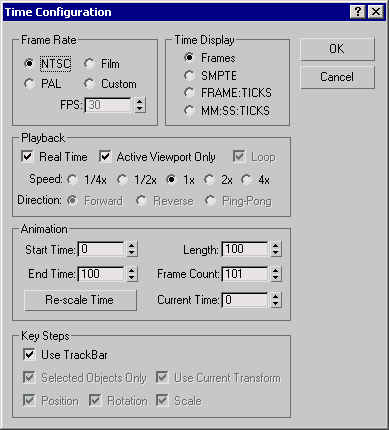
In the
time controls, click Time Configuration.The Time Configuration dialog is displayed.
Click
Play Animation.Save your work:
 In the
Biped rollout, click Save File and save the motion as MySwimmer.bip.
In the
Biped rollout, click Save File and save the motion as MySwimmer.bip.Perfecting the animation: